

Overview
Student Interviews & Shadow Days are an important part of the Admission process. Calendars can be associated with checklist items for each student. Parents can then sign-up online via the parent portal and re-schedule if needed. You can now manage this within Checklist Settings.
Checklist Settings
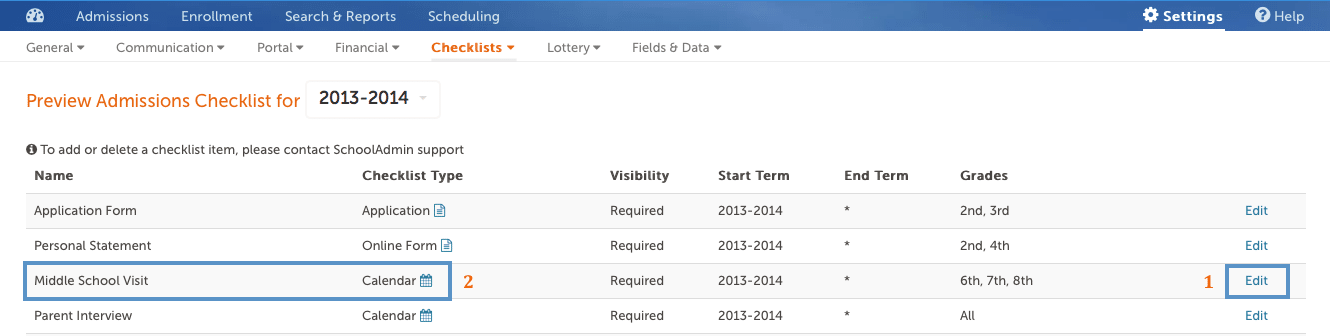
Go to Settings > Checklists. Select the Checklist Type (Inquiry, Admissions or Enrollment) that you would like to view and edit.

Next click on Edit (1) next to the calendar checklist item (2) that you want to tie a calendar to.
Edit Checklist Details
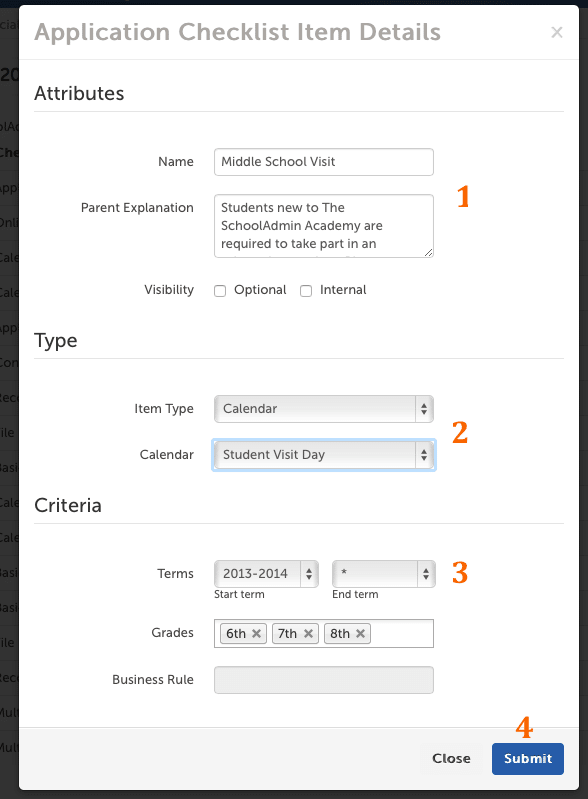
The Checklist item details window will open. Here you can edit the Calendar Name (1), the Parent Explanation (1), and the Visibility (1) (Internal or Optional). The Parent Explanation is the text that display for this item on the Parent Portal. Next, make sure the Item type (2) selected is Calendar. You can then choose what Calendar (2) to link to this checklist item from the drop down menu. Finally, you can set the start and end terms (3) for this item, and any applicable grades (3). Business rules can only be changed by Finalsite Enrollment Support. Once you’ve applied your changes, click Submit (4) to save them.
Calendar Preview
For any checklist items tied to a calendar, you can preview it by clicking on the calendar icon (see below) next to the checklist type name.

Comments
0 comments
Article is closed for comments.