
The Basic Form Editor handles text changes: page names, section and subsection headers, field prompts (the questions families see), and standalone comment text. Structural changes like adding fields, dependencies, or tables require the Advanced Editor. All form edits start by cloning the Active form into a Draft, since active forms are locked from editing.
Who has access to add and edit forms?
Types: System Admin and Admins
Permissions: Any
💡Quick Answers
- What text can I edit in the Basic Editor? Page Name, Section Header, Subsection Header, Field Prompt (the question parents see), and standalone Comment Text. All editable text is marked with a dotted underline in the editor.
- How do I create a draft of my form? Settings > Forms > select the form. Find the Active row, click Select > Clone. That creates a Draft you can edit. The Active version stays live for families until you publish the new draft.
- How do I open the Basic Editor? On the Draft row, click Edit Form. Click the dotted-underlined text to open the Edit Field pop-up, where you can change the prompt and optionally Show Toolbar for font styling.
- What's the difference between a prompt and an explanation? The Prompt is the question itself (Name of Applicant). The Explanation is optional helper text that displays directly above the field to clarify something about the question.
- What's Comment Text vs. an explanation? Comment Text is standalone text that can be placed anywhere on the form (like an intro paragraph at the top of a page). Explanation text is tied to a specific field and displays only above that field.
- How do I track which version made what changes? Add a Form Comment in the text box next to the draft on the form setup page, then Save. The comment stays with that version as a reference for your internal team.
- How do I preview before publishing? On the draft row, click Actions > Preview. This shows the form as families or staff would see it.
- How do I publish the draft? Click Actions > Publish (Make Active). The draft becomes Active, and the prior Active version moves to Retired. Only one version of a form can be active at a time.
How to Get Started
Pop some Popcorn!
If you'd like to watch our video on Basic Form Edits, you can check that out here, in our video library.
Go to Settings > Forms and select the Form you'd like to edit. In this example, we're going to edit the Application Form.
Navigate to the 'Active' version of your form, which is the one that's currently viewable to families if it's a parent-facing form, or that's active internally such as an Interview Notes form.
Next, you'll need to clone the active form so that you have a draft version. Click on 'Select' and choose 'Clone.'
Please note, the active version will remain active until you publish a new version.
This will create a 'Draft' version of your form. Click on the 'Edit Form' button to open the Basic Form Editor.
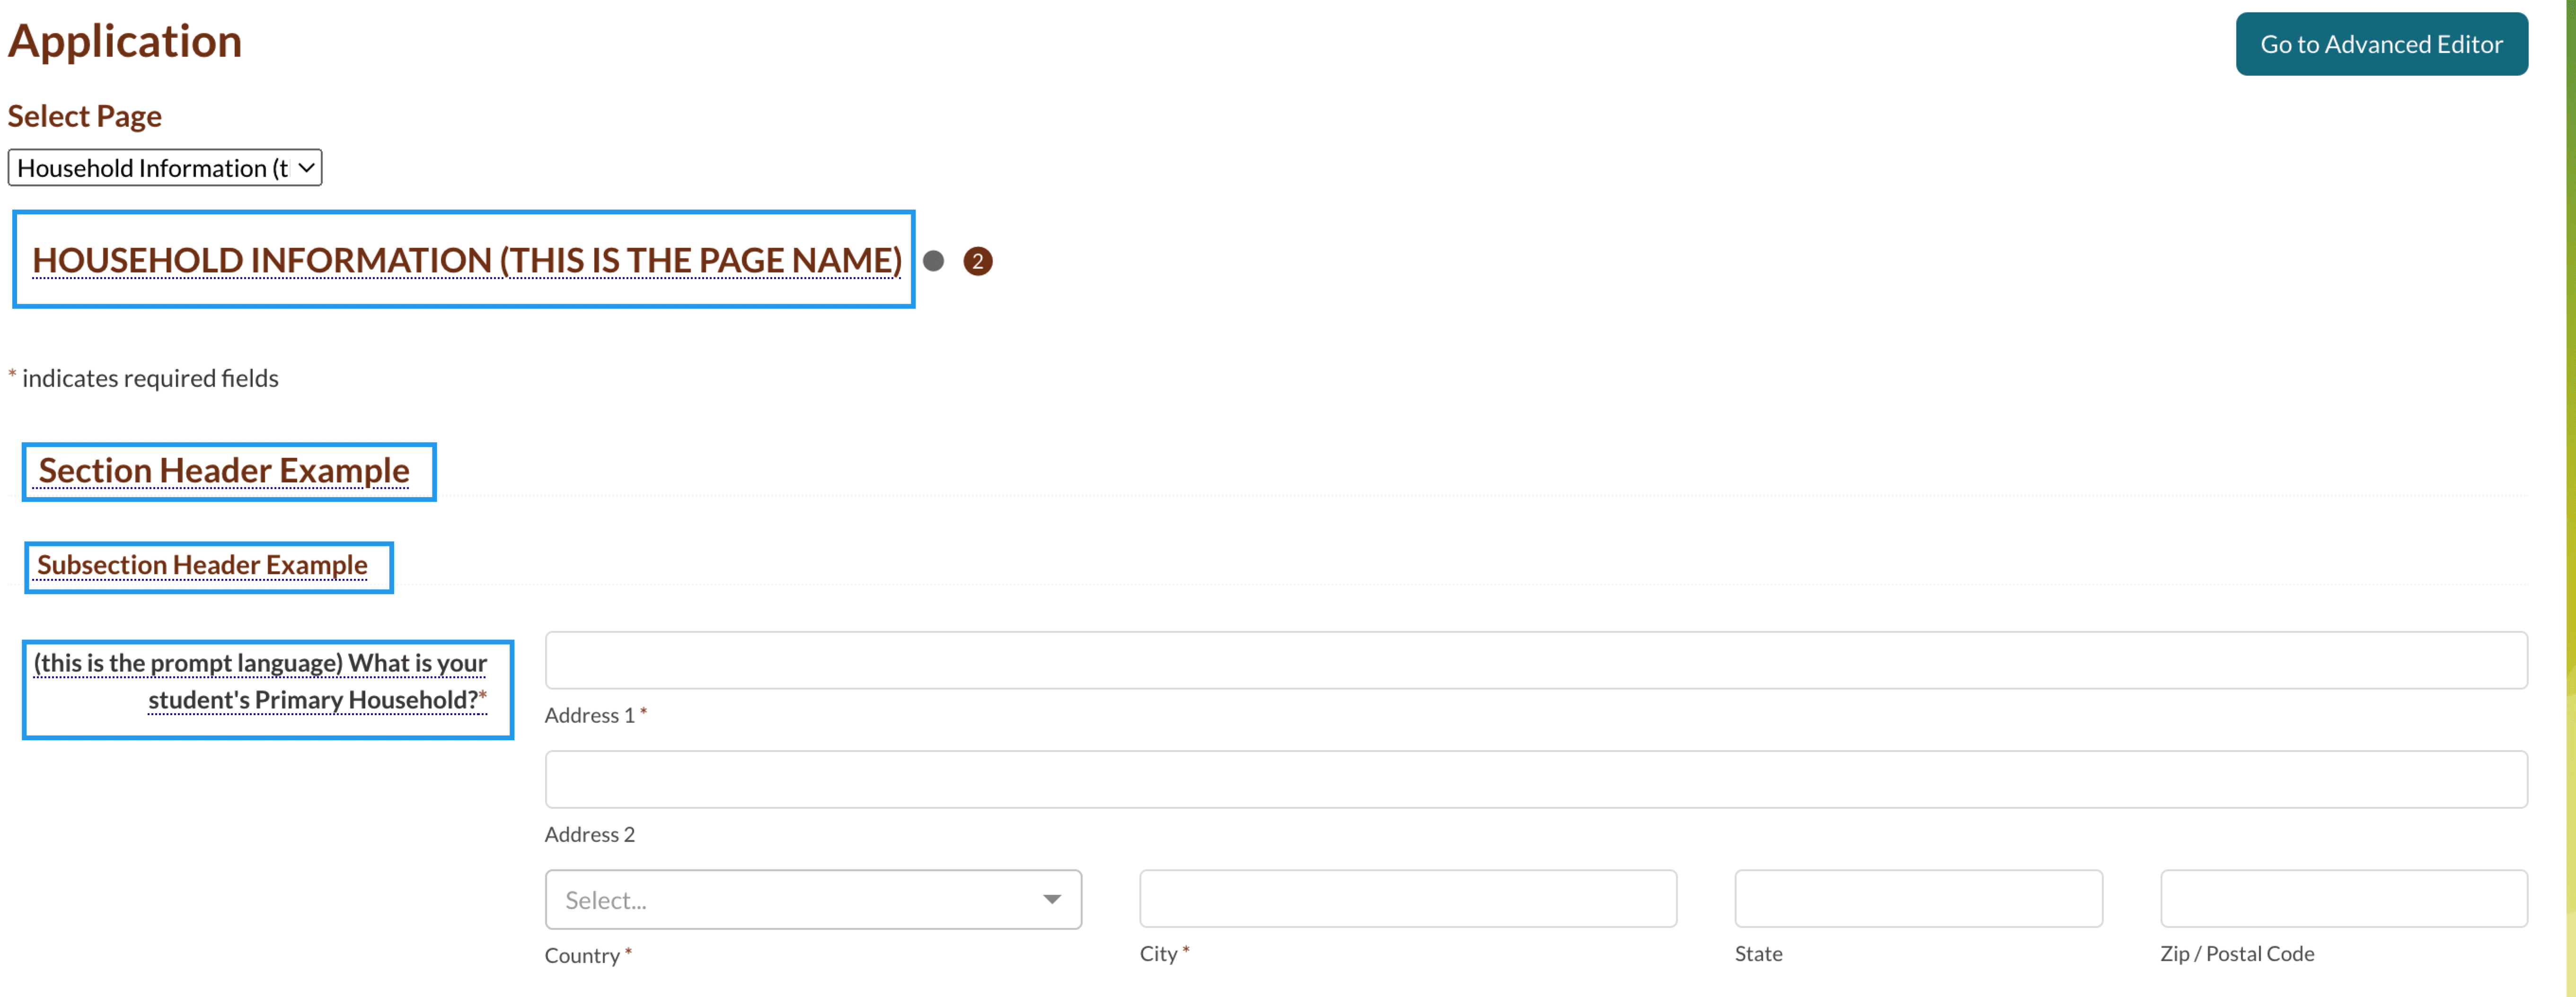
In the Basic Form Editor, you will see the 'preview' version of the form, which is the same view that you and your families see. All text areas that can be edited are marked with a dotted underline as shown below.
For any edits that you would like to make beyond text changes, you'll need to access the 'Advanced' Form Editor. Now let's explore each content area you can edit and the options that are available.
Page Navigation
If you're working on a form with multiple pages, you can click on the drop-down and select the page you'd like to edit.
Header/Subheader Text
Within the form, you have 4 levels of text: Page Name, Section Header, Subsection Header, and Prompts. You can edit the text on all of them but you will not see the Editor Toolbar to make styling edits on the Page Name.
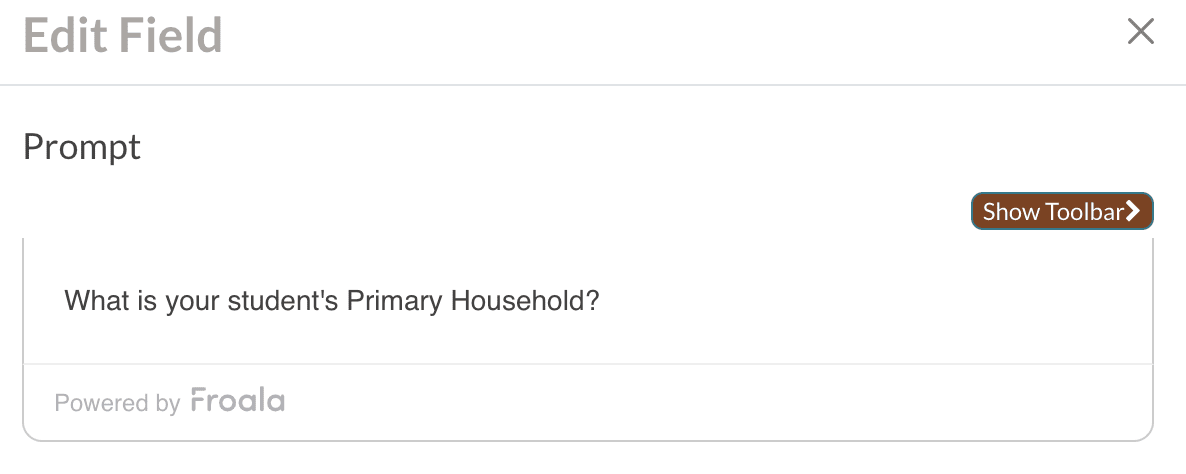
Clicking on the text opens the 'Edit Field' dialogue box. Within here, you can edit the 'Prompt,' which is the displayed text. You also have the option to click on 'Show Toolbar' for font styling. (You won't have this toolbar for the Page Name but you should see it when selecting any of the other text).
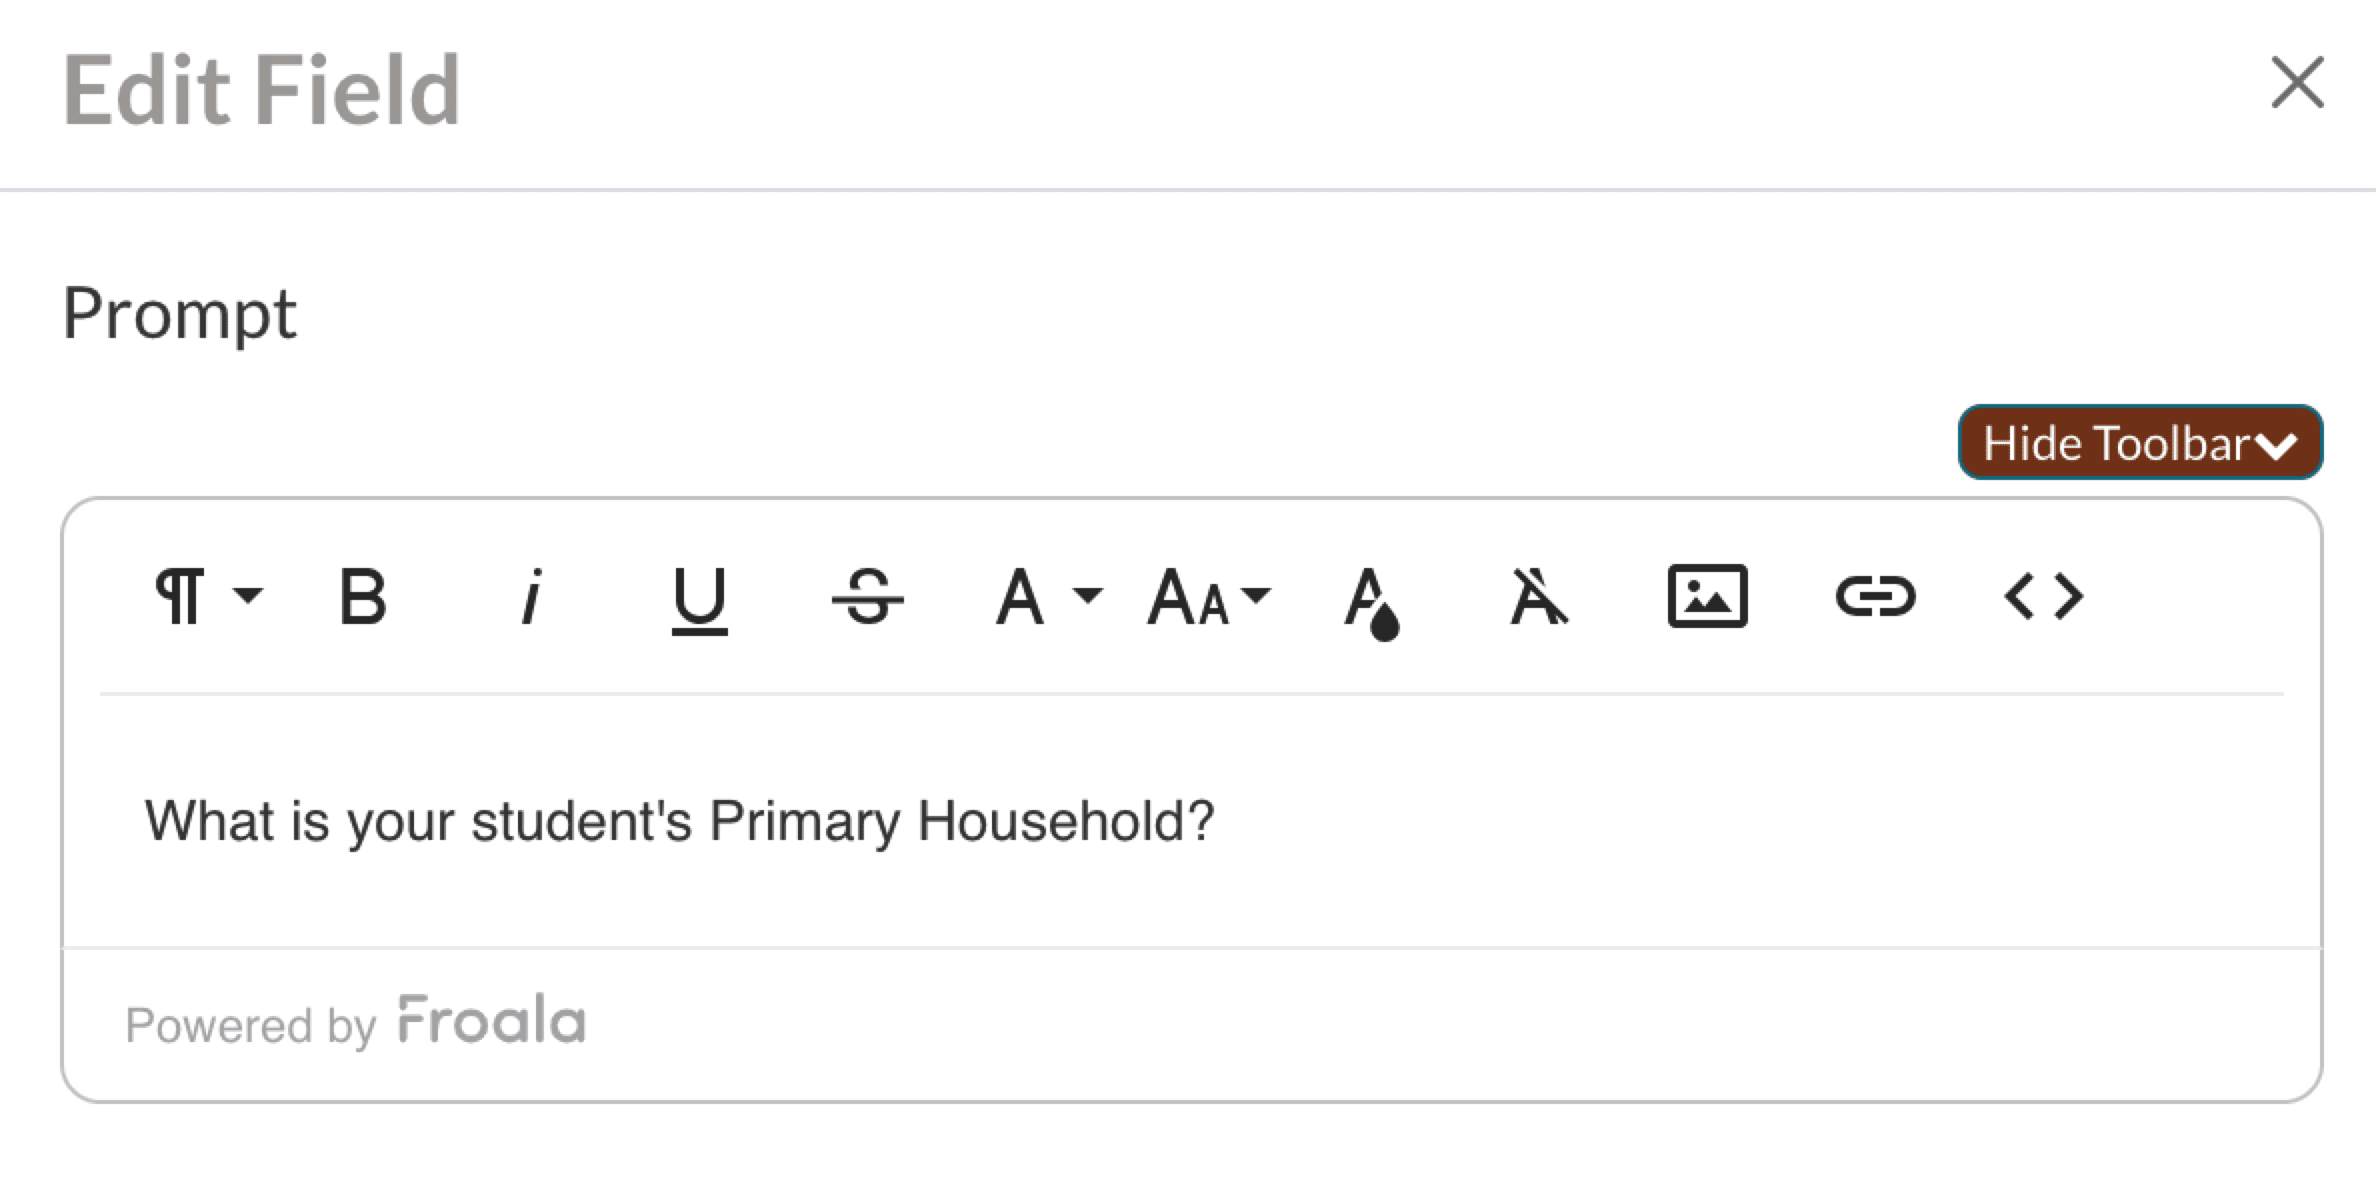
The font toolbar will have all of your typical styling options available. Once you're done editing, click 'Save' to set your changes. Important Note: Make sure you're consistent with the styling that you use across each content type.
Field Prompts
All of the questions on your forms are fields within your site. Each field is displayed on the form as a 'Prompt.' The Field 'Prompt' on the form is the question or information that you're gathering. The prompt is the parent's view of a field name. Sometimes they have the same name, but most often they vary a bit. For example, the 'name' field on your side of the system might say 'Name of Applicant' on the form. And the 'Sports Interests' field name on your side of the system might say 'What are your favorite sports to play?' on the form.
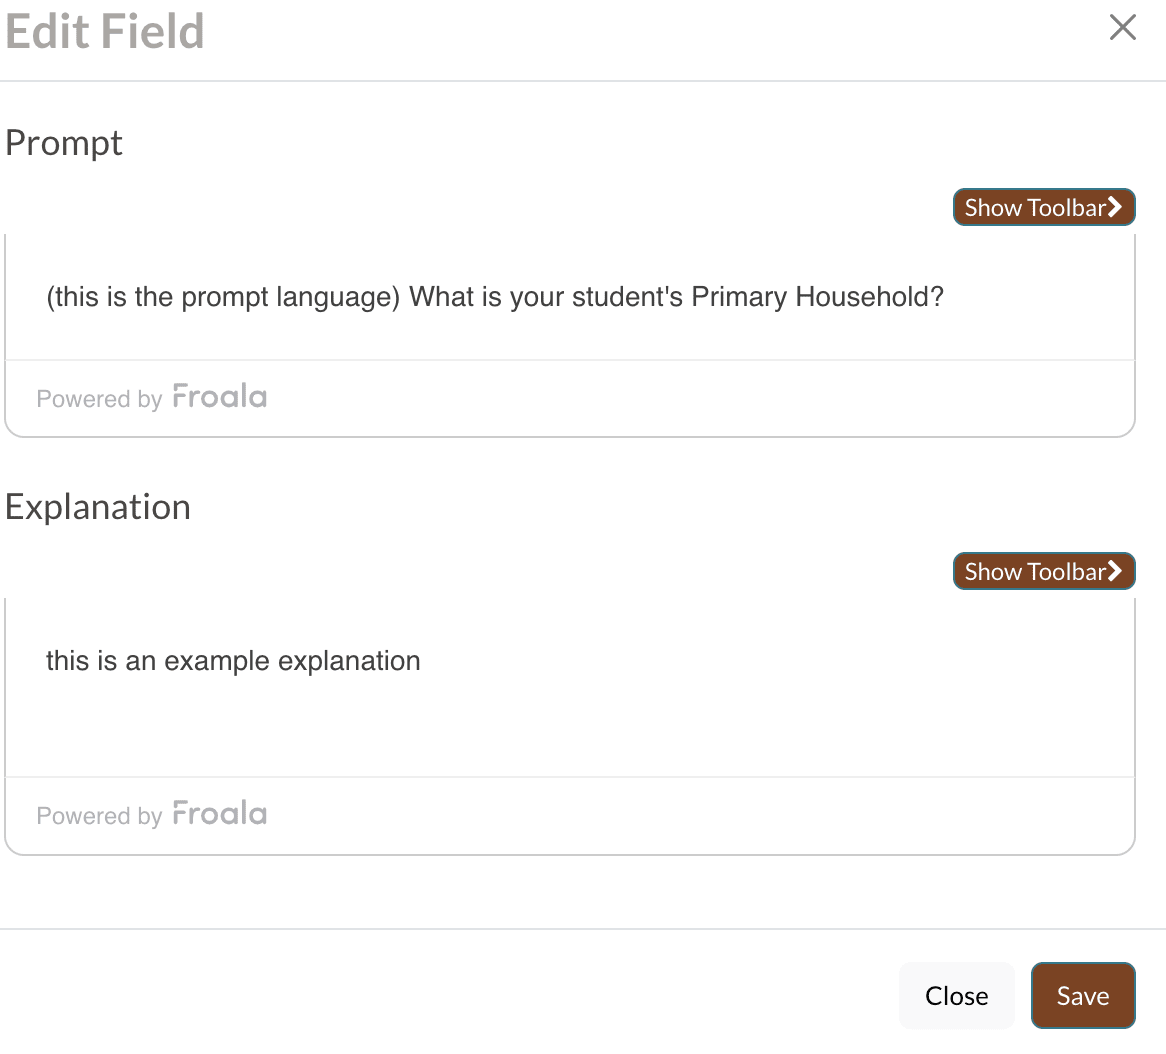
Let's edit the field prompt for 'Name of Applicant.' This field also has optional 'explanation' text that displays directly above the field. The explanation text can be used to explain something important about this question, but it isn't required for any field prompts. Click on the prompt to edit.
The 'Edit Field' dialogue box will open. Here you can use the same font toolbar to style your text if needed. You can edit the prompt and add/change/remove an explanation. Once you're done, click 'Save' to set your changes.
Comment Text
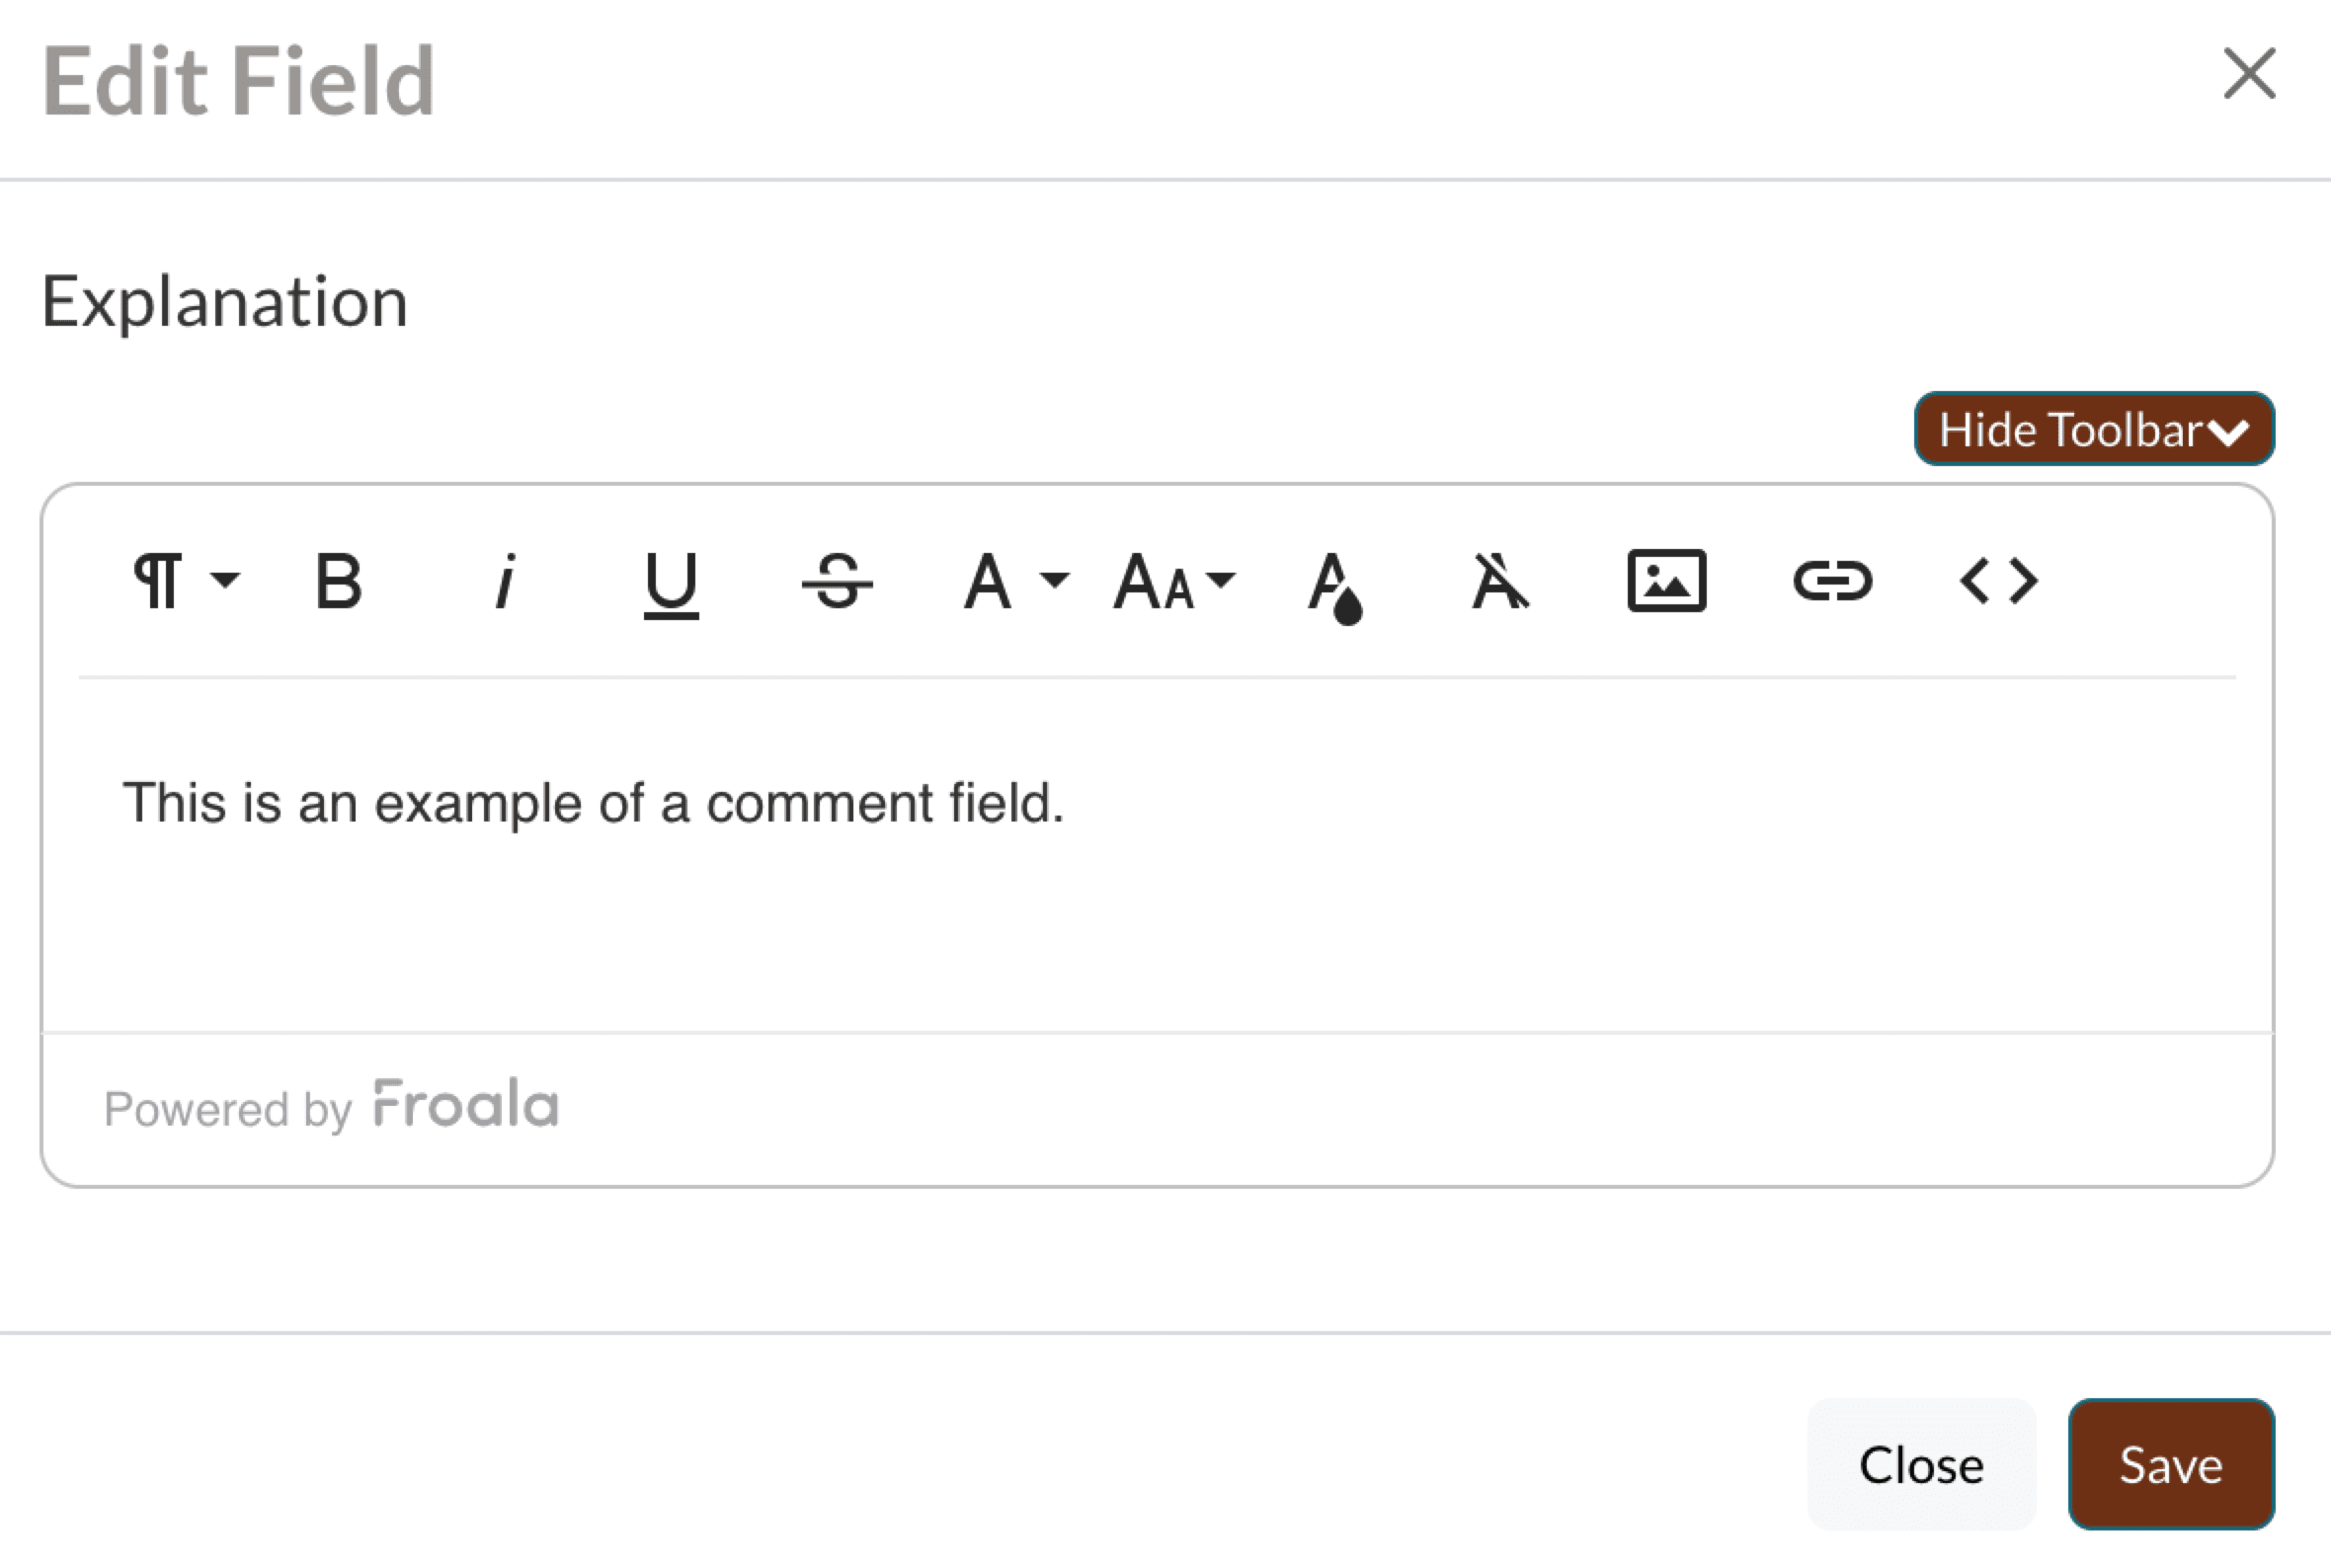
Throughout your form, you may have some Comment Text which is standalone text on your form, and is separate from the field explanation text which only displays directly above the field. Comment text can be placed anywhere on your form to describe something or give directions about something. On your Inquiry Form, you may have comment text to describe any events that are hosted on your form. Or in the example below, there's comment text displayed at the top of the Student Questionnaire page of the Application form to explain what information is expected on this page.
Click on the text to open the 'Edit Field' dialogue box. Make any changes you want and then click 'Save' to set them.
Preview and Publish
Form Preview
Once all text edits have been made, you'll need to preview your form to ensure everything is correct before publishing and making it active. From the 'Actions' menu, click on 'Preview' to view the form as your families would see it or as your internal staff will see it in the case of an internal-facing form.
Form Comments
Once all changes look good, set some 'Form Comments' so you can track what changes you made and then click 'Save.'
Publish
Now that everything is updated and has been tested, it's time to Publish!
Click on the 'Actions' menu and select 'Publish (Make Active).'
The prior form that was active will now be retired and the new version will now be active to your families or to internal staff if it's an internal facing form.
Additional Resources
Creating & Editing Online Forms:
- Forms: Basic vs Advanced Editor and Support Permissions
- Creating New Online Forms
- Forms: Advanced Editor
Comments
0 comments
Article is closed for comments.