Overview
As you prepare for the upcoming enrollment season, you'll need to activate the new school year (term) within the Enrollment Setup page of your site so you can enroll students in it. This page also includes additional enrollment features such as:
- Contract and Deposit Name
- Enable Contact Photos on Contracts
- Countersignatures
- Continuous Enrollment (Bulk Submit Contracts)
Important Note about Term-Based Fields
Before activating the new enrollment year, please review the list of term-based fields, which hold unique data/values for each academic year, as well as any custom set term-based fields. These fields will be cleared ONLY for the new enrollment year once it is activated, but data from previous years will still be maintained.
Important Note about Contract Fees
Any fields outside of the term-based field list are considered non-term based fields and will require a manual reset each year. This is especially important for any fields that drive tuition and fees, checklist items, etc.
Set Up a New Enrollment Year
To get started, navigate to Settings - Fields & Data - Enrollment Setup.
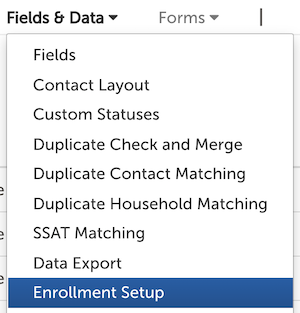
On this page, you'll see explanation text at the top of the page, along with the following columns:
-
School Year: This will include past, current, and future school years (terms) that are set up on your site. School years can be added and configured from the Terms setup page.
-
Enrollment Year Created?: A value of 'YES' will display for all school years that have been created at any point in time. A value of 'NO' will display for all school years that have not yet been set up. You can click on the 'set up this year' text to set up any of these school years (see below for more information).
-
Enrollment Year Status: A status of 'Active' will display for all school years that have been activated at any point in time. The current enrollment school year will have the word Active listed in BOLD text. However, keep in mind that students can still be enrolled in previously activated / past enrollment years.
To set up the new enrollment year, click on the 'set up this year' text in the 'Enrollment Year Created?' column next to the enrollment year you'd like to create. You will be asked to confirm this action.
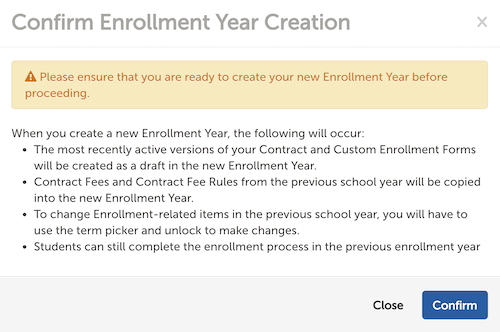
After confirming the action, the 'NO' in that column will switch to a 'YES', and you'll see a 'Setting Up (reload to check status)' message in the 'Enrollment Year Status' column. Click on the 'reload' text or refresh your page to check the status.

When the enrollment year has finished setting up, you can click on the 'activate' text in the 'Enrollment Year Status' column. Again, you will be asked to confirm the action.
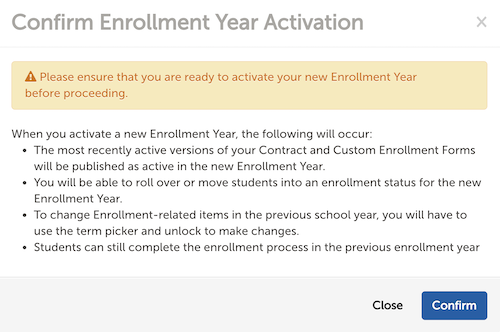
After confirming the action, you'll see an 'Activating (reload to check status)' message as shown below. Click on the 'reload' text or refresh your page to check the status.

You can confirm your new enrollment year is set up and activated by a 'YES' value in the 'Enrollment Year Created?' column and an 'Active' value in the 'Enrollment Year Status' column, both displaying in BOLD text. Now, you will have access to edit items in the new enrollment year, as well as move students into that year!
Rename Contract or Deposit
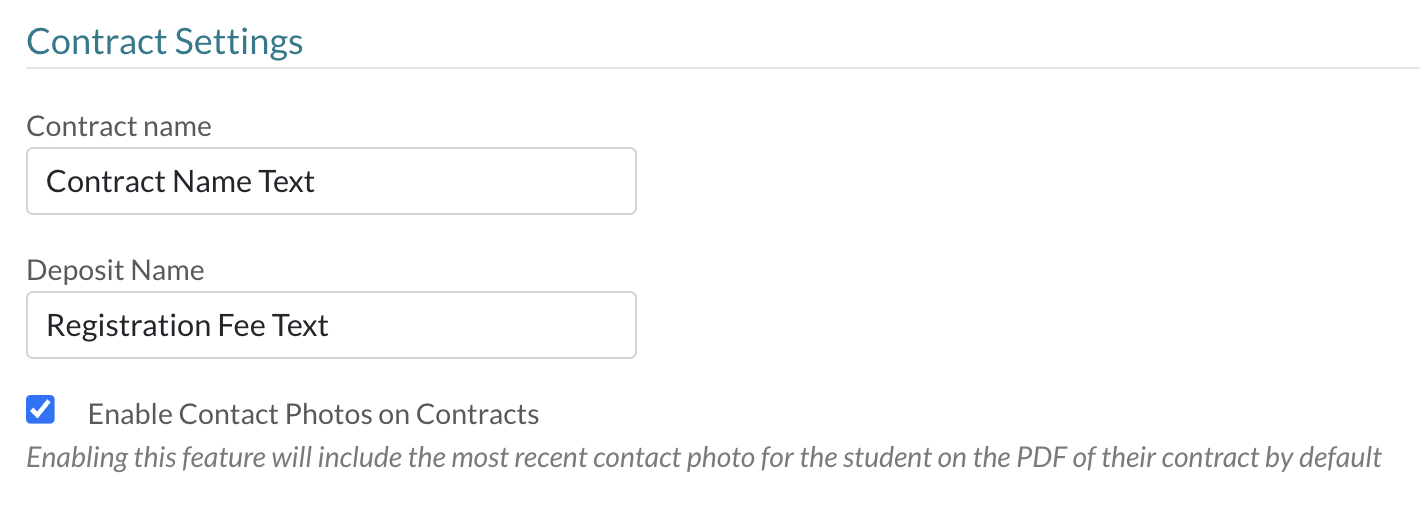
On the Enrollment Setup page, you can also edit the Contract Name or Deposit Name from within the Contract Settings section of the page.

-
Contract Name: The contract name displays in the top left corner of each page of the contract as shown below. This is displayed to your families as they complete the form, so rename it to whatever makes sense to your school's process. For example, some schools prefer to call this a Registration Form.
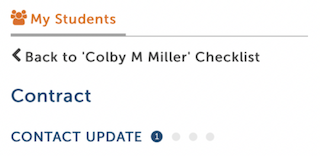
-
Deposit Name: The deposit name displays on the contract under the 'Totals Summary' field/section as shown below. In our example, we have renamed it to Registration Fee.

Enable Contact Photos on Contracts
Below the Contract name and Deposit name text is an option to enable the most recent contact photo for students on the PDF of the contract. Check the box and then click on the 'Save' button at the bottom of the page.
Require Countersignatures
For schools that require countersignatures on contracts, you can enable this feature with two signature options:
- Default Option (Not Displayed in this page): Add digital signature
- Choose File: Upload an image of a signature. Limited to one image, which may contain multiple signatures within the image.
Check the box to require a countersignature either at the pending payment state or submitted state. If you prefer to upload an image instead of using the default digital signature, click on the 'Choose File' button. The image used will be displayed.

Continuous Enrollment
For schools that use Continuous Enrollment or Evergreen Contracts, you can enable this feature to rollover contracts year to year and bulk submit them within the Enrollment List Page. Check the box and click 'Save.' Click here to learn how it works.

---

Comments
0 comments
Article is closed for comments.