
The Contact Widget appears at the top of the Summary tab on every student's record, showing any fields you choose so admins can see key info at a glance. You configure the template under Settings > Portal > Admin Portal Content.
💡Quick Answers
- Where do I edit the Contact Widget? Settings > Portal > Admin Portal Content. Click Edit to open the template, or Revert to System Default to start fresh.
- How do I add a field to the widget? Pick the merge field category, pick the specific field, drag and drop it into the template body, type a label so it's identifiable, then click Submit.
- Where does the widget show on a student record? Above the checklist on the Summary tab.
-
How do I display the application or inquiry source? Add
{{contact.application_sources}}and/or{{contact.inquiry_sources}}tokens to the widget body. - What inquiry sources can appear? Online Inquiry (from your inquiry form or Quick Action) and Explore Inquiry (for schools using Finalsite Explore).
- What application sources can appear? Online Application, Explore Applicant, and SSATB (for schools using SAO).
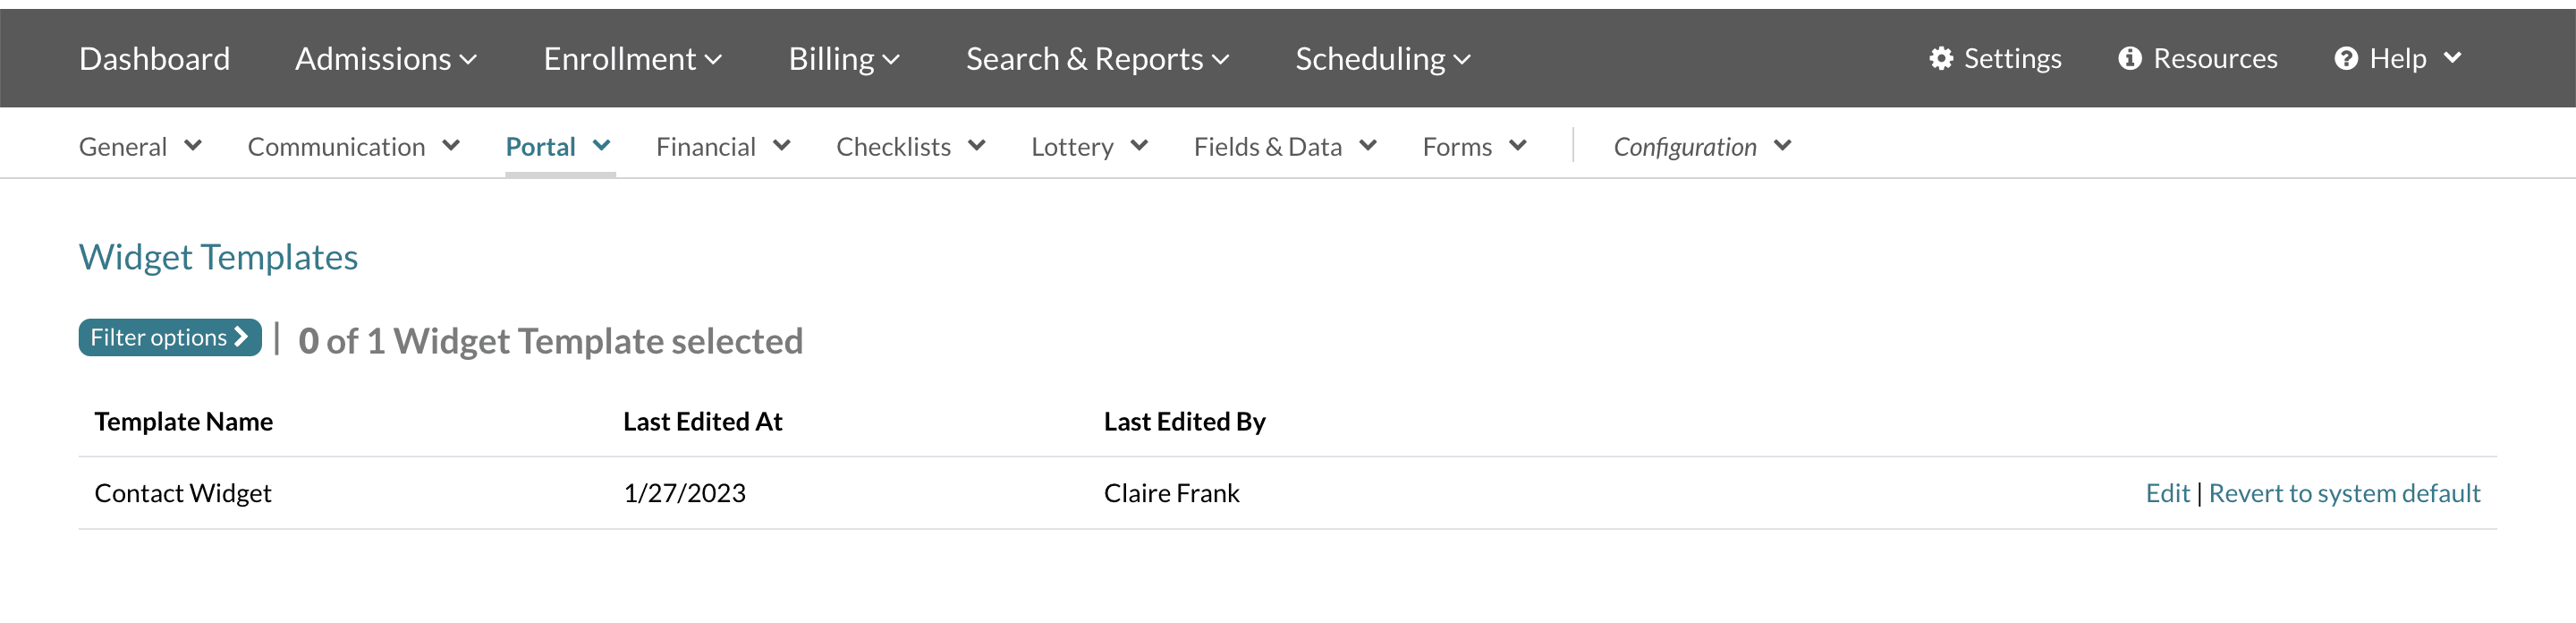
Under Settings > Portal > Admin Portal Content, you have access to the Contact Widget.
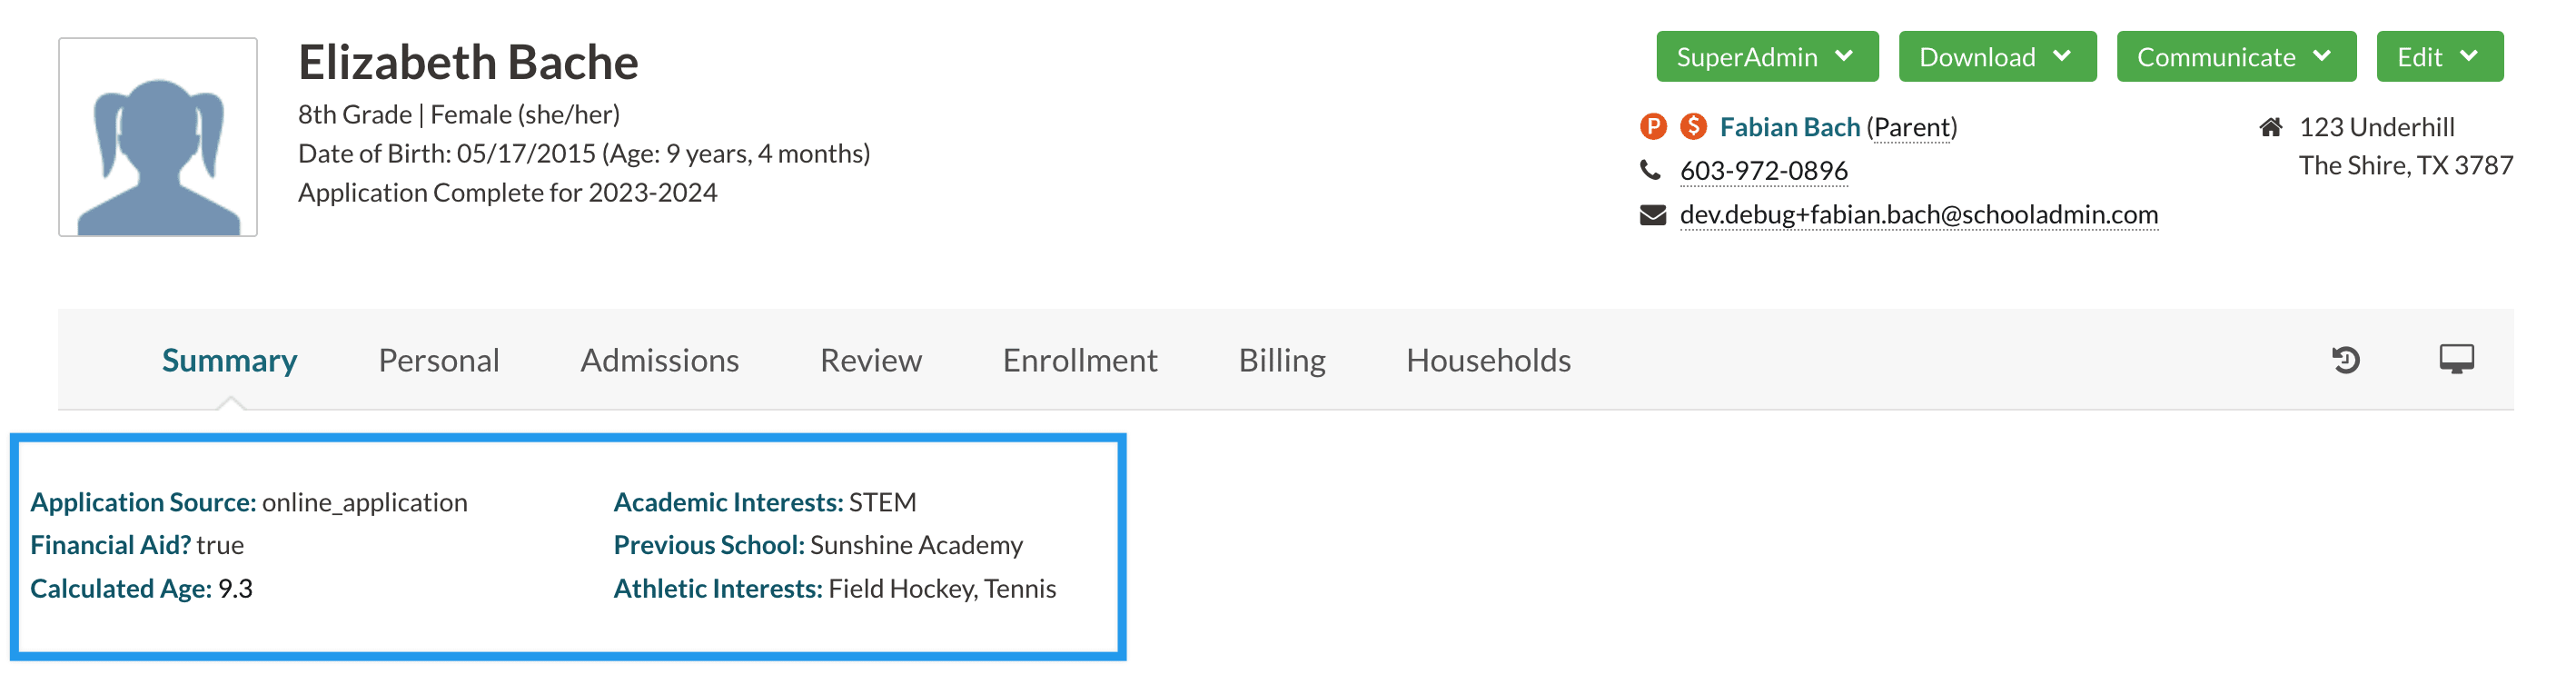
To view the contact widget area on the student, navigate to the Summary tab of a student record and you’ll see the contact widget above the checklist.
This area is useful to pull any fields of information that you’d like to see immediately when you pull up a student’s record. You can see when it was last edited and by whom. To make edits to the template, click on edit along the far right. You can also revert to the system default, which will reset the template to its original state.
Within the template editor, you can select what fields of data you want displayed. To do this, follow the steps below:
- Select the category (1) of the merge field you’d like to add.
- Select the field (2) from the drop down list.
- Drag and drop the merge field (3) into the body of the template editor.
- Type a label (4) for the merge field within the body of the template editor so you know how to identify the information that displays.
- Click submit (5) to save your changes.
Displaying Application or Inquiry Source
You can add the following token to display the application and/or inquiry source:
Application Source: {{contact.application_sources}}
Inquiry Source: {{contact.inquiry_sources}}
As a reminder, the source field indicates the source of the application or inquiry. Sources include:
Inquiry Sources
- Online Inquiry: The form came from someone filling out your Inquiry form online or from an admin at the school adding the student in through the Quick Action menu.
- Explore Inquiry: The form came from someone inquiring in Finalsite Explore. (Only shows for schools using Finalsite Explore.)
Application Sources
-
Online Application: The form came from someone filling out your Application online or from an admin at the school adding the student in through the Quick Action menu.
Explore Applicant: The form came from someone applying in Finalsite Explore. (Only shows for schools using Finalsite Explore.) - SSATB: The form came from an SSATB application. (Only for schools with SAO.)
Comments
0 comments
Article is closed for comments.