
Once you've created a calendar, you can add available time slots that parents or the public can book. Each slot can be a one-off appointment or set to recur on a schedule.
💡Quick Answers
- Where do I add slots? Scheduling > Calendars > select the calendar, then click any date or use Add a time slot in the upper right.
- What fields are required? Schedule (if you use multiple), Timeframe (start and end time, date), Slots Available, and an optional Recurrence.
- How do I cap bookings? Set Slots Available to the number of families you want. The slot disappears from booking pages once it's filled.
- Can a slot repeat? Yes. Check the Recurrence box and set the number of weeks between, the day(s) of the week, and a start and end date.
- Can I tie a slot to a specific staff member? Yes. Assign a user schedule in the Schedule dropdown when adding the slot.
Getting Started
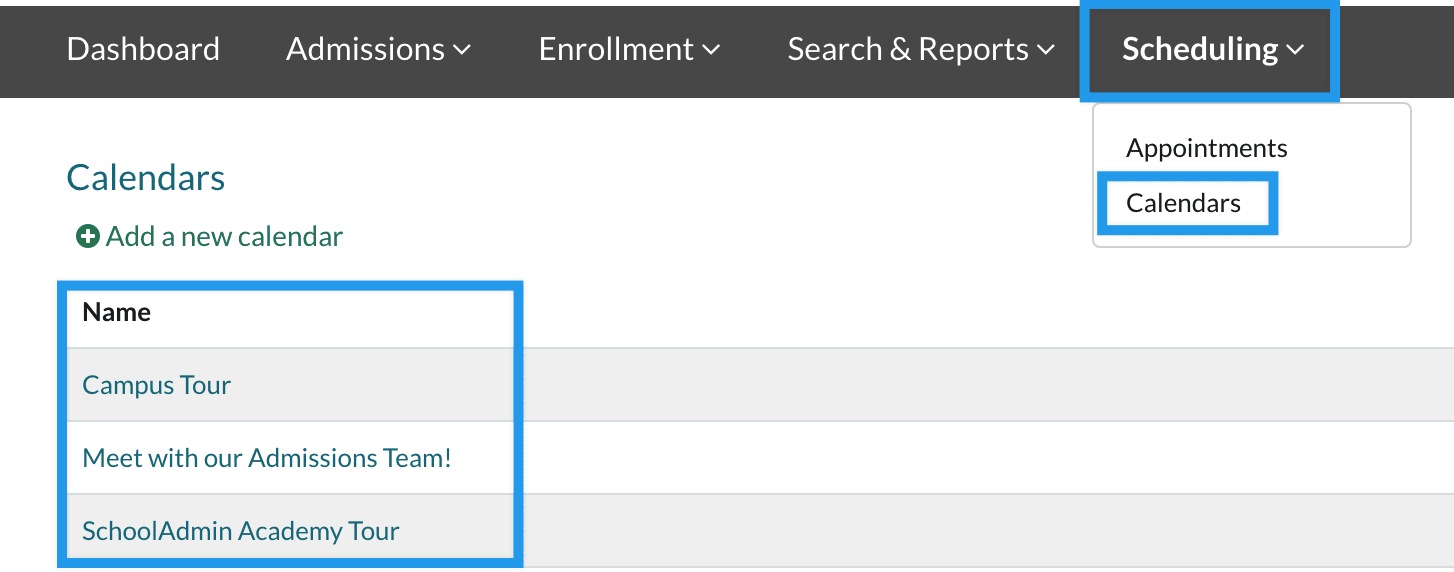
Once you create a calendar, you can add available time slots. To do this, click on Scheduling and then click on Calendars. Select the Calendar name you wish to access.
Add a Time Slot
The calendar you selected will open. You can either click on any date in the calendar or you can click on Add a time slot in the upper right.
Both methods will open the Available Time Details window.
- Schedule: If you create different schedules for your calendar, you can set the schedule that this appointment slot should be associated with in the Schedule dropdown.
- Timeframe: Here, you can set the start and end time of the appointment as well as the date.
- Slots Available: Select how many appointments can be made on this date and time, or select unlimited if there’s no cap. The number of spaces will limit how many individual families can book this slot. Once booked, the slot will disappear from parent or public-facing calendars, preventing over-bookings.
- Reoccurrence: Here, you can set a recurrence for the event. Once you mark the checkbox, you’ll be able to set the number of weeks in between the reoccurrence, the day(s) it falls on, and a start/end date.
- Submit: Click here to save your changes and to add the appointment to the calendar for booking.
Once you set up your appointments, you can then customize email confirmation and reminder settings, you can set an appointment booking window, and manage calendar access for parents.
Additional Resources
- Office Hours & Past Session Recordings
- Intro to Calendars (Video)
- Calendar Settings
- Creating & Using User Schedules
- Scheduling & Event Management Overview
Comments
0 comments
Article is closed for comments.