
Inactivating a calendar removes it from the active calendar list and prevents new edits or time slot additions, while preserving existing appointment data for historical reference.
Who can access this feature?
Admin Account Types: System Admins, Admins, and Users
Permissions: Scheduling
💡Quick Answers
- How do I inactivate a calendar? Go to Settings > Calendars, click the Make Inactive link on the calendar, and confirm; the calendar moves to the Inactive Calendars section.
- What can I still do with an inactive calendar? You can view existing appointment details by clicking on appointment slots, but you cannot add new slots, edit settings, or link the calendar to new checklist items or forms.
- What are best practices before inactivating a calendar? Remove any future appointment slots from the calendar, remove it from any forms it is on, and decide whether to keep or retire any checklist items linked to it; see Checklist Management & Settings for retiring options.
- How do I reactivate a calendar? Expand the Inactive Calendars section on Settings > Calendars and click the Make Active link.
In this article
Inactivating a Calendar
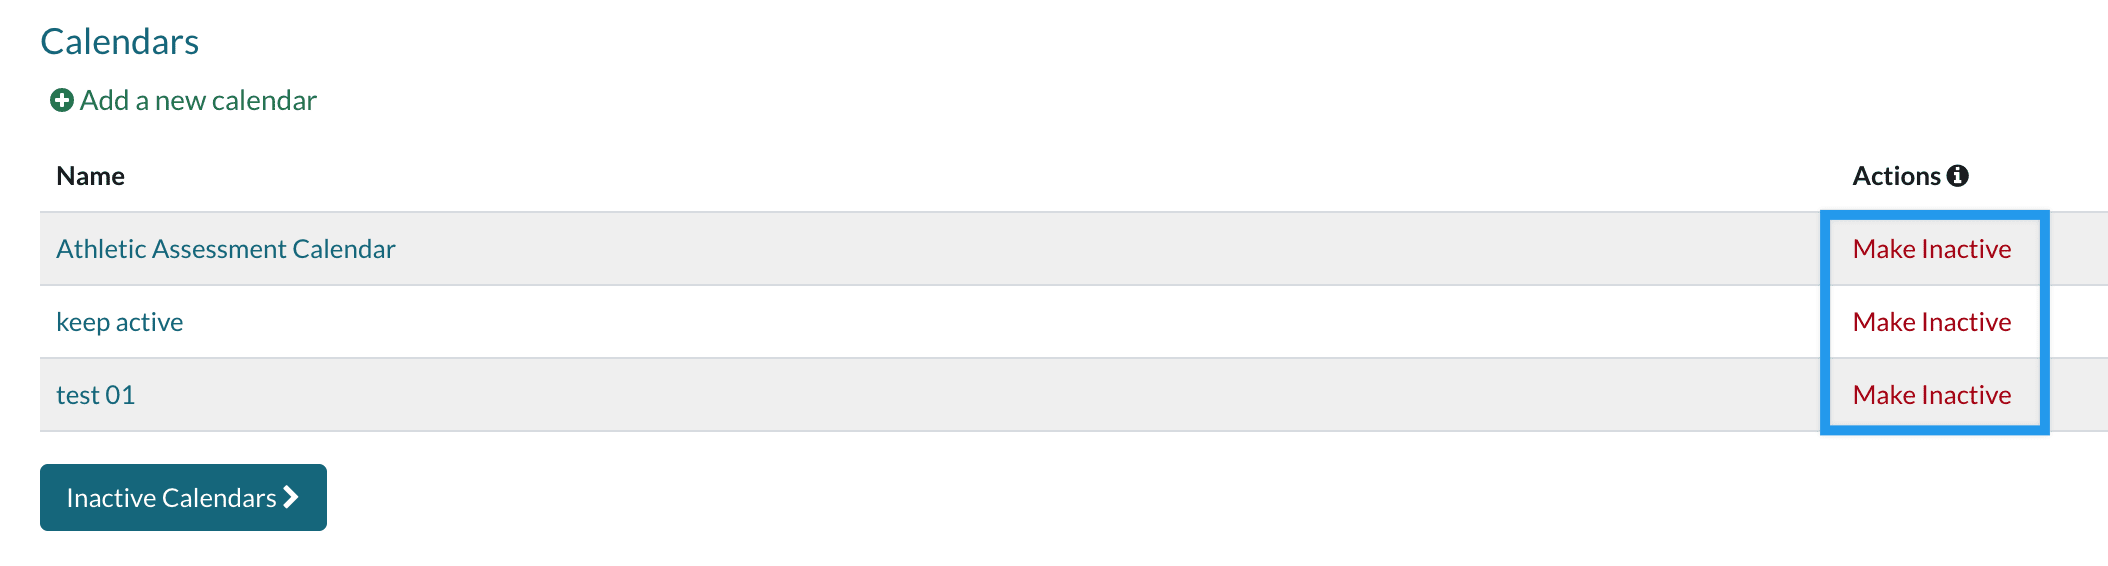
Navigate to the Calendars page under Settings > Calendars.
Select the Make Inactive link.
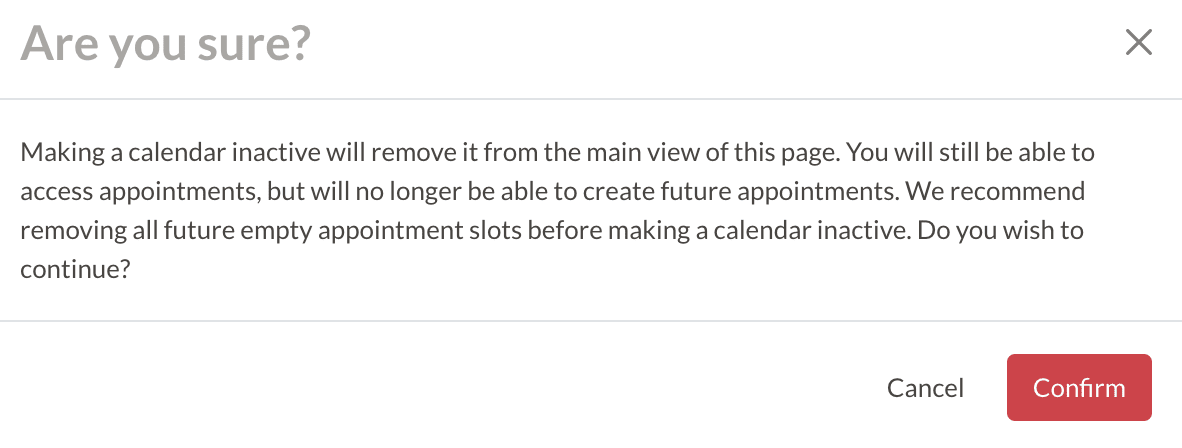
Select Confirm in the confirmation box.
If the inactivation is successful, you will see a confirmation banner.

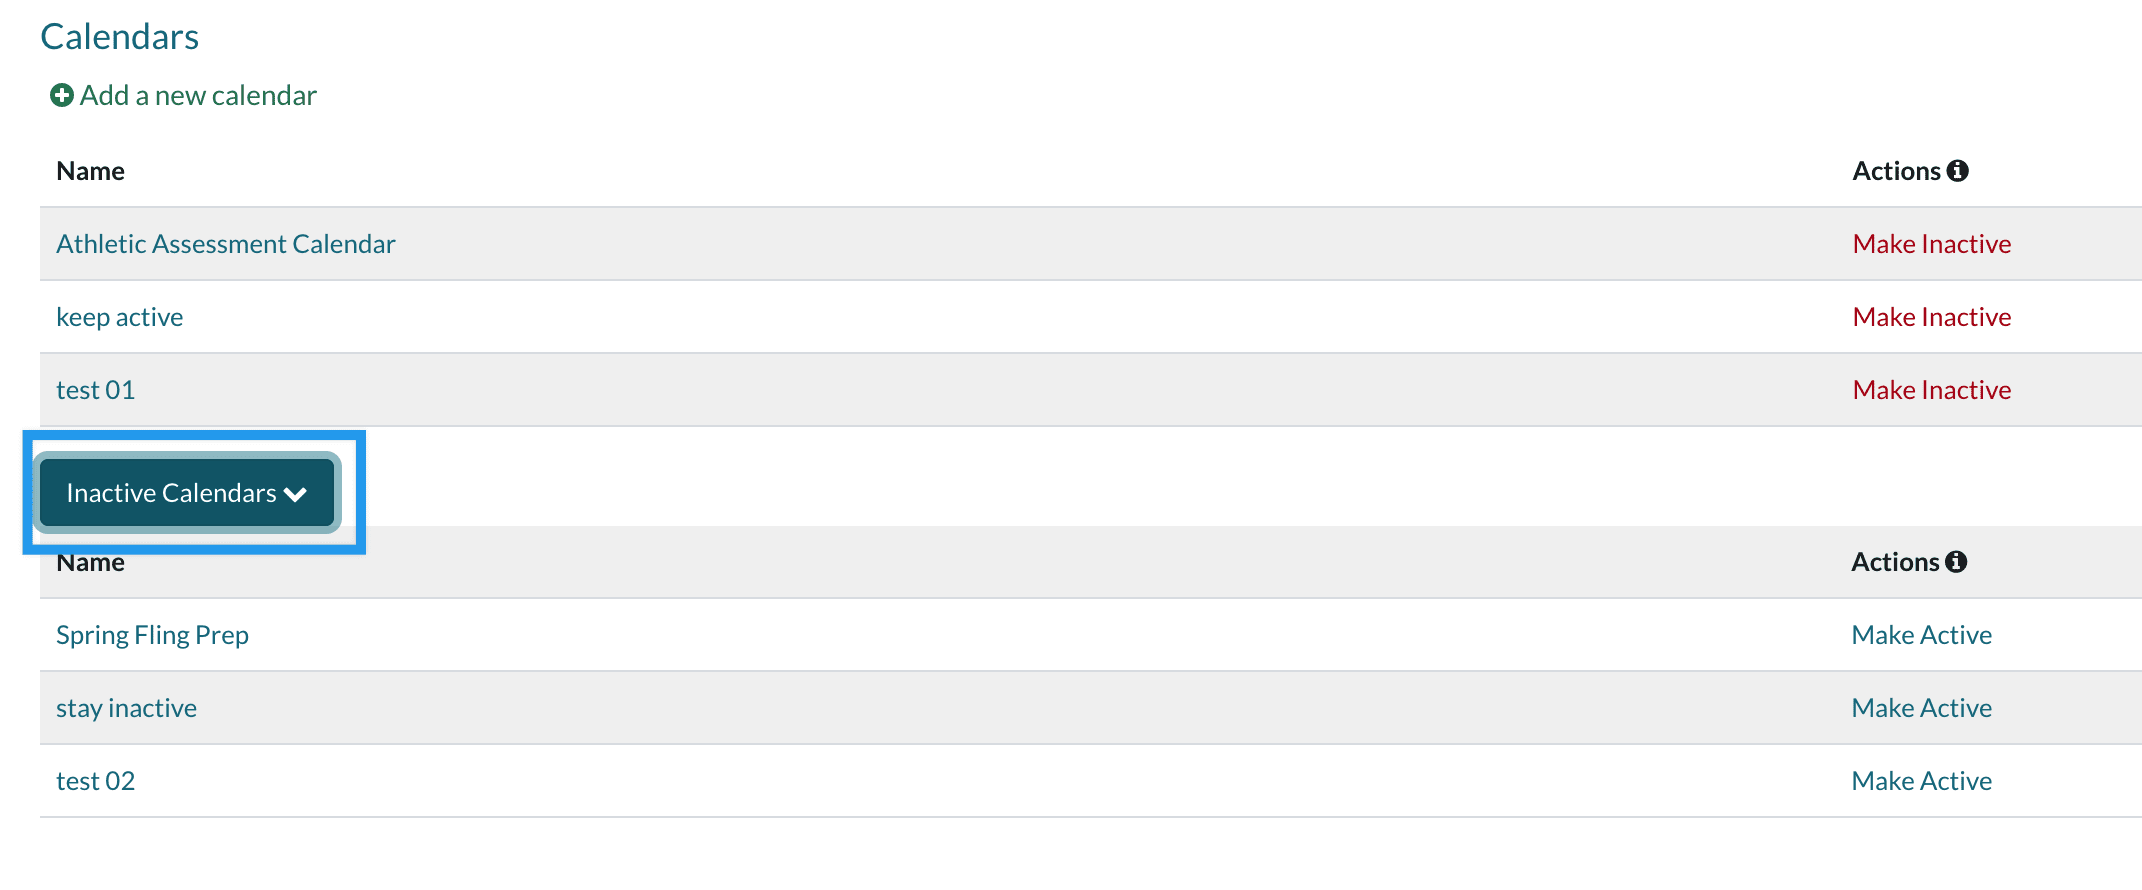
Your inactive calendar can now be found by expanding the Inactive Calendars section.
Inactive Calendar Behavior
Within a Calendar
With an inactive calendar, no one can make edits or add new time slots.
The Add a Time Slot and Calendar Settings menus do not appear on inactive calendars. In addition, if you click on a date, you will see a banner reminding you of this restriction.
You can still click any of the appointment slots that were left within inactive calendars to view the appointment details from within that calendar.
In Other Areas of the Site
You can not link inactive calendars to new checklist items or forms. However, if the calendar is already a part of a checklist item or form, it will remain as is.
Best Practices
-
Within the Calendar: Prior to deactivating a calendar, remove any future dates.
-
Within a Form: If you are no longer using the calendar, you should remove it from any form it is a part of.
-
Calendars Linked to Checklist Items: You may wish to leave the inactive calendar linked to the checklist item so any past dates can be referenced from a student's checklist.
- You might consider, however, setting those checklist items to retire at the end of the term. You can read about retiring checklist items within our Checklist Management & Settings article.
- You might consider, however, setting those checklist items to retire at the end of the term. You can read about retiring checklist items within our Checklist Management & Settings article.
- Calendars Used as Public Links: If you are utilizing the public link feature and have linked the calendar to an external website, we recommend removing the link from the site you are using it on.
Reactivating a Calendar
Navigate to the Calendars page under Settings > Calendars.
Expand the Inactive Calendar section.
Select the Make Active link.

The calendar will automatically move up to the active section and you will see a confirmation banner.

Comments
0 comments
Article is closed for comments.