
Create a calendar in Finalsite Enrollment for each event your school hosts (tours, open houses, interviews, welcome events, etc.) under Scheduling > Calendars. The setup covers a name and description, an optional Custom Appointment Form, email and scheduling options, iCalendar feeds, and the parent-facing controls for booking, canceling, and viewing schedules.
💡Quick Answers
- Where do I create a new calendar? Scheduling > Calendars > Add a New Calendar. Enter a parent-facing name (the canonical name auto-fills as internal-only) and a description. The description does not support HTML.
- Can I connect a custom form to a calendar? Yes. In the Appointment Form dropdown, pick a Custom Appointment Form. See Custom Appointment Forms.
- What parent-facing controls are available? Allow parents to book appointments via the checklist, allow them to cancel and reschedule, and allow them to view schedules (colors and titles of schedule blocks).
- When should I use a public link vs. a checklist link? Use a checklist link for students who have already applied (they sign up from their checklist). Avoid public links for those students because a public link creates a new inquiry every time it's used, which causes duplicate records and mixed-up statuses.
- How do I create a public link for an inquiry-stage event? Save the calendar first. When you re-open it to edit, the option to generate a public link will appear. Share that link in emails or on your website.
- How do I get internal email notifications when an appointment is booked? Username Menu > User Notifications > Immediate Calendar Notifications section, then check the calendar(s) you want notifications for. See User Notifications.
How-To: Create a New Calendar
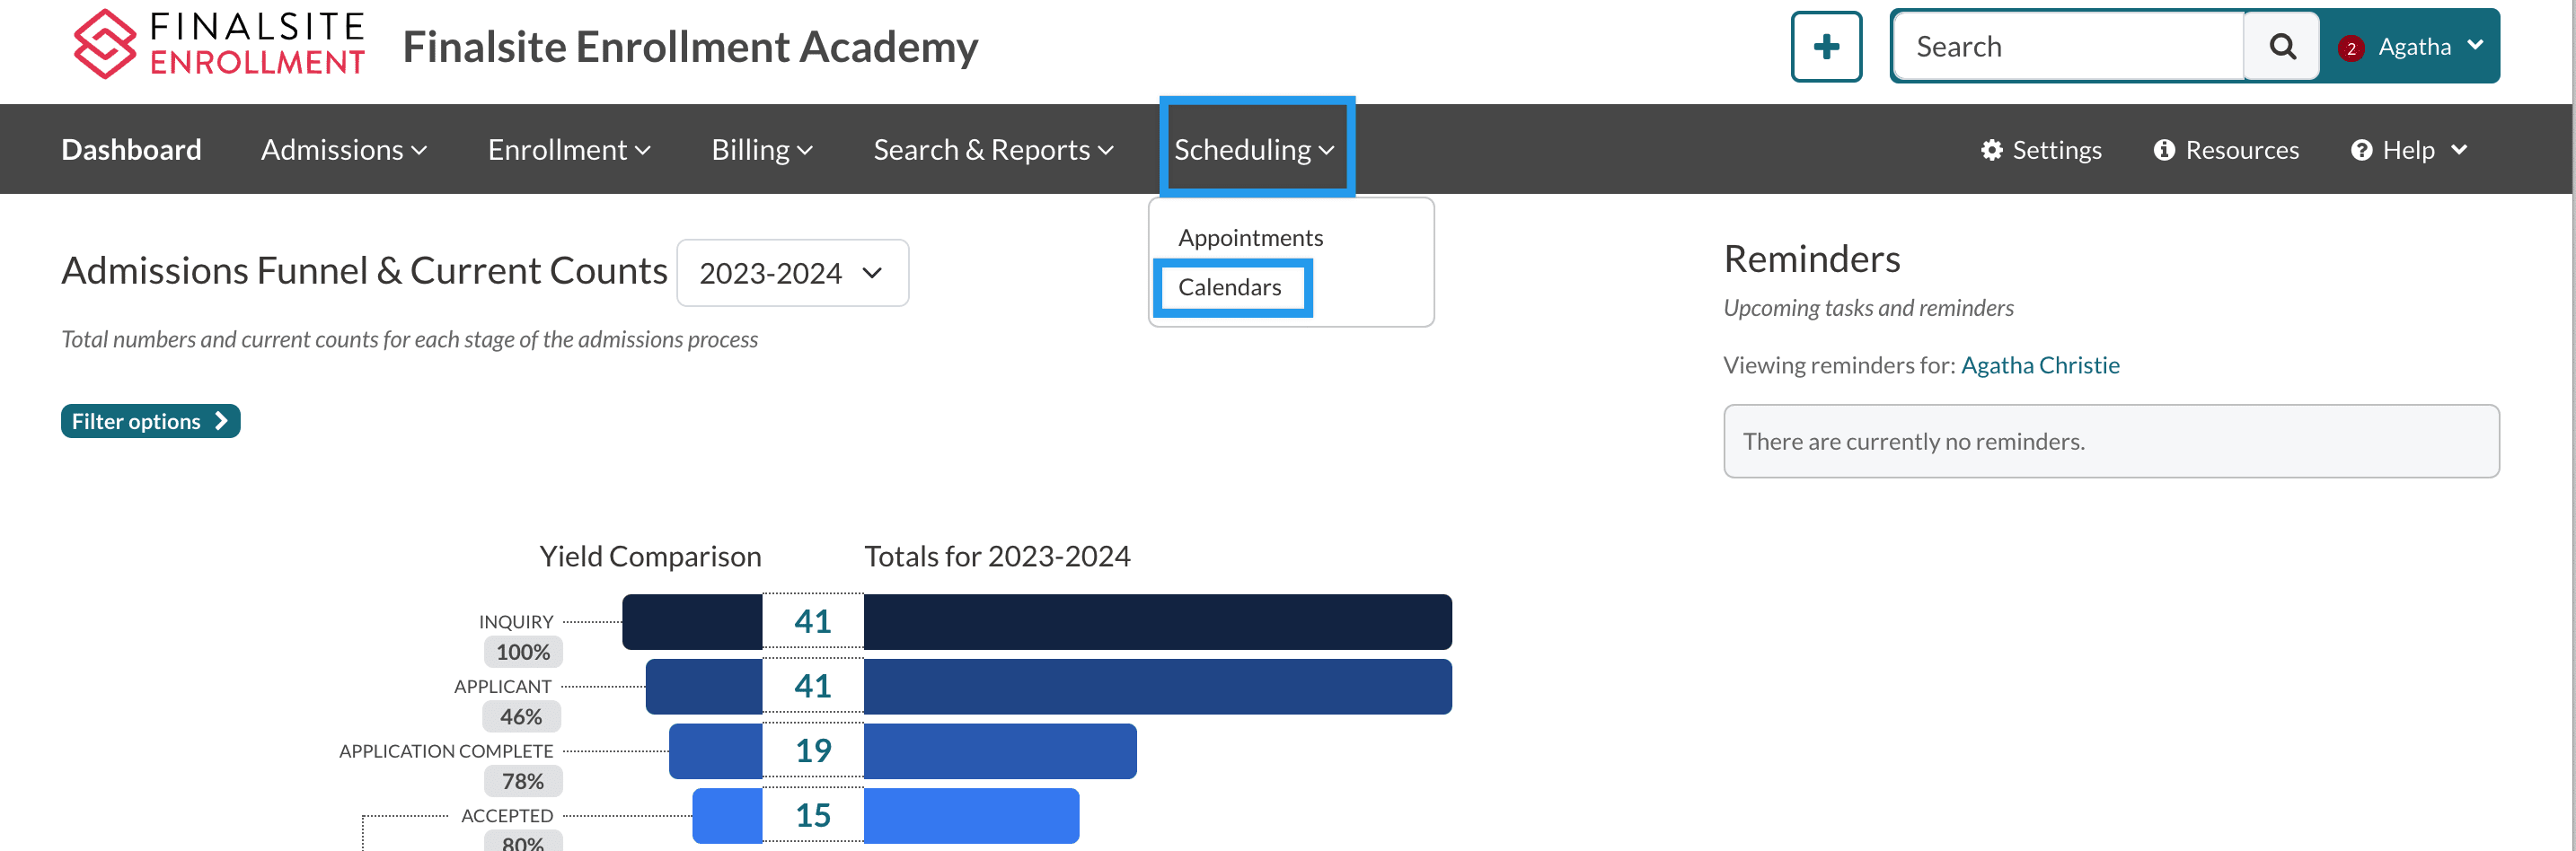
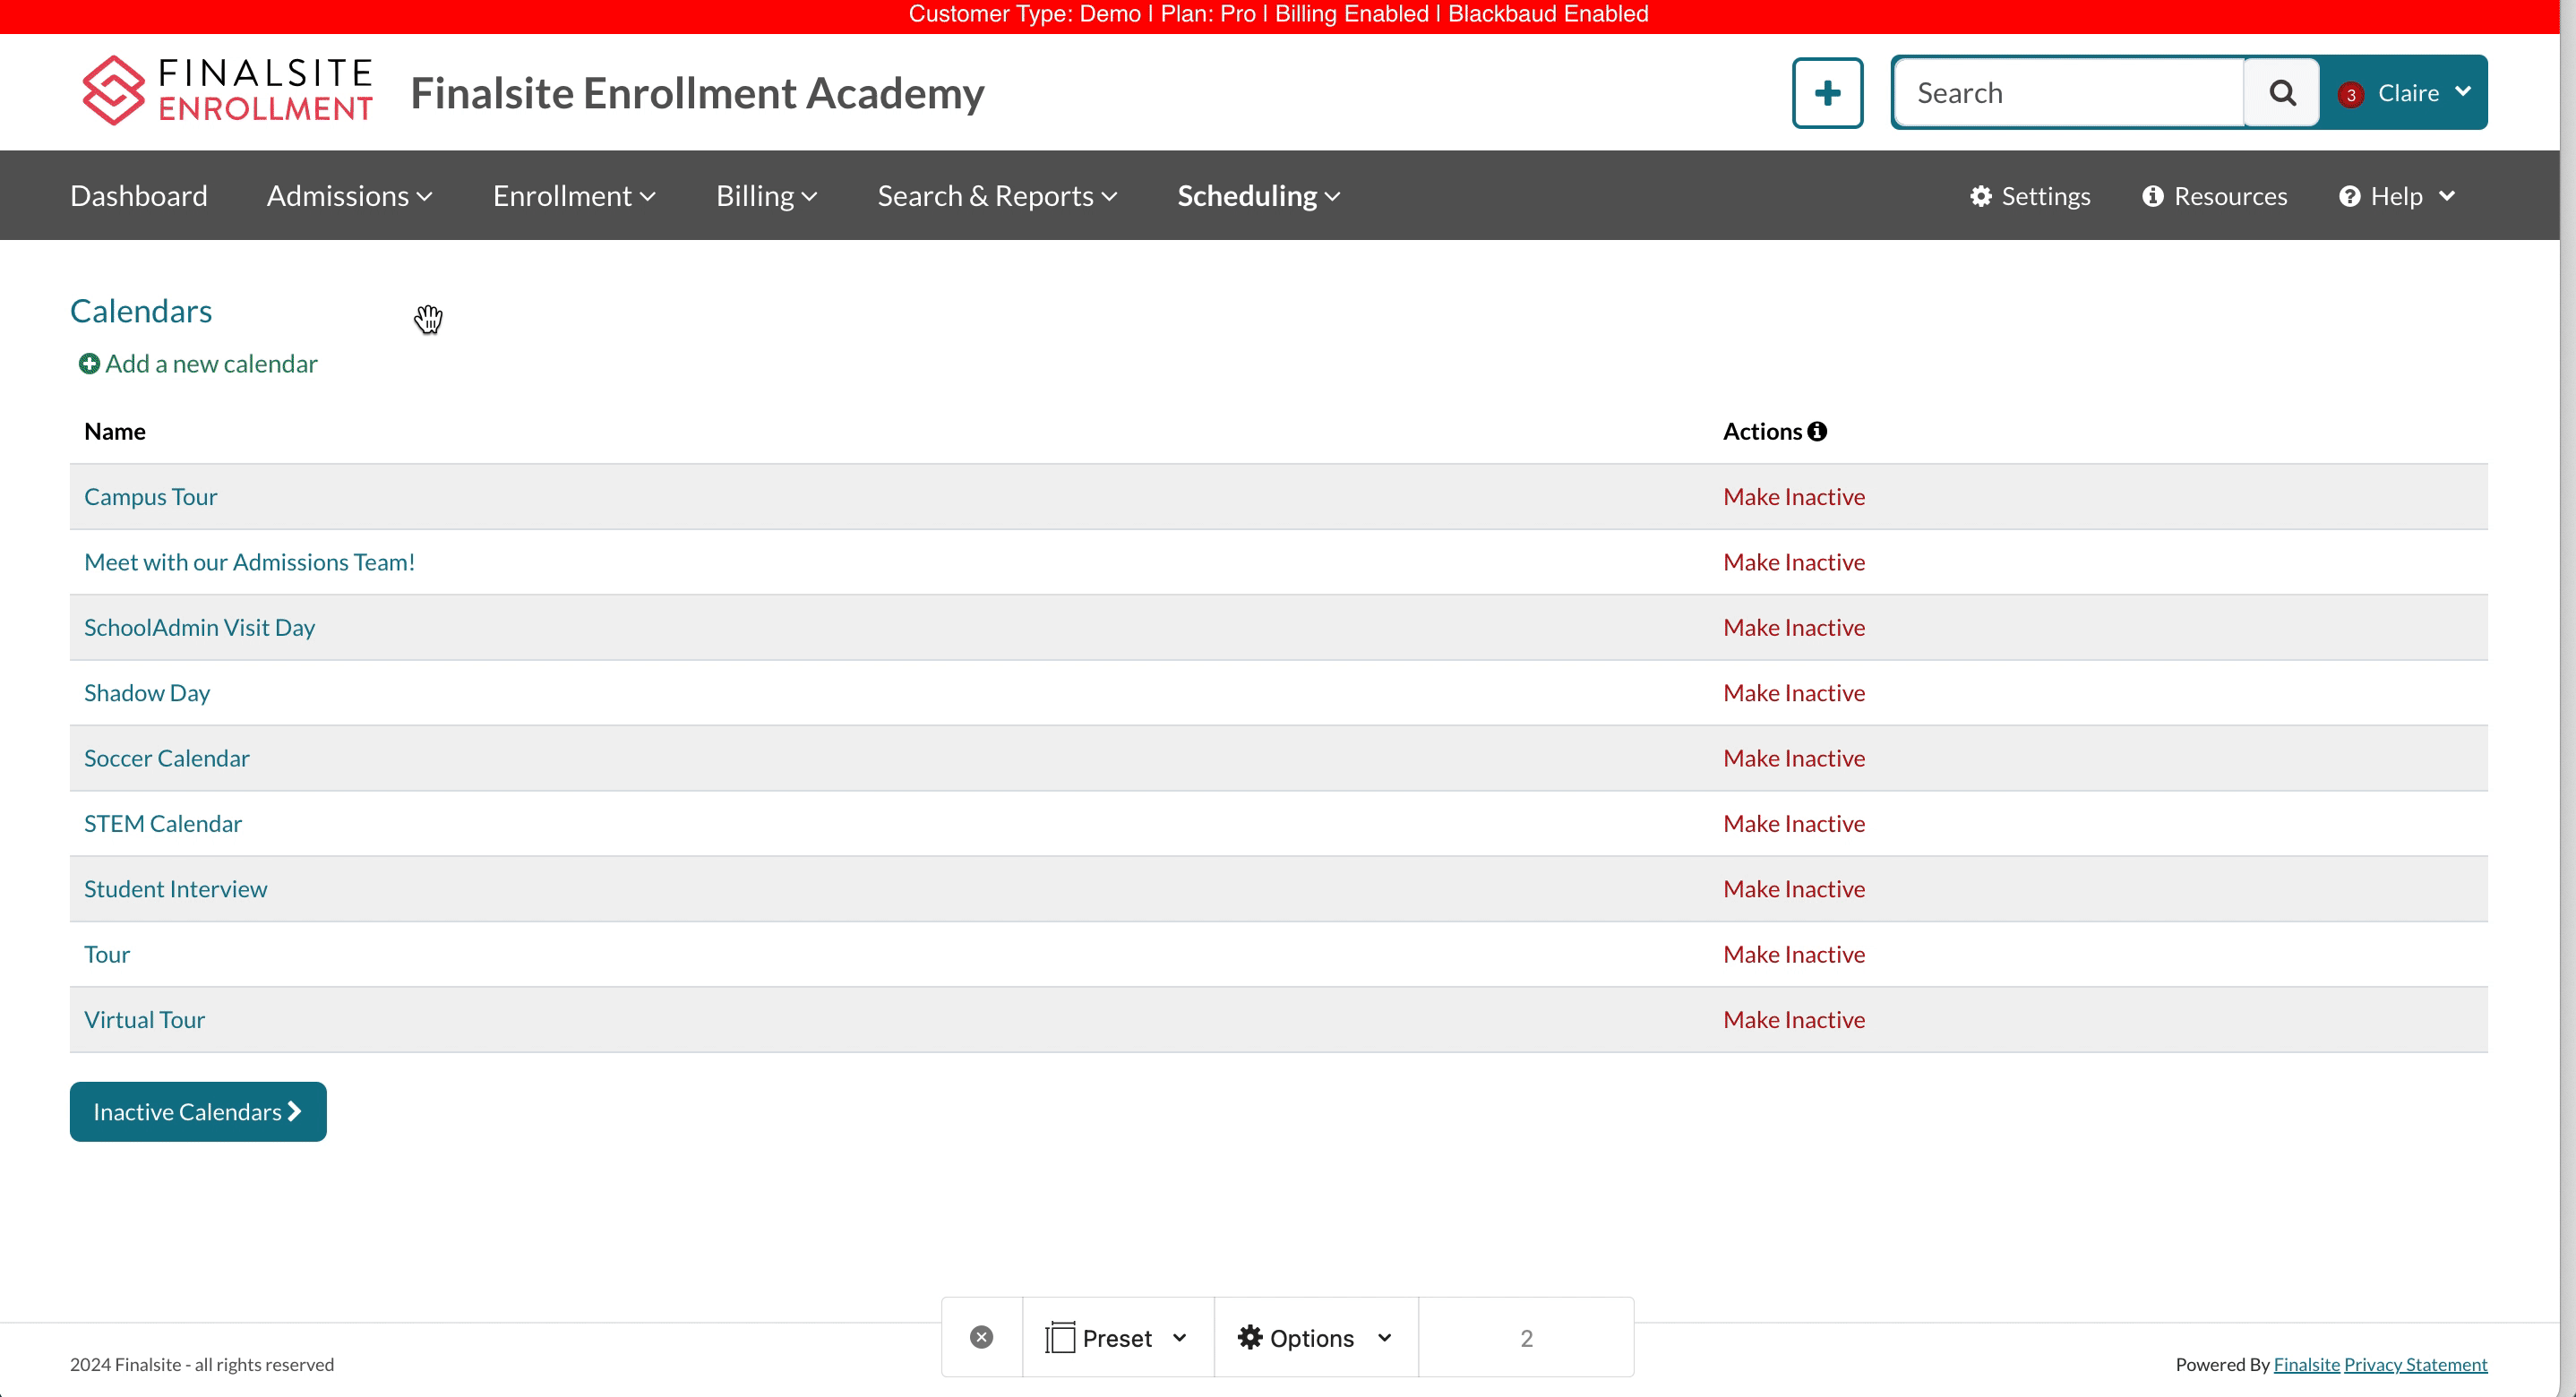
Start by navigating to your Calendars page. This is where you'll see the option to create a new calendar. To get there, select Scheduling, then Calendars.
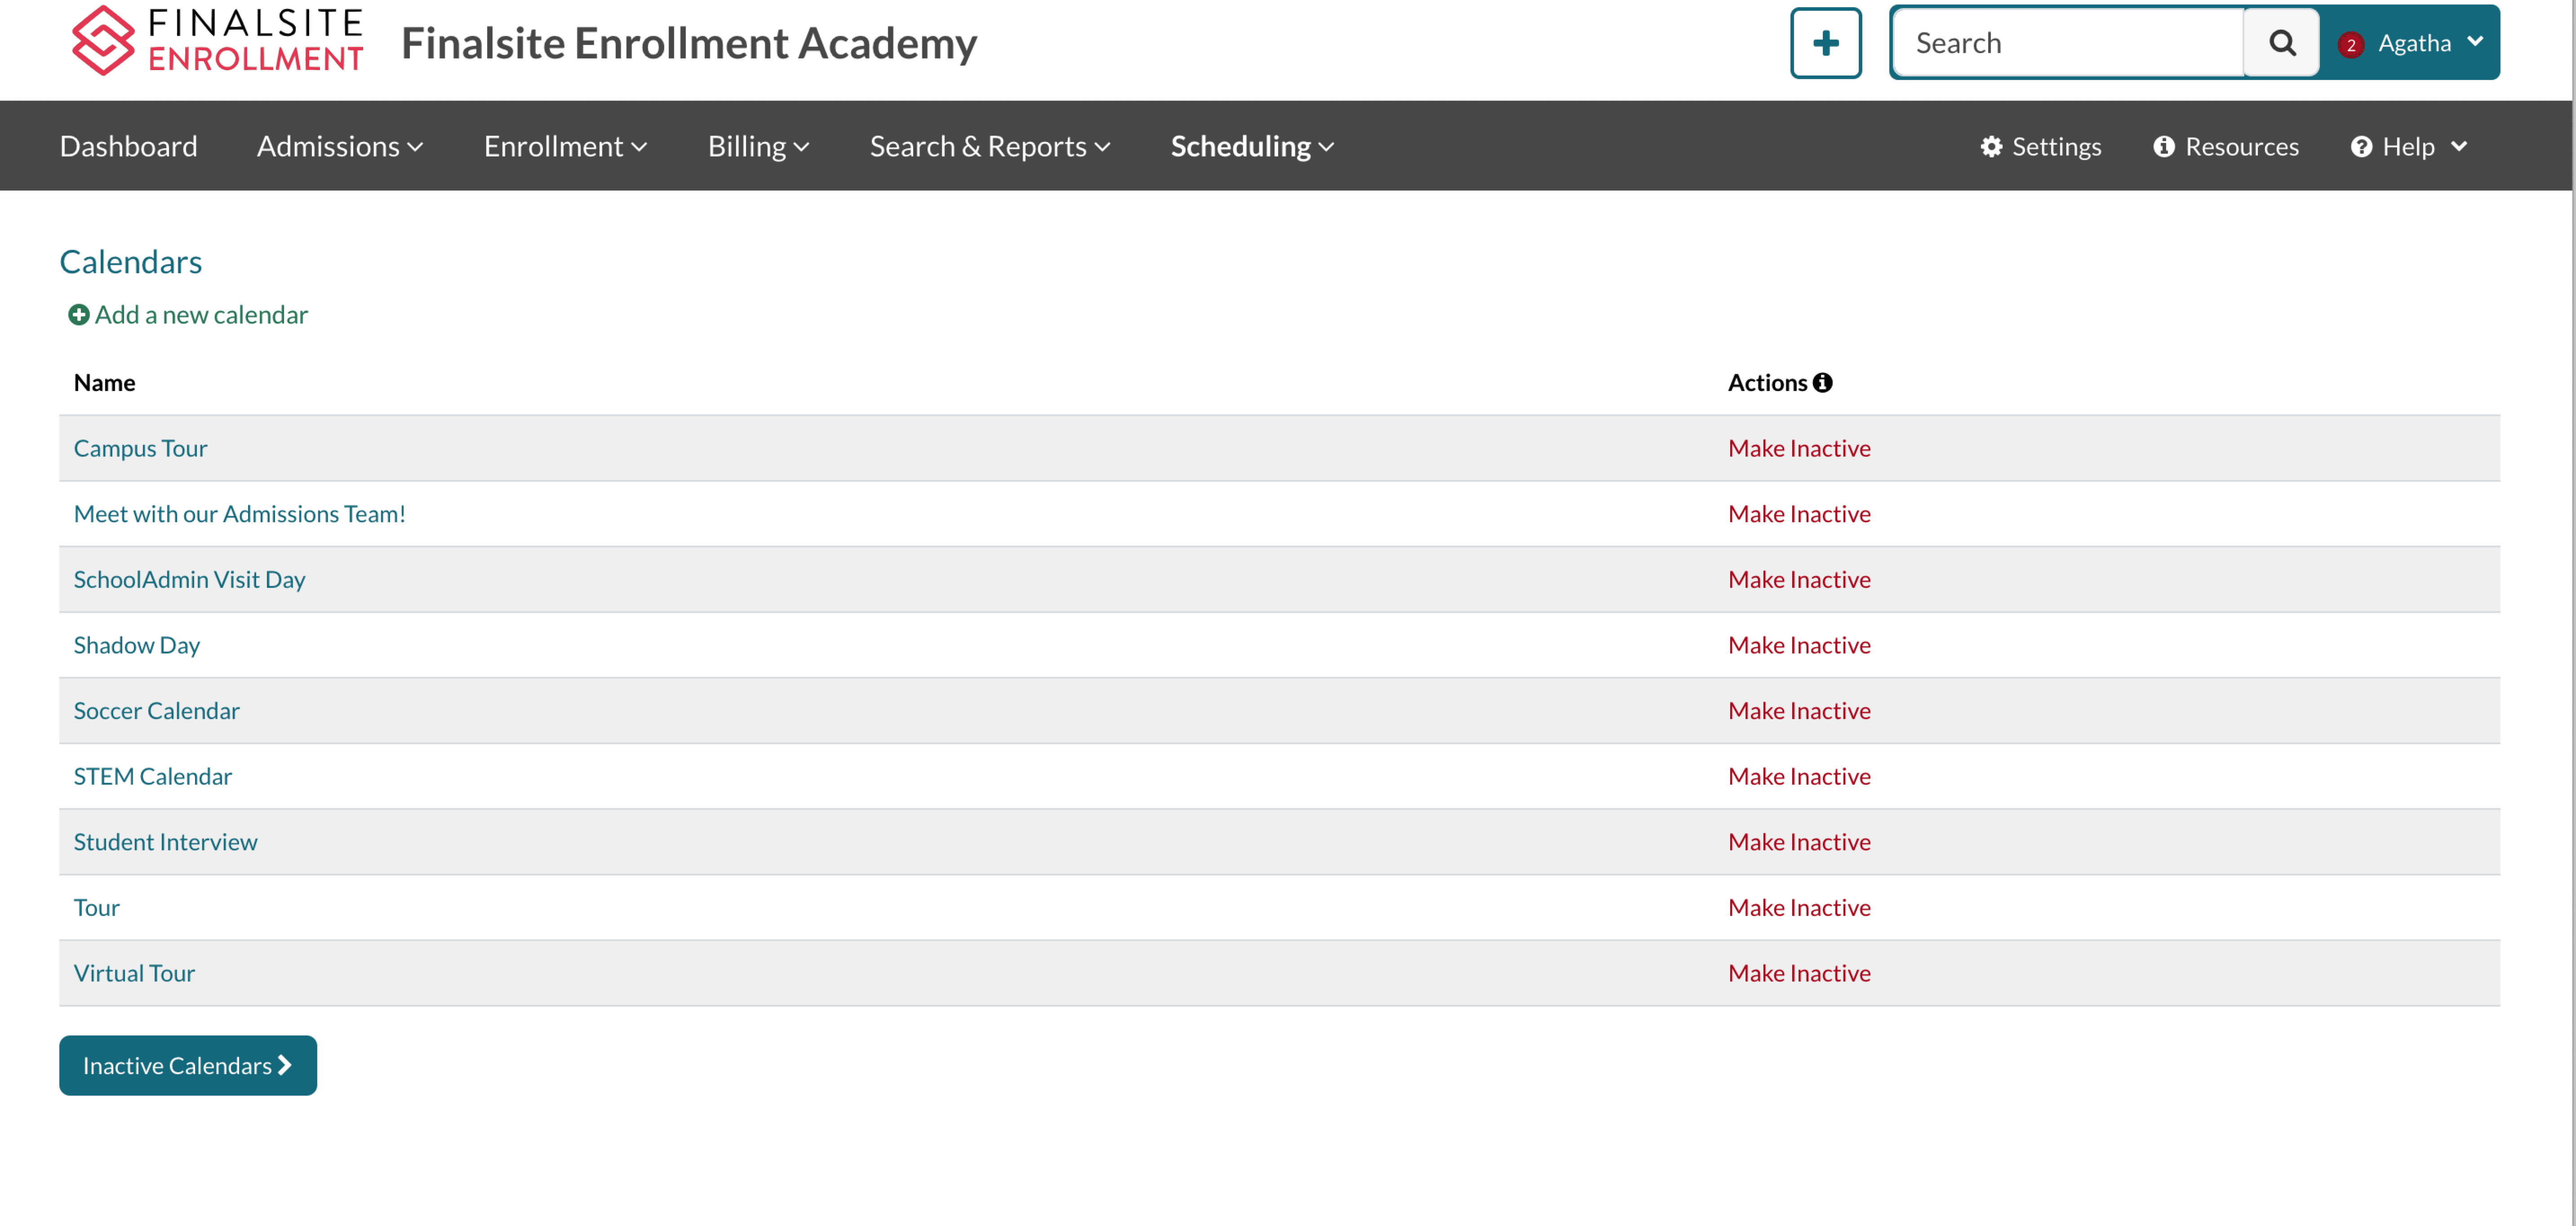
This brings you to your Calendars page where you'll see a list of all of your existing calendars. Here, you can create a new calendar (or edit your existing ones!)
Let's start building the calendar!
- Select Add a New Calendar.
- Calendar name: Enter a name for the calendar. This is parent-facing. As you type, the canonical name will automatically be created. The canonical name is internal only.
- Appointment Form: If you are connecting a Custom Appointment form to the calendar, you can select it from the dropdown. Read about these in our Custom Appointment Forms article.
- Details: In this box, enter a description for the calendar. This is parent-facing and appears right above the Calendar. Please note: the description box does not support HTML.
Next, you will review and select some additional setup options.
Email and Scheduling Options
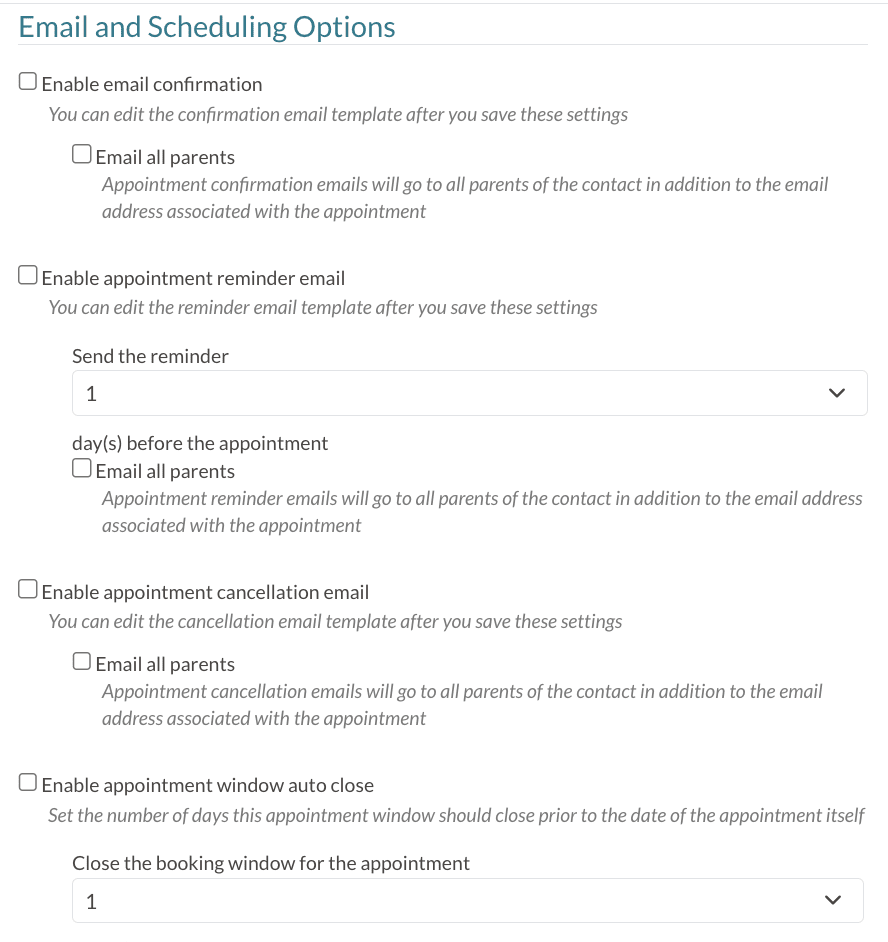
In this section, set up communication for the event and manage the attendance cap. To learn about each option here in good detail, check out our Calendar & Appointment Emails article.
Good to know: After you initially set up the calendar and save it, when you come back into to edit it, you will be able to edit the content of the emails.
iCalendar
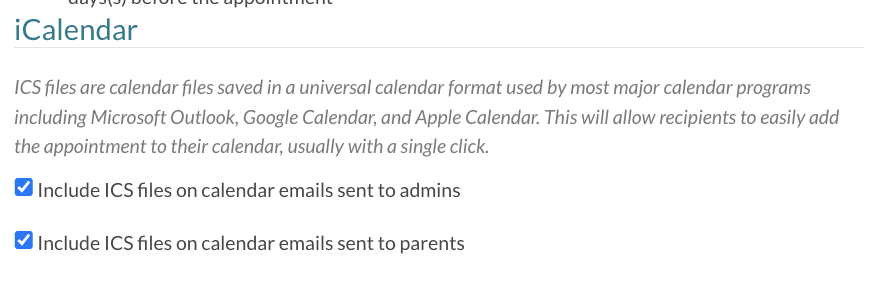
Set up your preferences for linking this calendar to an external calendar. To learn more about this in detail, please refer to our Syncing Calendars with External Calendar Programs article.
Calendar Access
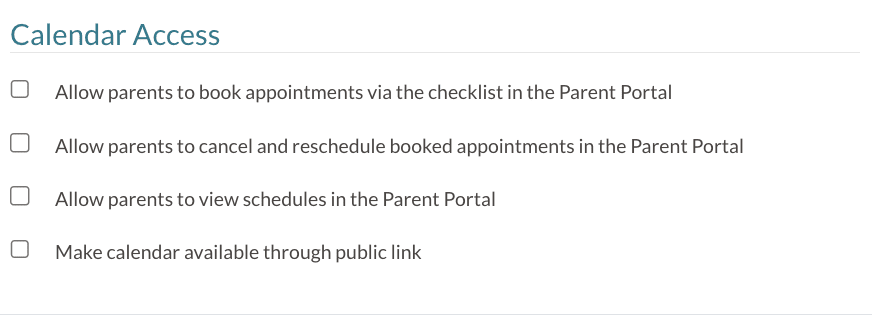
This section allows you to select options for sharing the calendar with families, including:
- Allow parents to book appointments via the checklist in the Parent Portal: This grants parents the ability to schedule appointments and sign up for events in the calendar via the checklist in their Parent Portal.
- Allow parents to cancel and reschedule booked appointments in the Parent Portal: This enables parents to cancel and reschedule the appointment on their end, through the checklist.
- Allow parents to view schedules in the Parent Portal: With this option enabled, parents will see the color and titles of the calendar schedules when they access the calendar. To learn about the parent experience with schedules, check out our Creating & Using User Schedules article.
After saving the new calendar for the first time...
- Make calendar available through a public link: Once you save the calendar and come back in to edit it, you'll also have the option to create a public link for the calendar, which can be shared in an email or on your website. Remember, don't use public links to invite students to events that have already applied.
So...why shouldn't I use public links for students who have a checklist?
Public links create an inquiry form every time they are used to sign up for an event.
If a student with an Admissions checklist fills out an event sign-up from a public link, it creates an inquiry for them and, therefore, can result in duplicate records and mixed-up statuses! And anyway, for all students who have already applied, you can just have them sign up for events through their checklist.
After setting up all of your preferences, select Submit to save your new calendar!
See it in Action
You are now ready to start adding appointment slots, creating user schedules (if applicable), and linking your new calendar to a checklist item or your online forms!
A quick note about internal email notifications
If you would like to receive internal email notifications for when an appointment is booked or rescheduled within a calendar, navigate to your User Notifications page (Username Menu > User Notifications) and, under the Immediate Calendar notification section, select the name of the calendar you wish to enable notifications for. Read more within this article: User Notifications
Comments
0 comments
Article is closed for comments.