Overview
Welcome to our series of DIY Forms articles! In this article, we'll walk you through the steps of adding questions or prompts to your forms within the Advanced Form Editor.
Other articles in this series:
- Forms DIY: Add a calendar to a form
- Forms DIY: Add text to a form (Sections, Subsections, and Comments)
Pop some Popcorn!
Be sure to check out our collection in the Video Library to learn the basics of form edits!
A couple of reminders before we jump in
- Only System Admins and Admins (with any permissions) can access the Forms pages.
- Forms are located within the Settings > Forms menu.
- The following steps must be accomplished within the Advanced Form Editor.
- Once you make a draft of a form, select Go to Advanced Form Editor from the menu in the Actions column.
Adding questions/prompts to your forms
Questions on forms are tied to fields within your site. That's how the system knows where to store the information and it makes it easy for you to find it within searches and on the contact record. These steps will teach you how to add fields to your forms so that you can collect data in the form of questions or prompts.
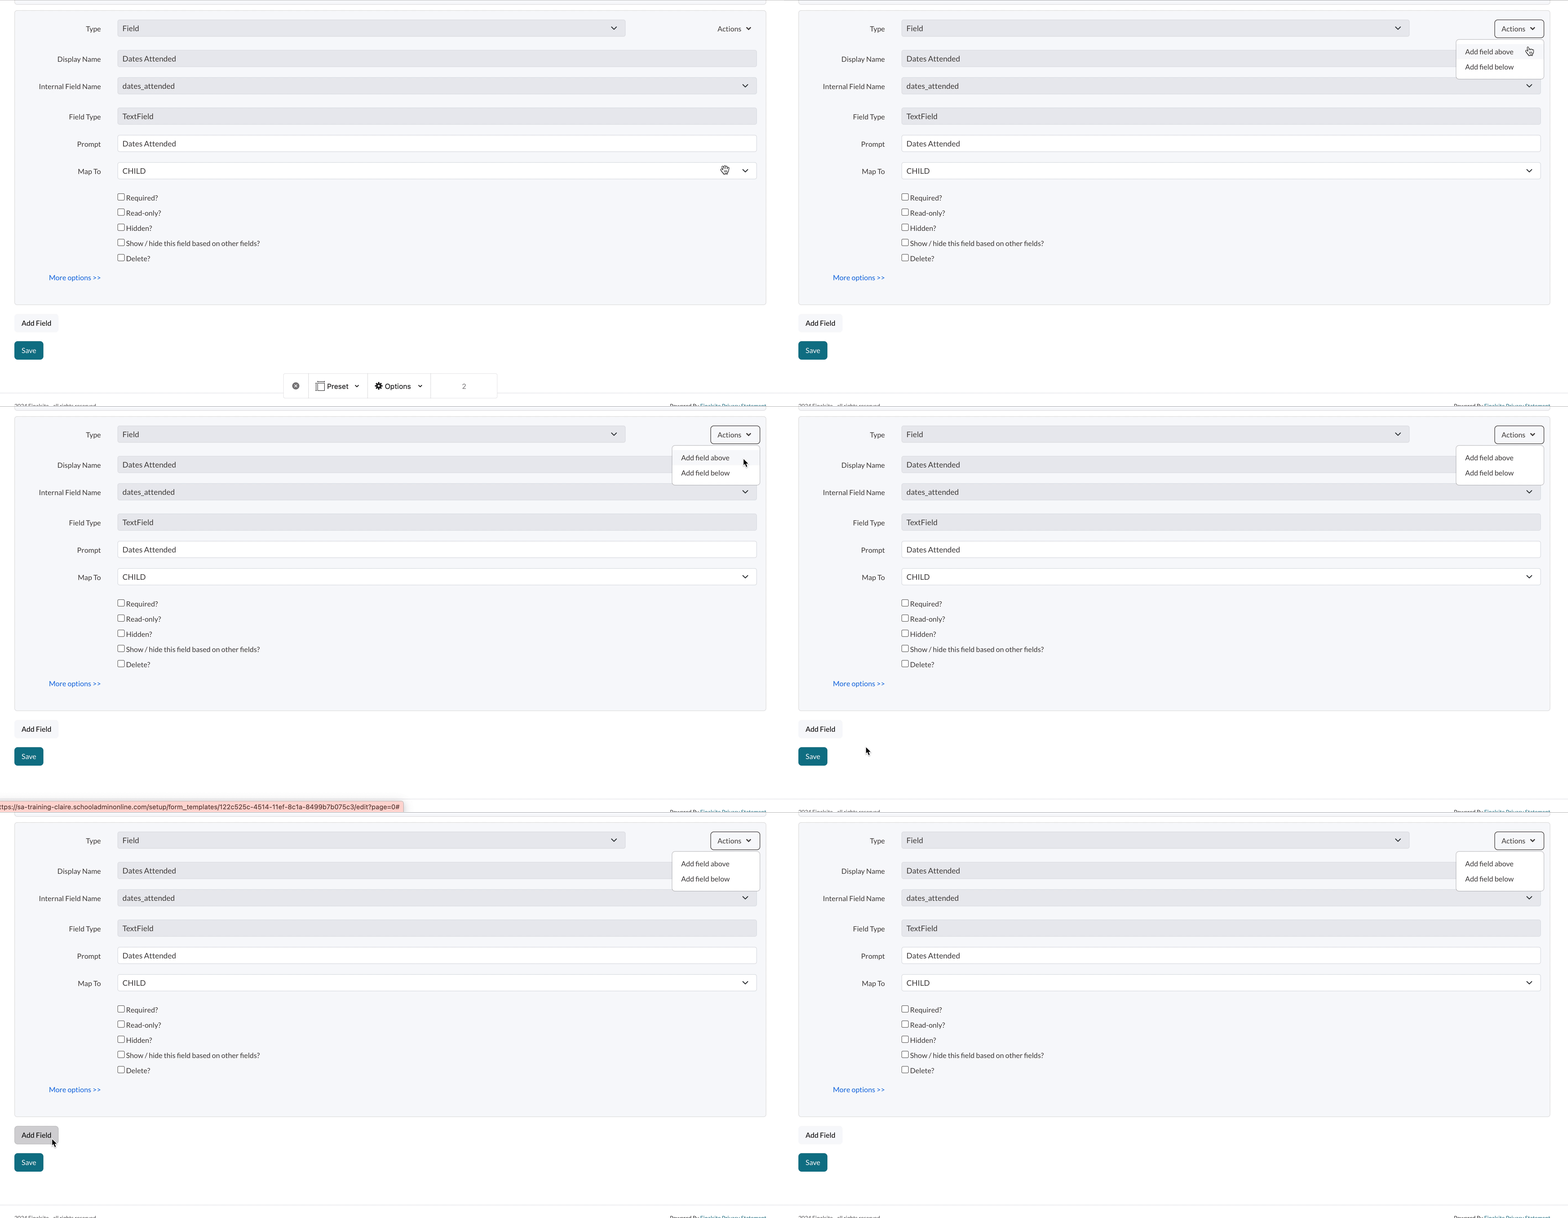
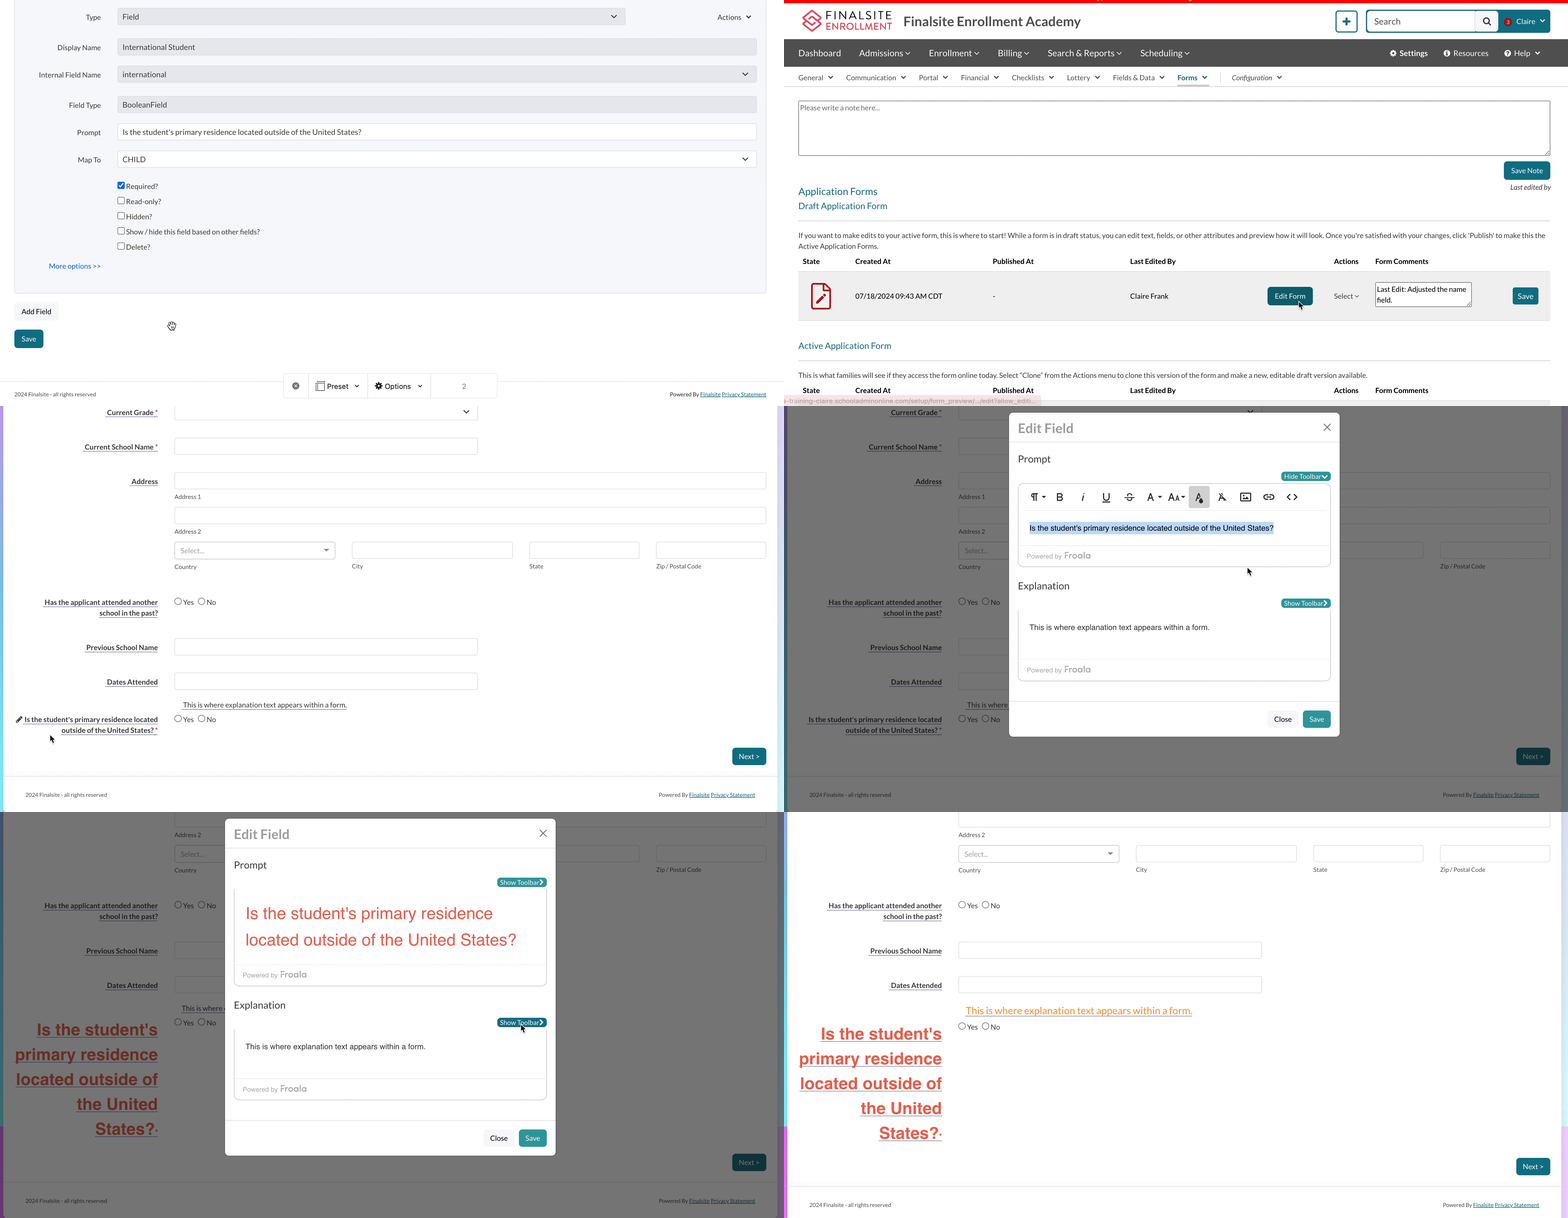
Step 1: Within the Advanced Editor, select to add a field from the Actions column, or at the bottom of the page.
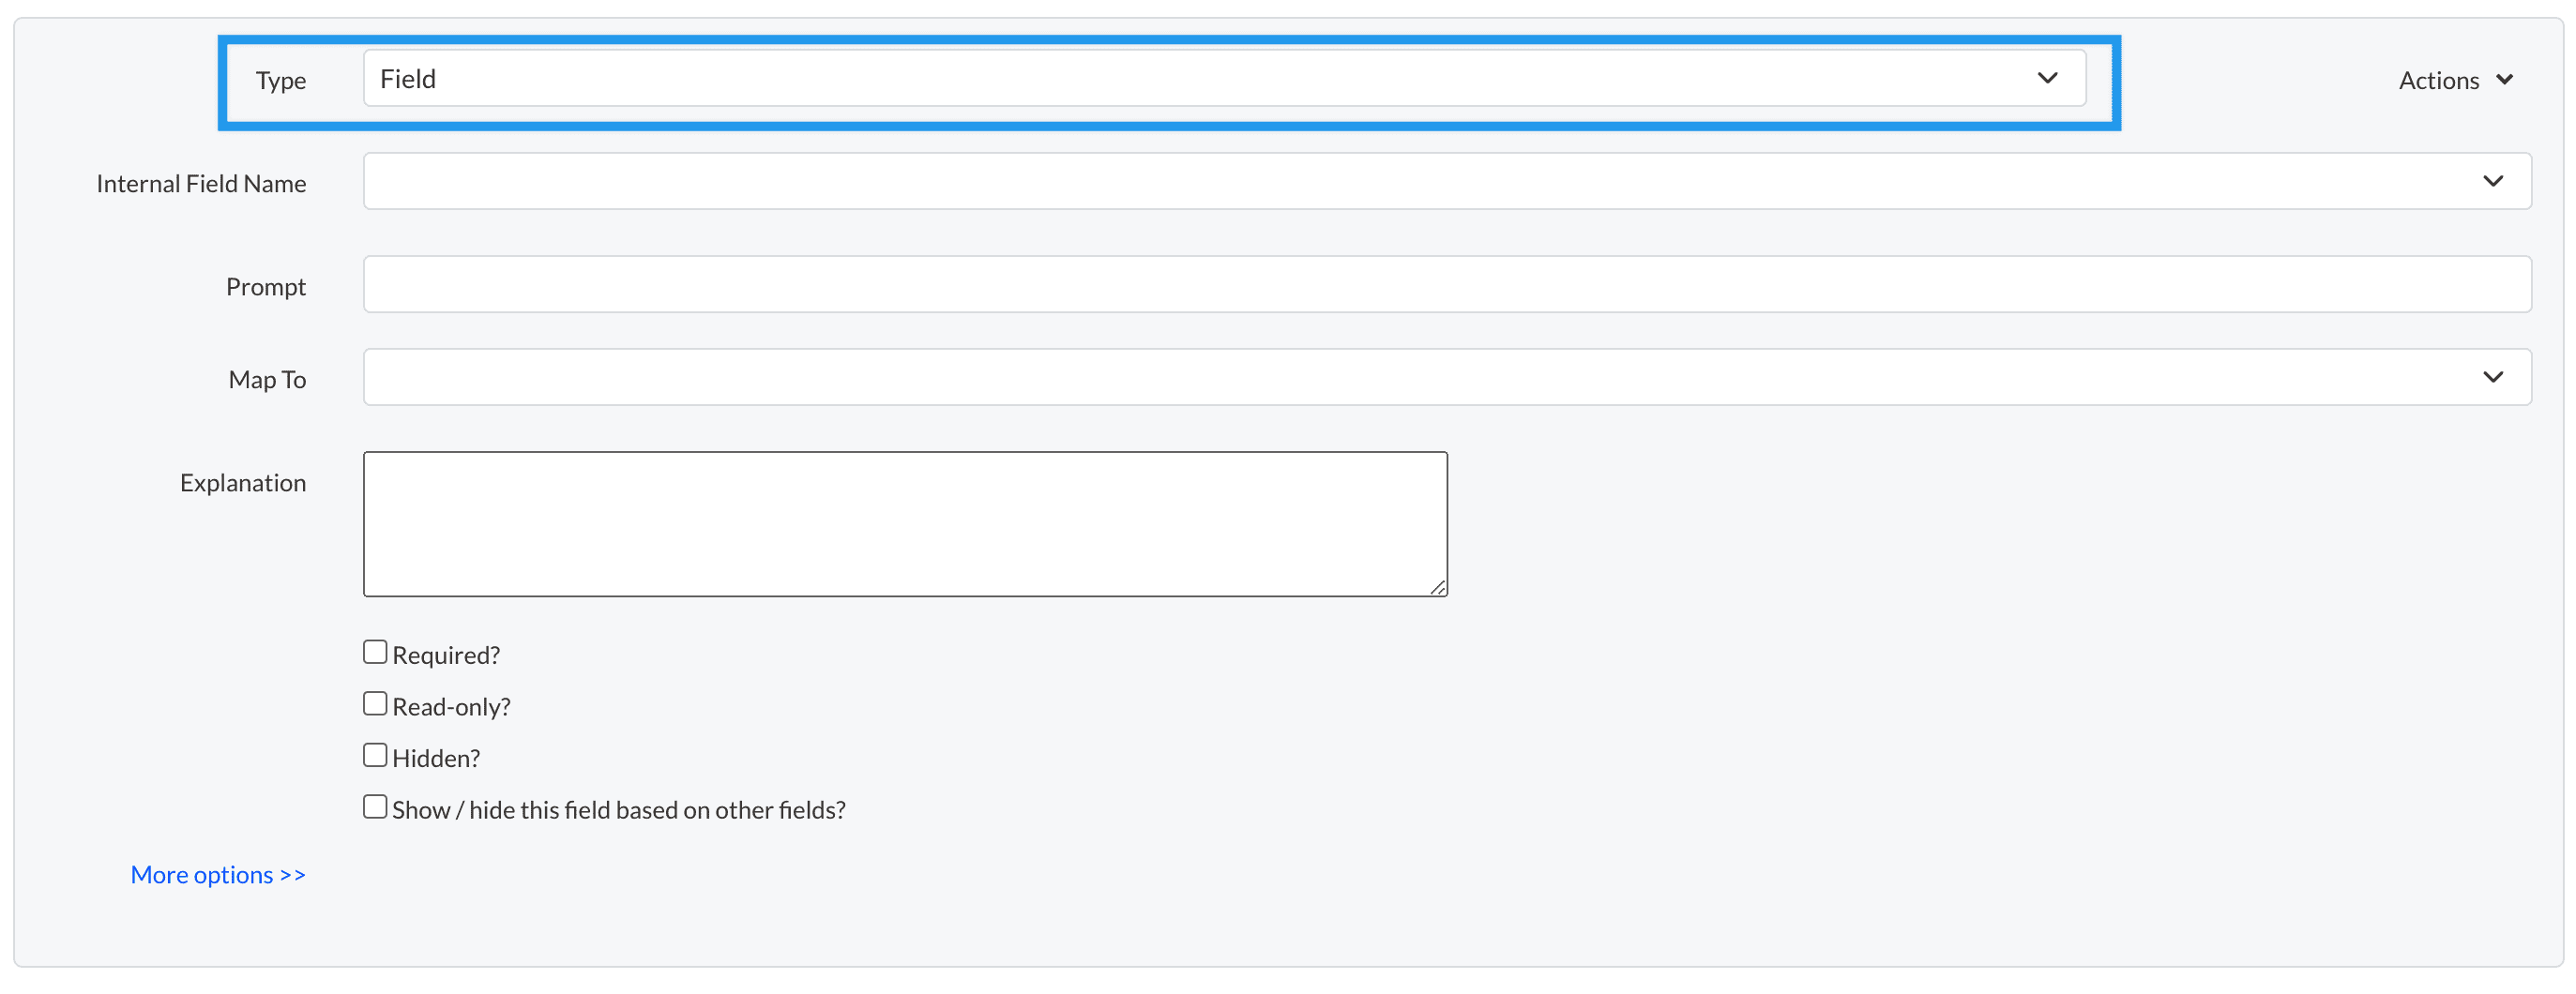
Step 2: In the Type dropdown, check the Field option is selected.
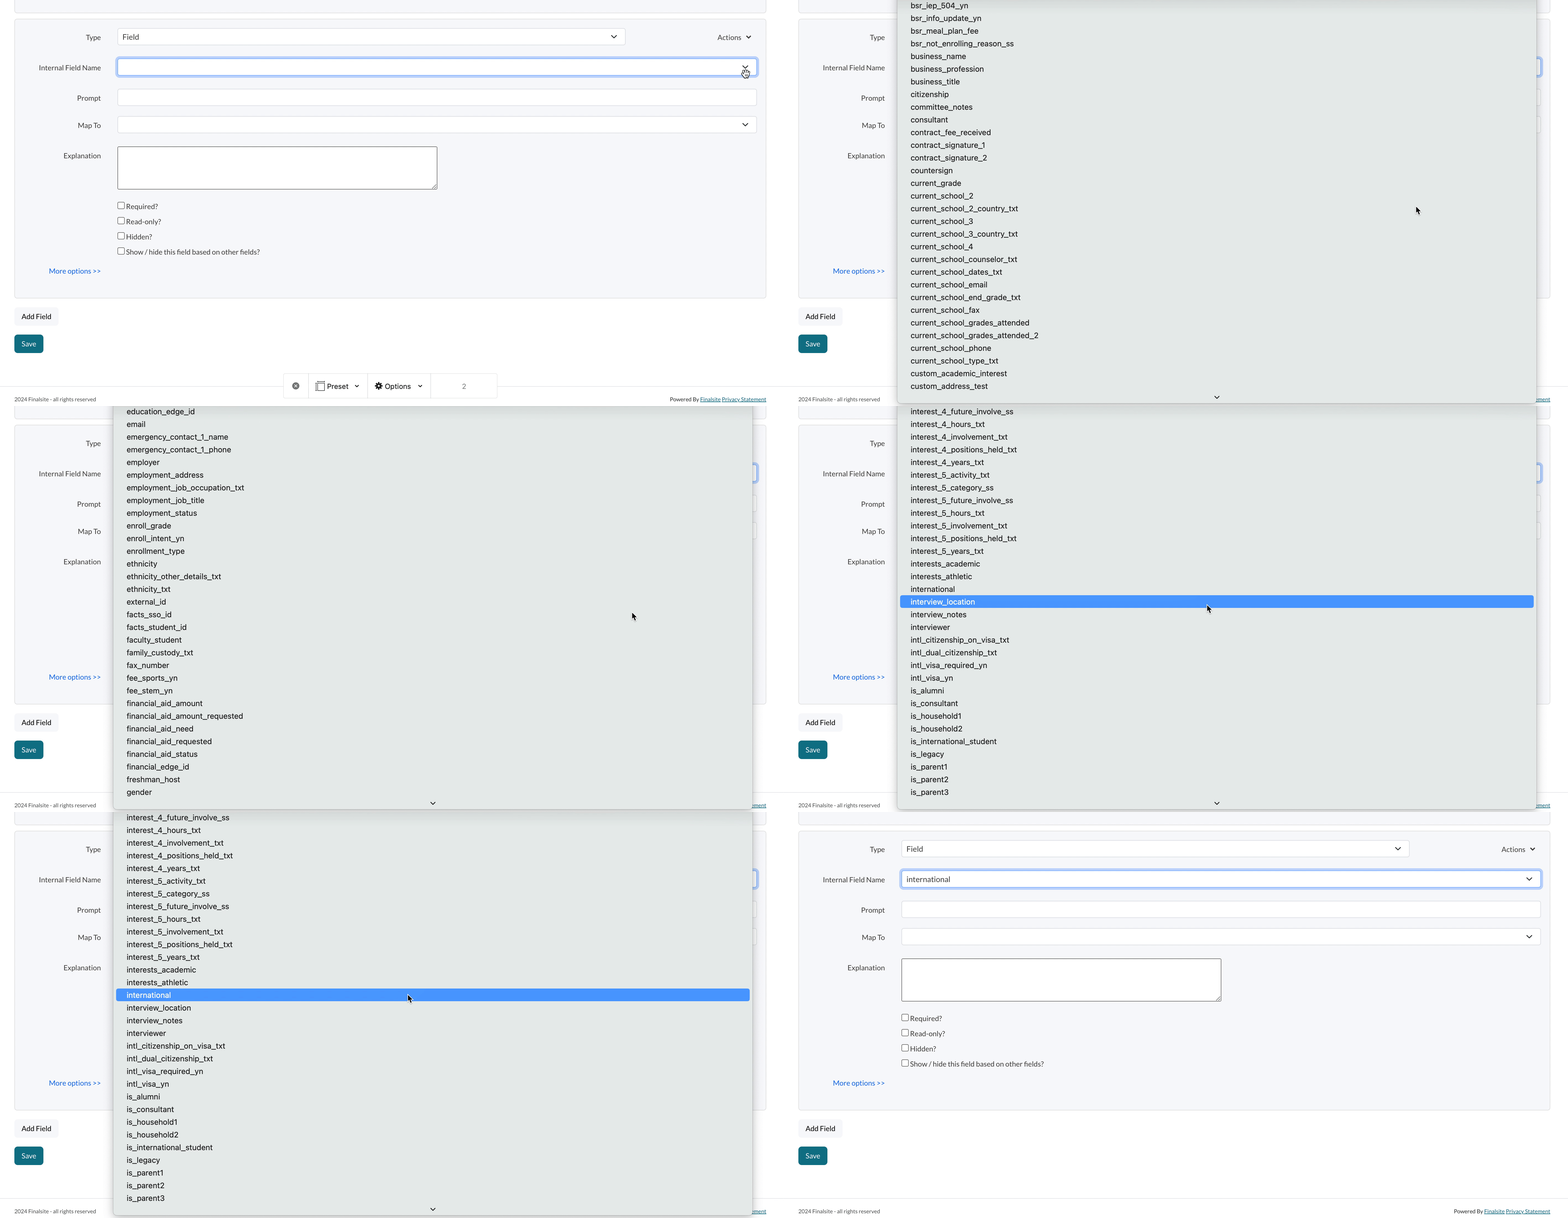
Step 3: In the Internal Field Name section, select the canonical name of the field.
You will need to know the canonical name of the field that you are adding. That can be found on the fields page.
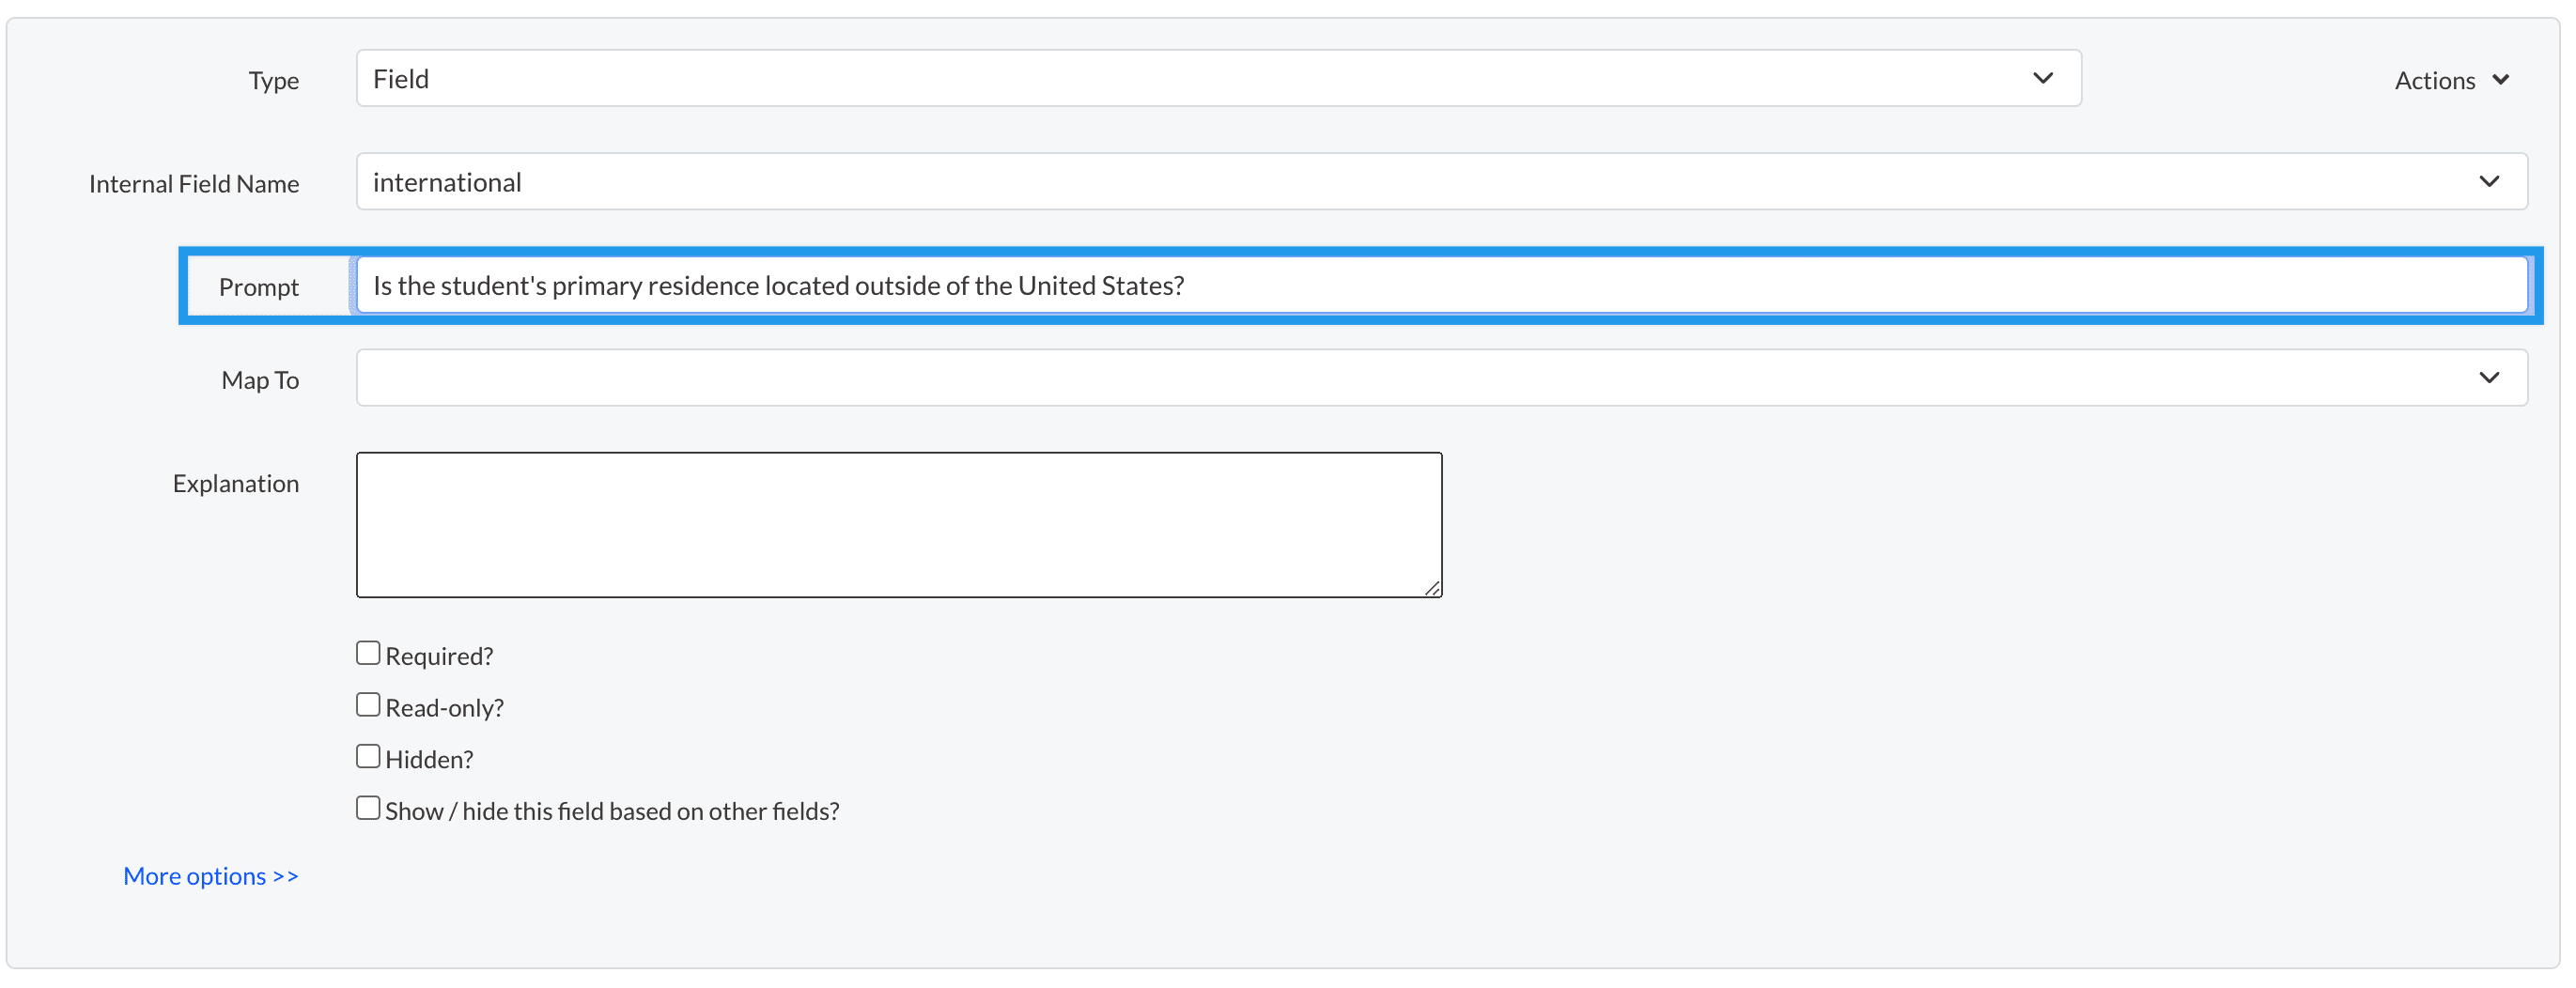
Step 4: In the Prompt section, enter the question or prompt. This is what families will see when they fill out the form.
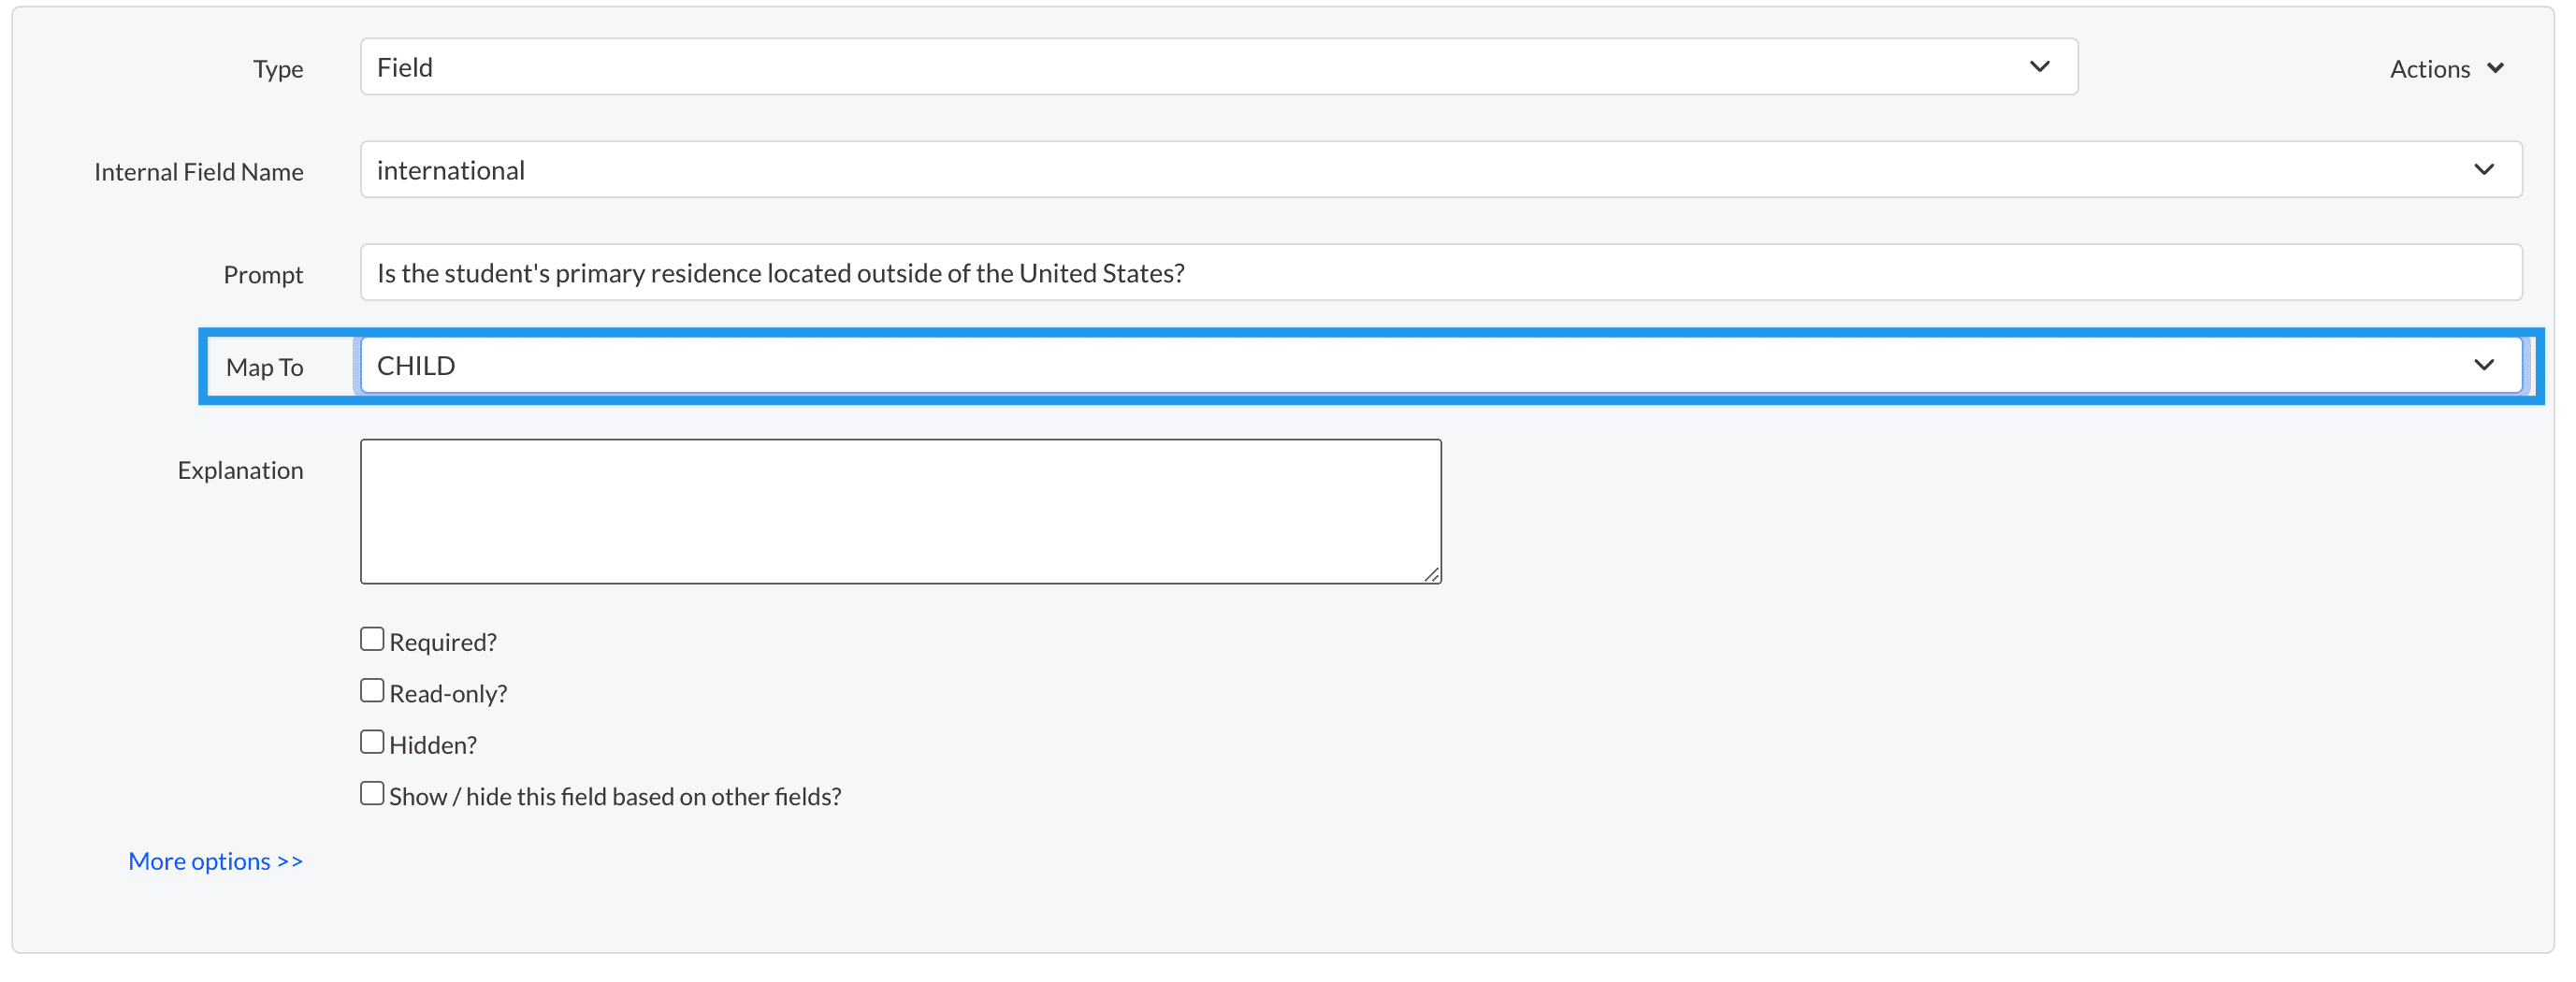
Step 5: In the Map To dropdown, select the entity that this data should be mapped to in the system. For example, if the data should be appearing on the student's record, you need to map this information to the CHILD option. In most cases, you should select CHILD.
The following steps are optional...
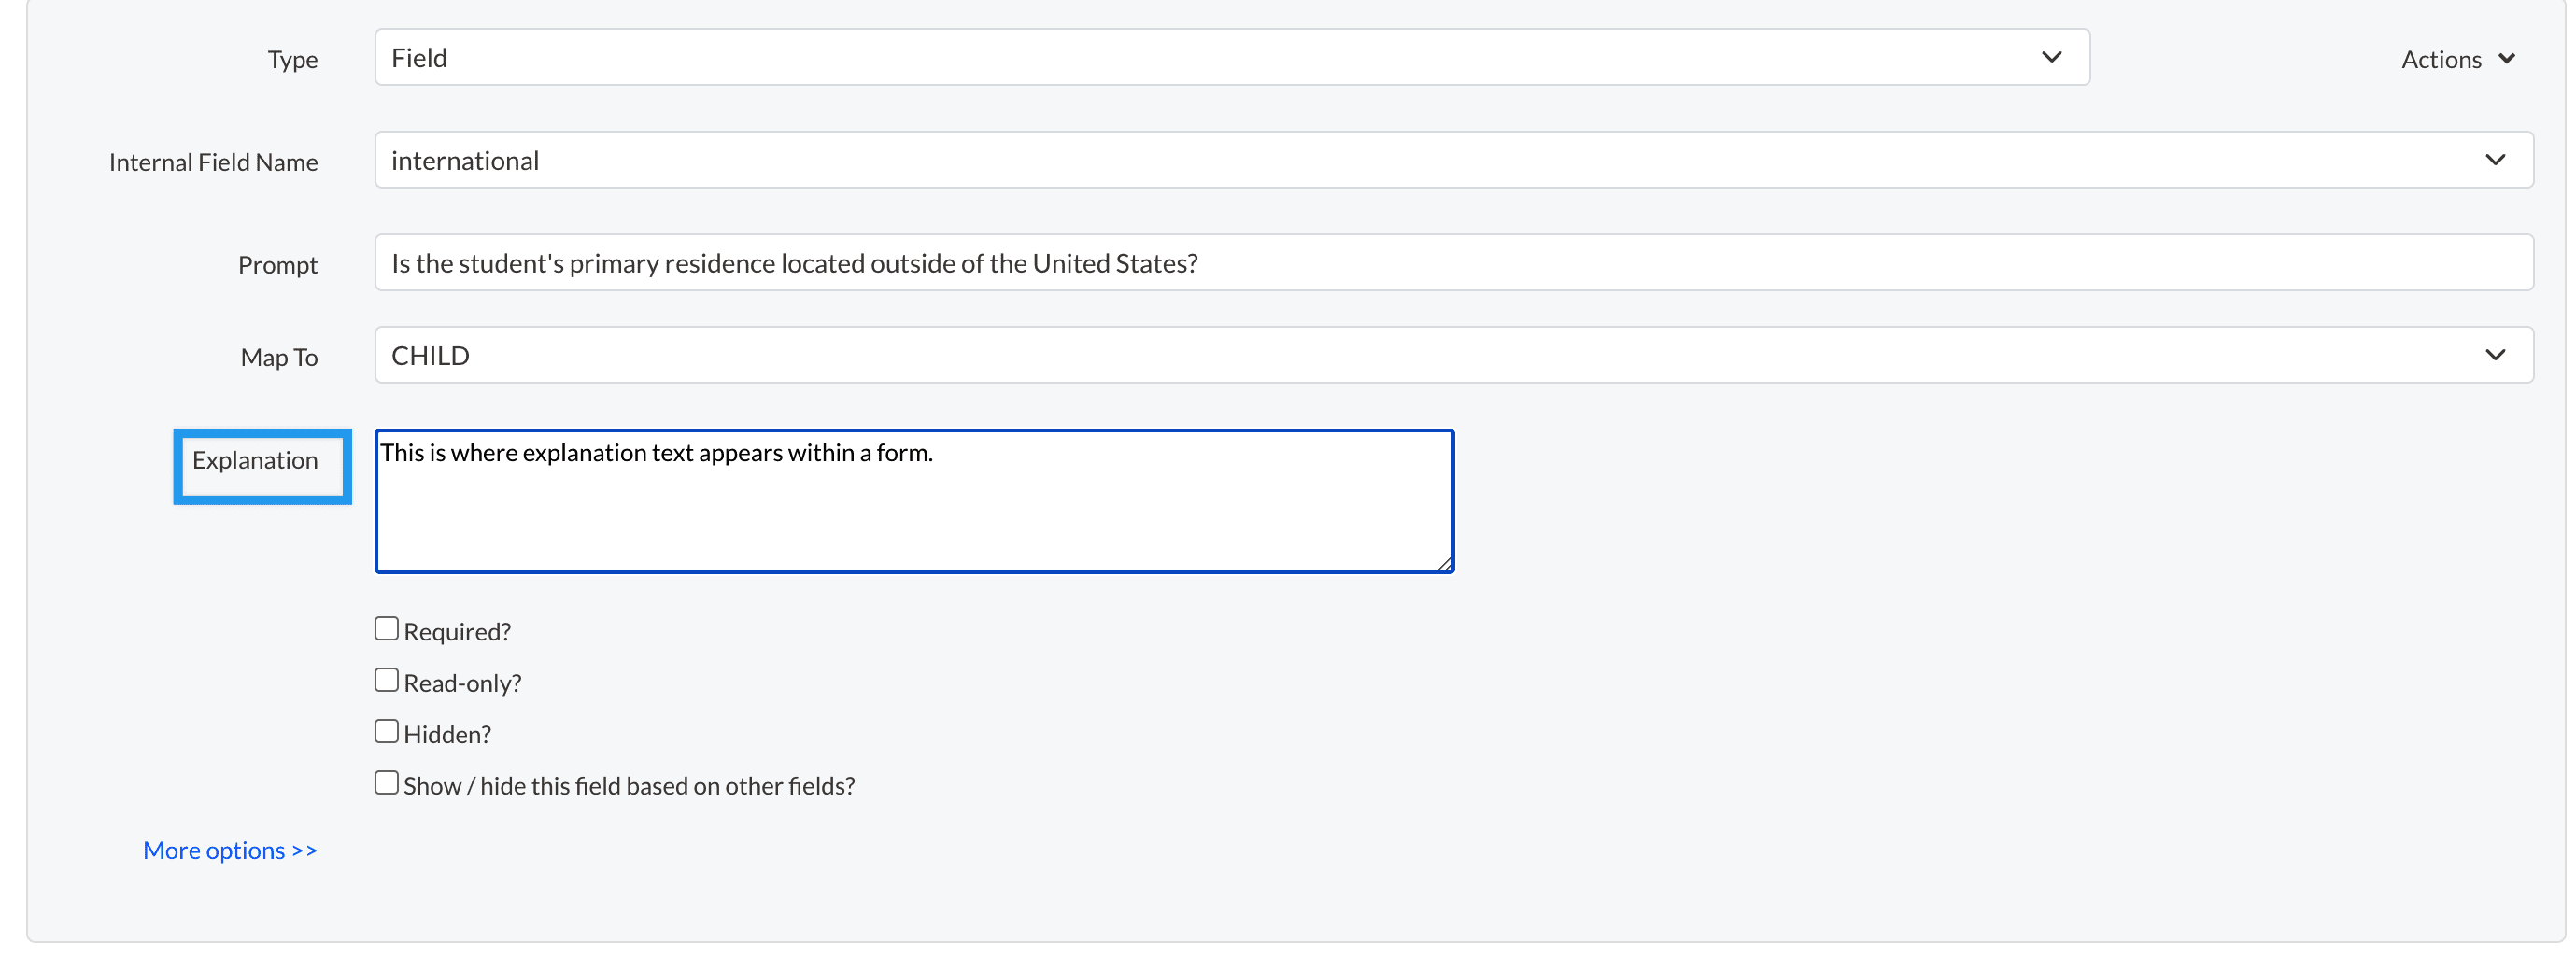
The Explanation section is optional. If you add text here, it will appear above the question within the form.
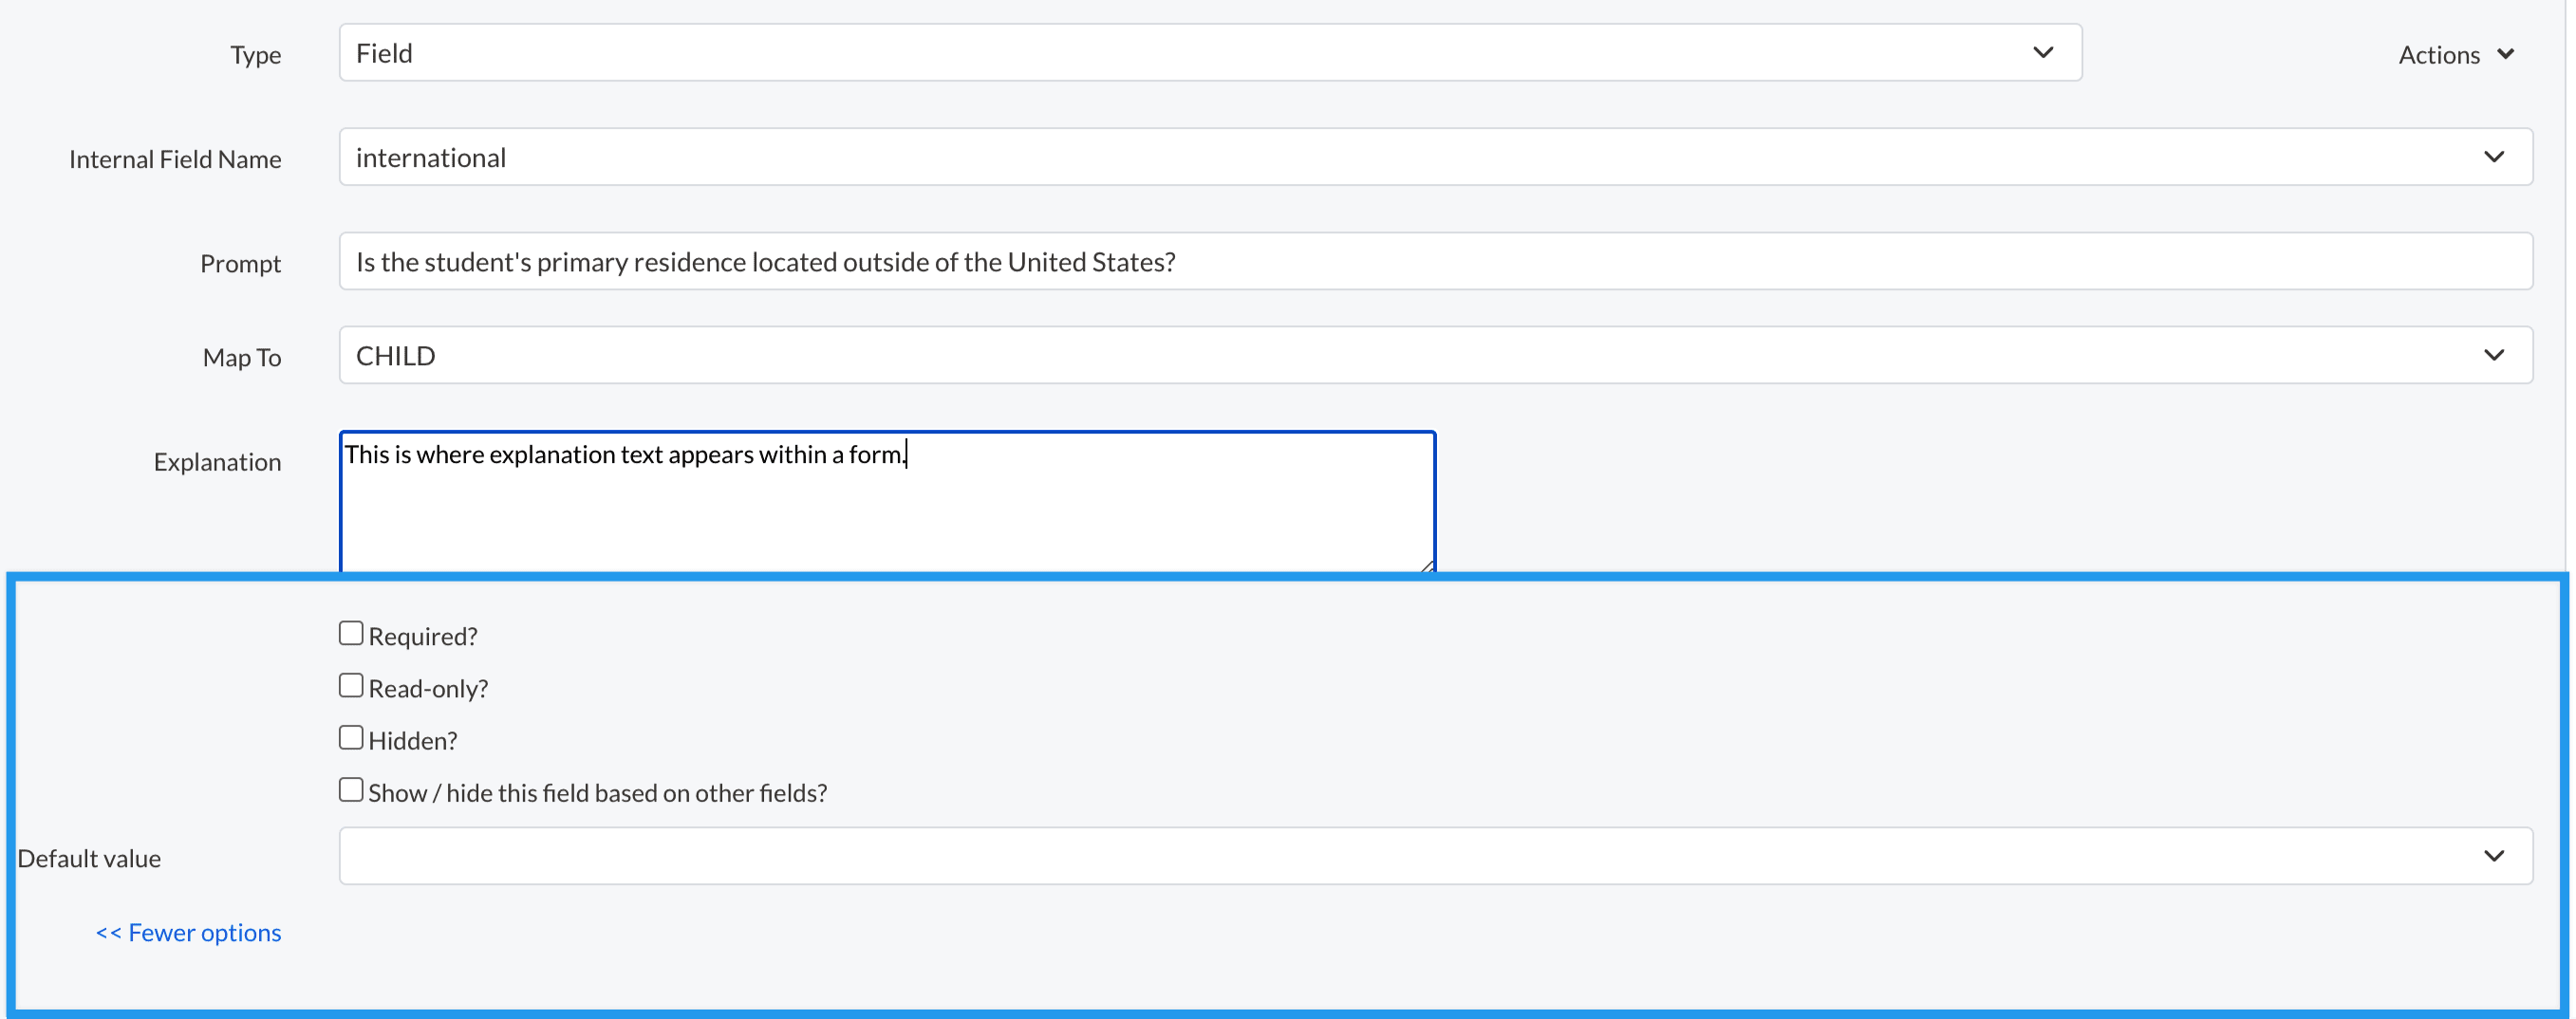
Below the explanation section, you have the following options:
-
Required?: This option will make the question required within the form. This means that parents will be required to answer the question before proceeding to the subsequent pages of the form.
-
Read-Only?: This option pulls the field into the form but prevents families from editing it. You would only ever select this option if you are certain that you've already collected the information from the family and would like to display it for them. This option can be a bit finicky and tricky to adjust so, if you are interested in this type of option where you simply display data already collected, we recommend that you connect with our support team and we can help you add the information using liquid coding in a comment box instead.
-
Hidden?: This advanced option hides the field. In other words, it makes it invisible on the parent end. In some cases, you may need to display text or questions based on information that you've already collected. You can do this by adding dependencies to your form fields but, if the field is not already on the current form, you'll need to pull in the field where the data is stored. You can manage that with this option by adding the field but then hiding it from view. That will allow you to make other questions dependent on the data within the hidden field without displaying it on the form.
-
Show/Hide this field based on other fields?: This is where you can add a dependency. It means that whether the question appears on the form depends on the answer given in another field. A common use case of this is the grade field. For example, when adding a question (field) to ask which preschool program families are interested in, you would select this option and then isolate the preschool grades so that the option only shows to the relevant families. We have a whole article on dependencies and filter options that we recommend you check out.
-
More Options
-
Default Value: This allows you to set a default value for the question. It only works with certain types of fields like yes/no or single select. When utilized, the question will have an answer that is defaulted but the parents will be able to make their own selection.
-
Saving your Work
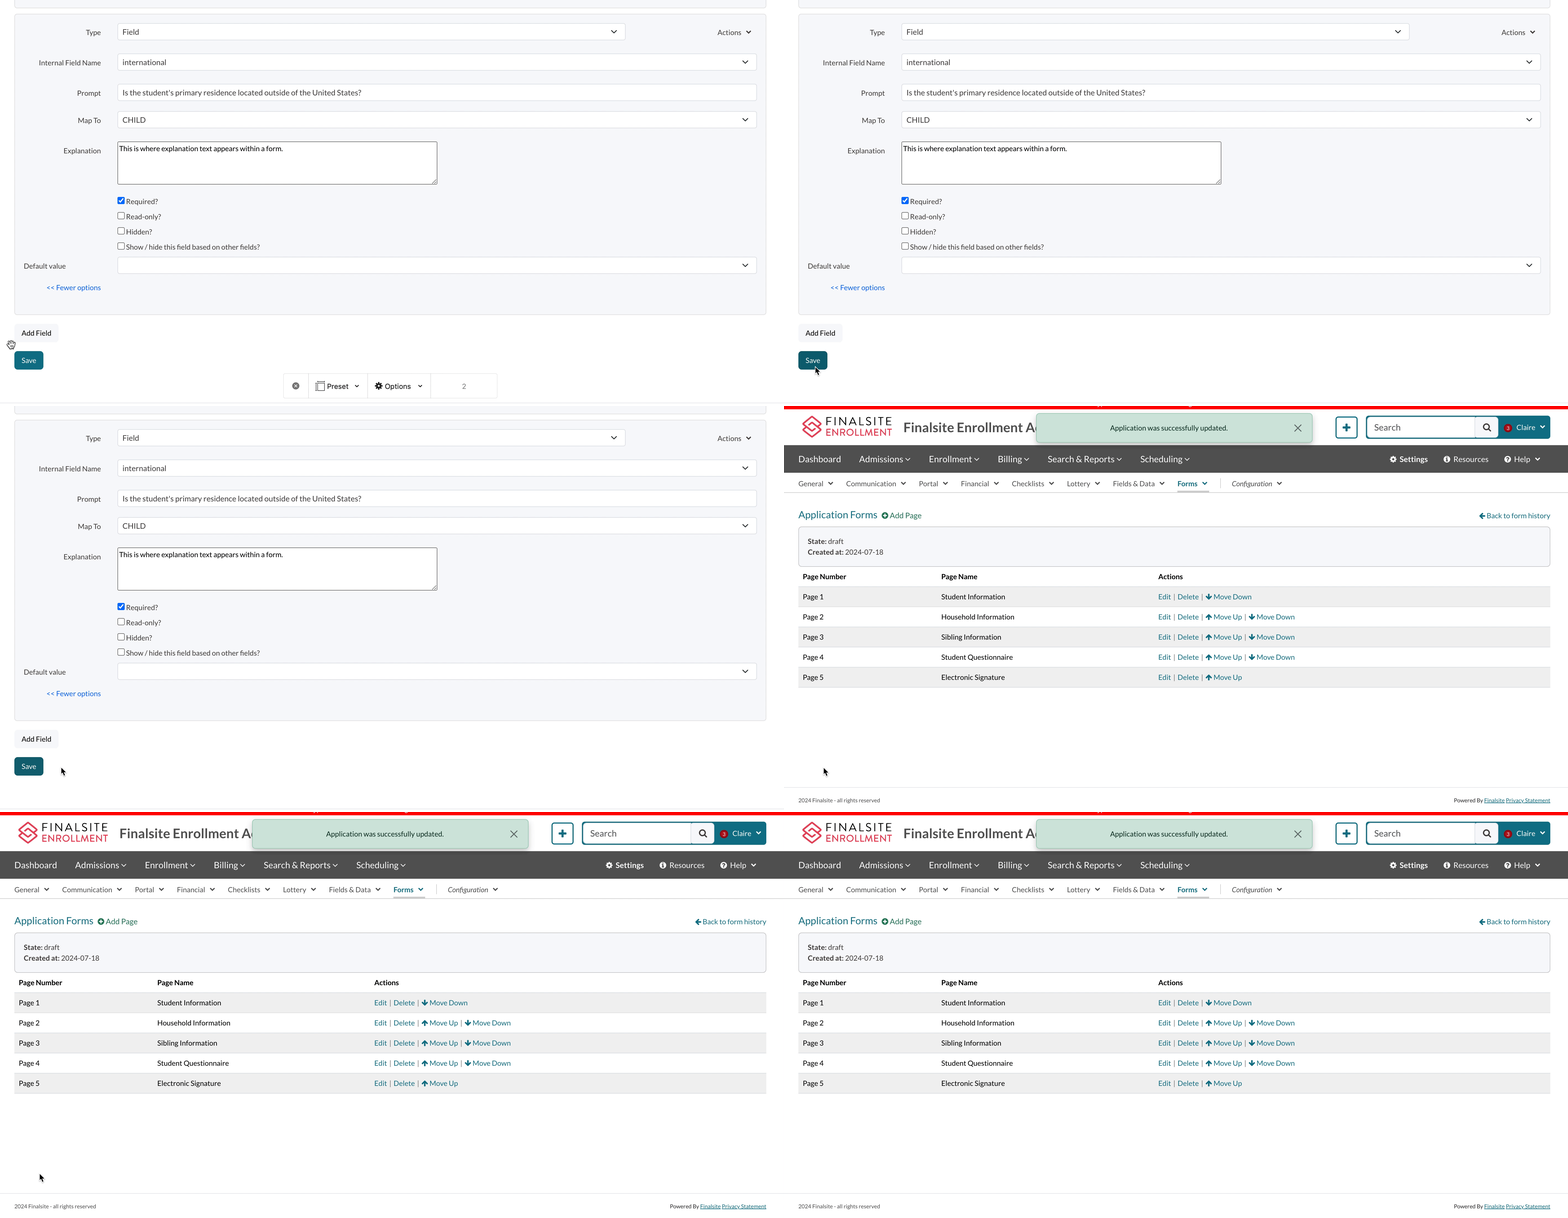
Remember to save your changes before exiting the Advanced Editor!
Errors
If you see a red banner at the top of the page it means that there is an error on the page. The error will be described within the message. If you are unable to resolve the error on your end, please connect with support who will be able to guide you.
Making Simple Text Edits
After you save your changes, go to the Basic Editor to preview your addition and make simple text edits to the prompt and any other text.
Good to know: Edits made in the Basic Editor save automatically. You won't find a save button in that editor.
Publishing
Your changes will only be live when you publish the form. You can do so from the page where you've made your draft. In the actions column, select the Publish (Make Active) option.
Additional Resources
- Office Hours & Past Session Recordings
- Forms DIY: Add a calendar to a form
- Forms DIY: Add text to a form (Sections, Subsections, and Comments)
- Be sure to check out our collection in the Video Library to learn the basics of form edits!



Comments
0 comments
Article is closed for comments.