
When a parent makes a large one-time payment and wants it spread across their payment plan rather than applied all at once, use a two-step Add Payment process: first reverse the original payment with a negative entry, then re-add it spread evenly across months.
💡Quick Answers
- Why would I need to reapply a large payment? When a parent pays a lump sum that the system applies all at once, but they want it distributed across future monthly charges to reduce each installment.
- How do I reverse the original payment? Click Add Payment, enter a description, select Manual Splits, and for each billing category enter the amount as a negative number; post it At Once on the original payment date with the same payment method.
- How do I re-add the payment spread across months? Click Add Payment again, select Auto Distribute, enter the amount as a positive number, and choose Evenly Across Months; set the start term, start month, and number of months.
- What if my payment plan is non-consecutive? You cannot use Evenly Across Months for non-consecutive plans; instead divide the total manually and add a separate positive payment for each remaining month.
Process
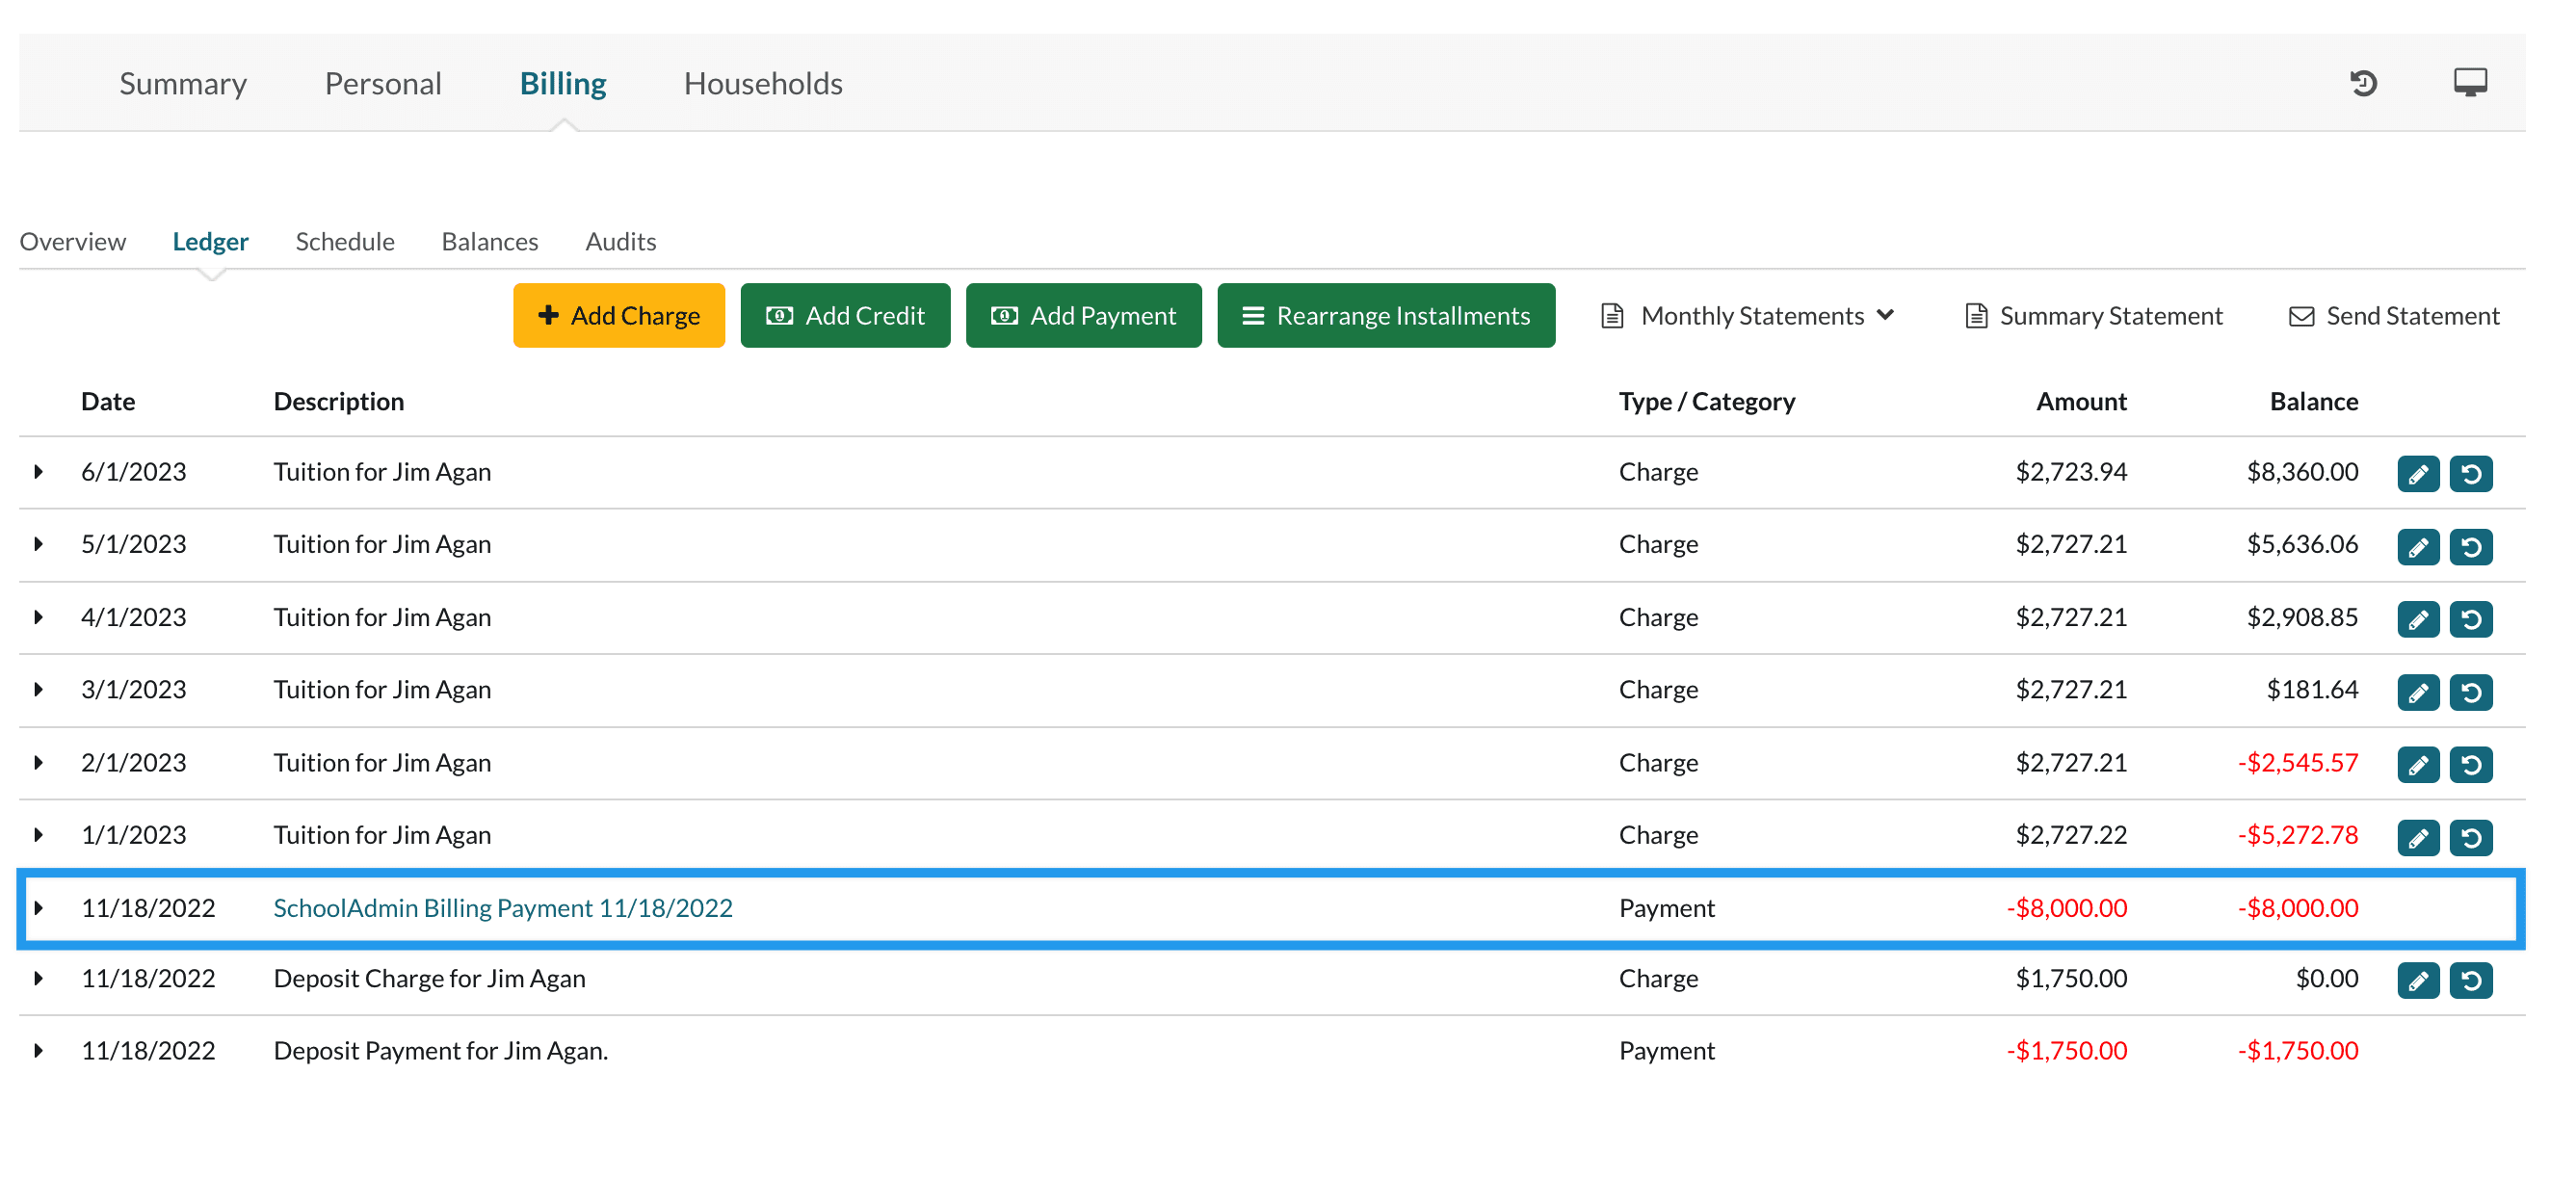
Example of a large payment on a ledger:
How to reapply the payment:
1. Add a negative payment to reverse the original one.
- Select the ‘Add Payment’ button.
- Enter a Description that helps you recall the reason for the adjustment.
Pro Tip
Give it a description like "Account Adjustment" to help it stand out in your other reports.
- For the ‘Distribution’ select ‘Manual splits’.
- For each separate billing category that the payment went to:
- Select the Category
- Select the Contact
- Enter the Amount as a negative number without the dollar sign (ex. -100.00).
- Select to post it ‘At once’ on the same date as the original payment.
Important:
- Be sure to apply the adjusted payment to the same Billing Category that was originally posted in to keep your billing reporting accurate.
- Remember to enter the Amount as a negative number without the dollar sign (ex. -100.00).
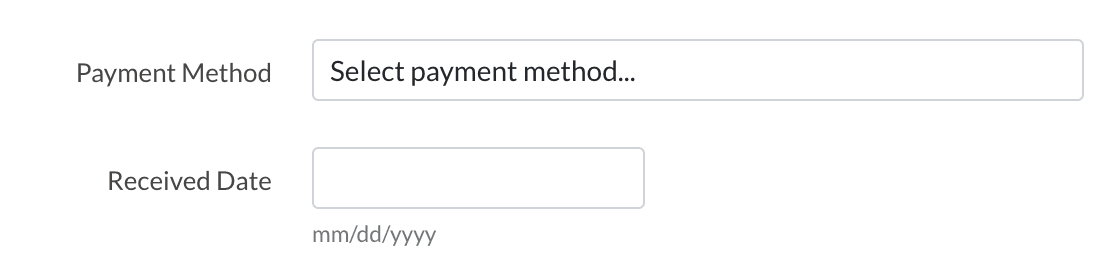
- There are 2 other requirements not shown in this video. When making an adjustment with the Add Payment pop-up, you are also now required to enter the Payment Method and the Received Date.
Example of adding a negative payment:
--
2. Add a positive payment and spread that payment across the months.
2. Add a positive payment and spread that payment across the months.
- Select the ‘Add Payment’ button.
- Enter a Description that helps you recall the reason for the adjustment.
- For Distribution, select ‘Auto distribute.’
- Select the Contact (*optional: if you leave this blank the system will divide the payment among all contacts associated with the payer).
- Enter the amount
- Do not enter the amount as a negative number this time.
- Select to post the payment ‘Evenly Across Months.’
- Select the start term
- Select the start month
- Select the number of months to divide the payment amongst
Please note: You can only select ‘Evenly across months’ if your payment plan is consecutive. If you have a non-consecutive payment plan, you will need to:
- Divide the payment among the number of months in the remainder of the payment plan.
- Manually add a fraction of the payment to each month.
- Quick note: There are 2 other requirements not shown in this video. When making an adjustment with the Add Payment pop-up, you are also now required to enter the Payment Method and the Received Date.
Example of re-adding the payment:
Comments
0 comments
Article is closed for comments.