Overview
Within the billing tab on a parent/guardian record, you can access several additional tabs that allow you to track and manage an individual's Billing within Finalsite Enrollment.
The Balances tab displays what's currently owed or credited in all billing categories, the students associated with each category, and the remaining balances.
In this Article
Accessing the Balances Tab
From the Summary Tab of the Parent Record
When you first land on a parent ledger, you are on their Summary tab.
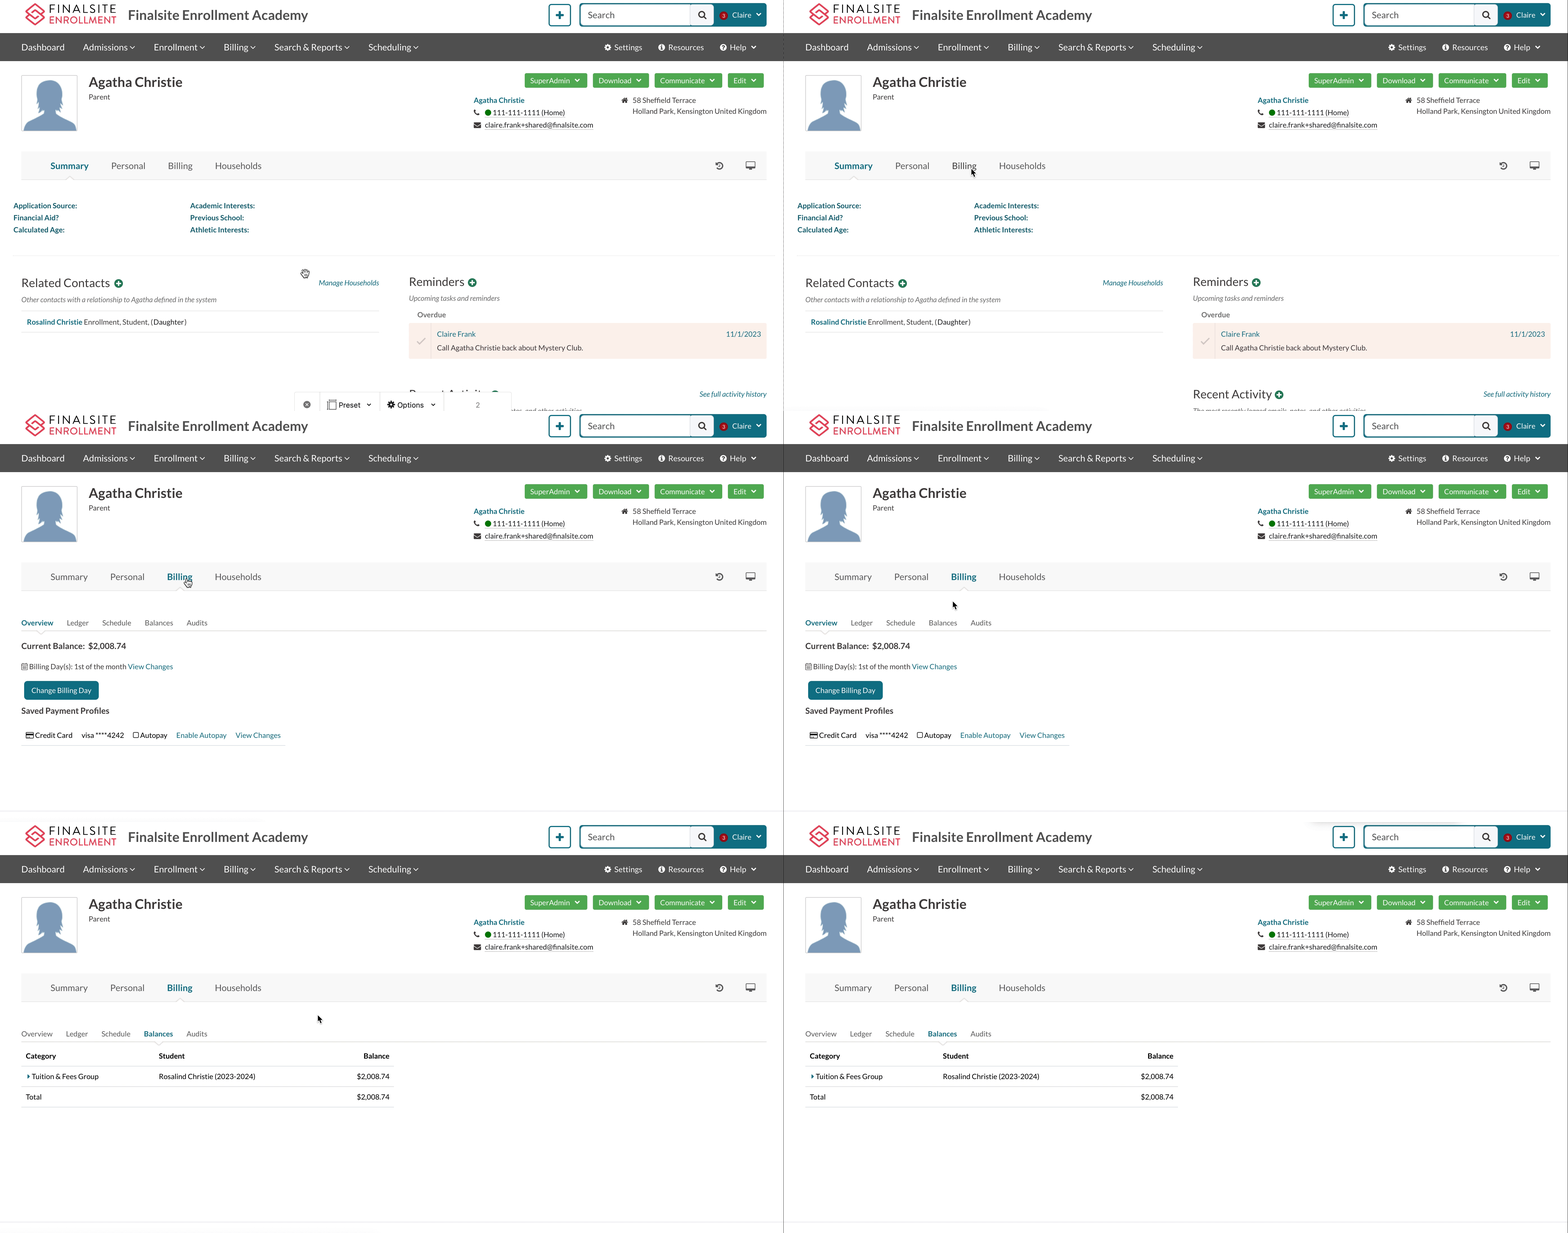
- Select the Billing tab to open the Billing subtabs.
- Select Balances.
From the Student Record
From the Student's record, you can select the Billing tab to see a list of the parents who have billing accounts connected to the student.
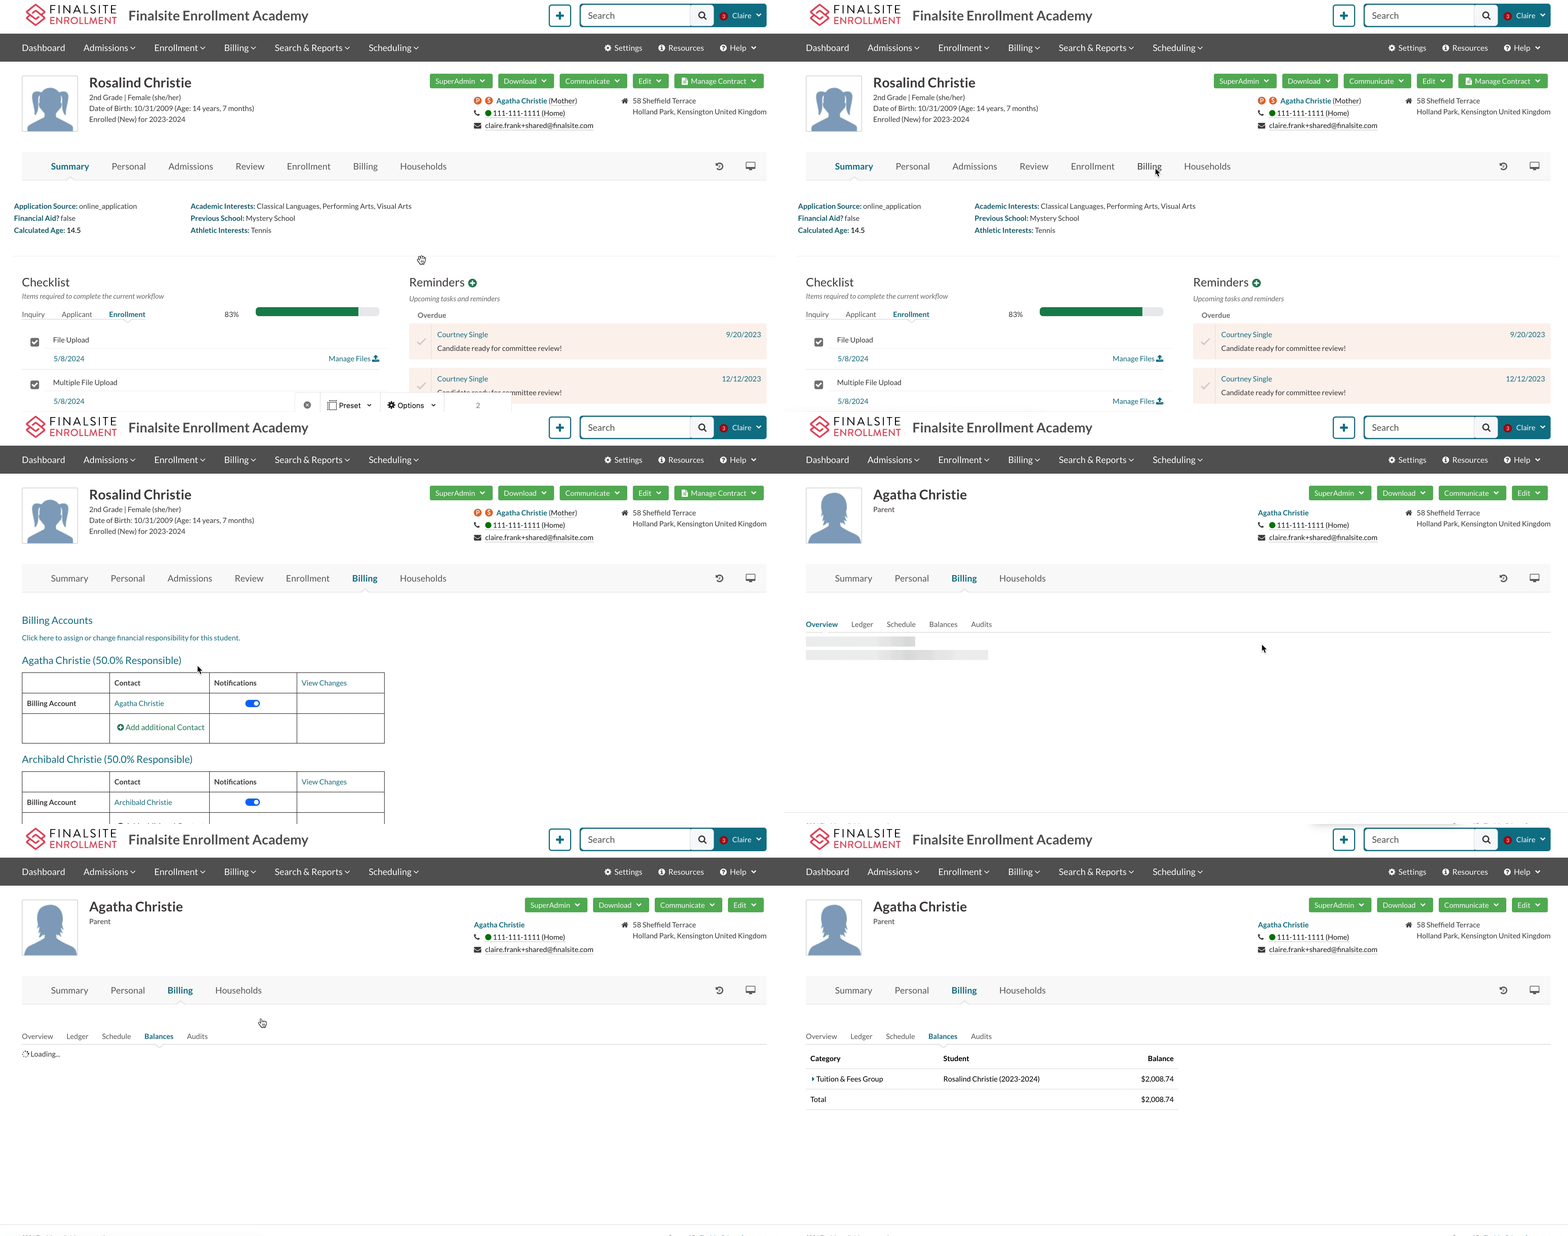
- Select Billing.
- Select the parent name.
- Select Balances.
Understanding the Balance Tab
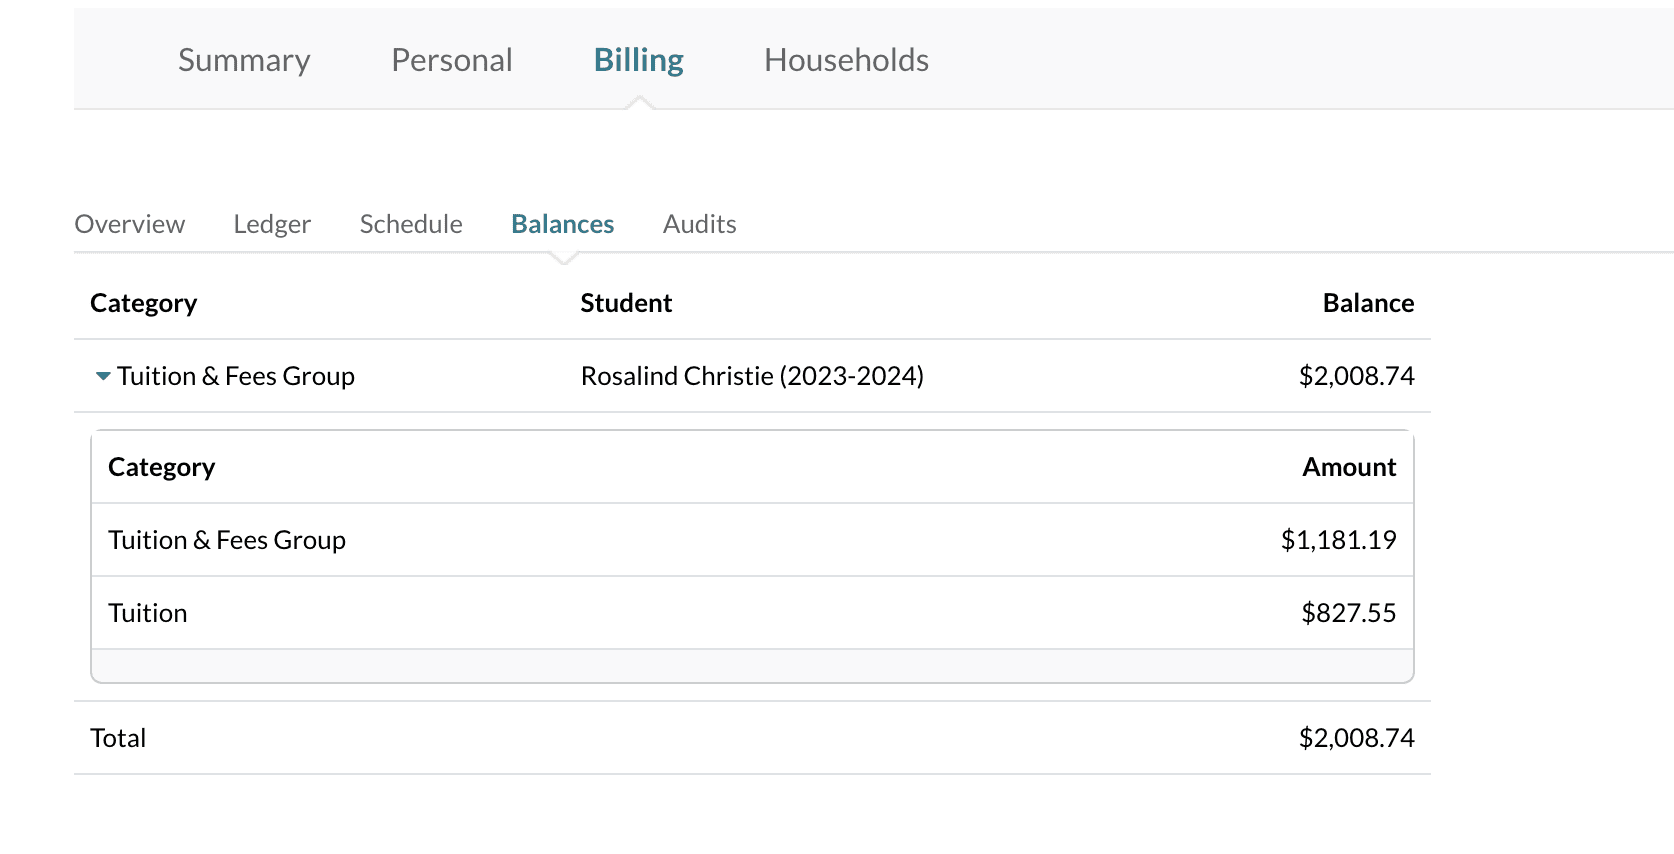
Within the Balances tab, you have three main headings: Category, Student, and Balance.
Category
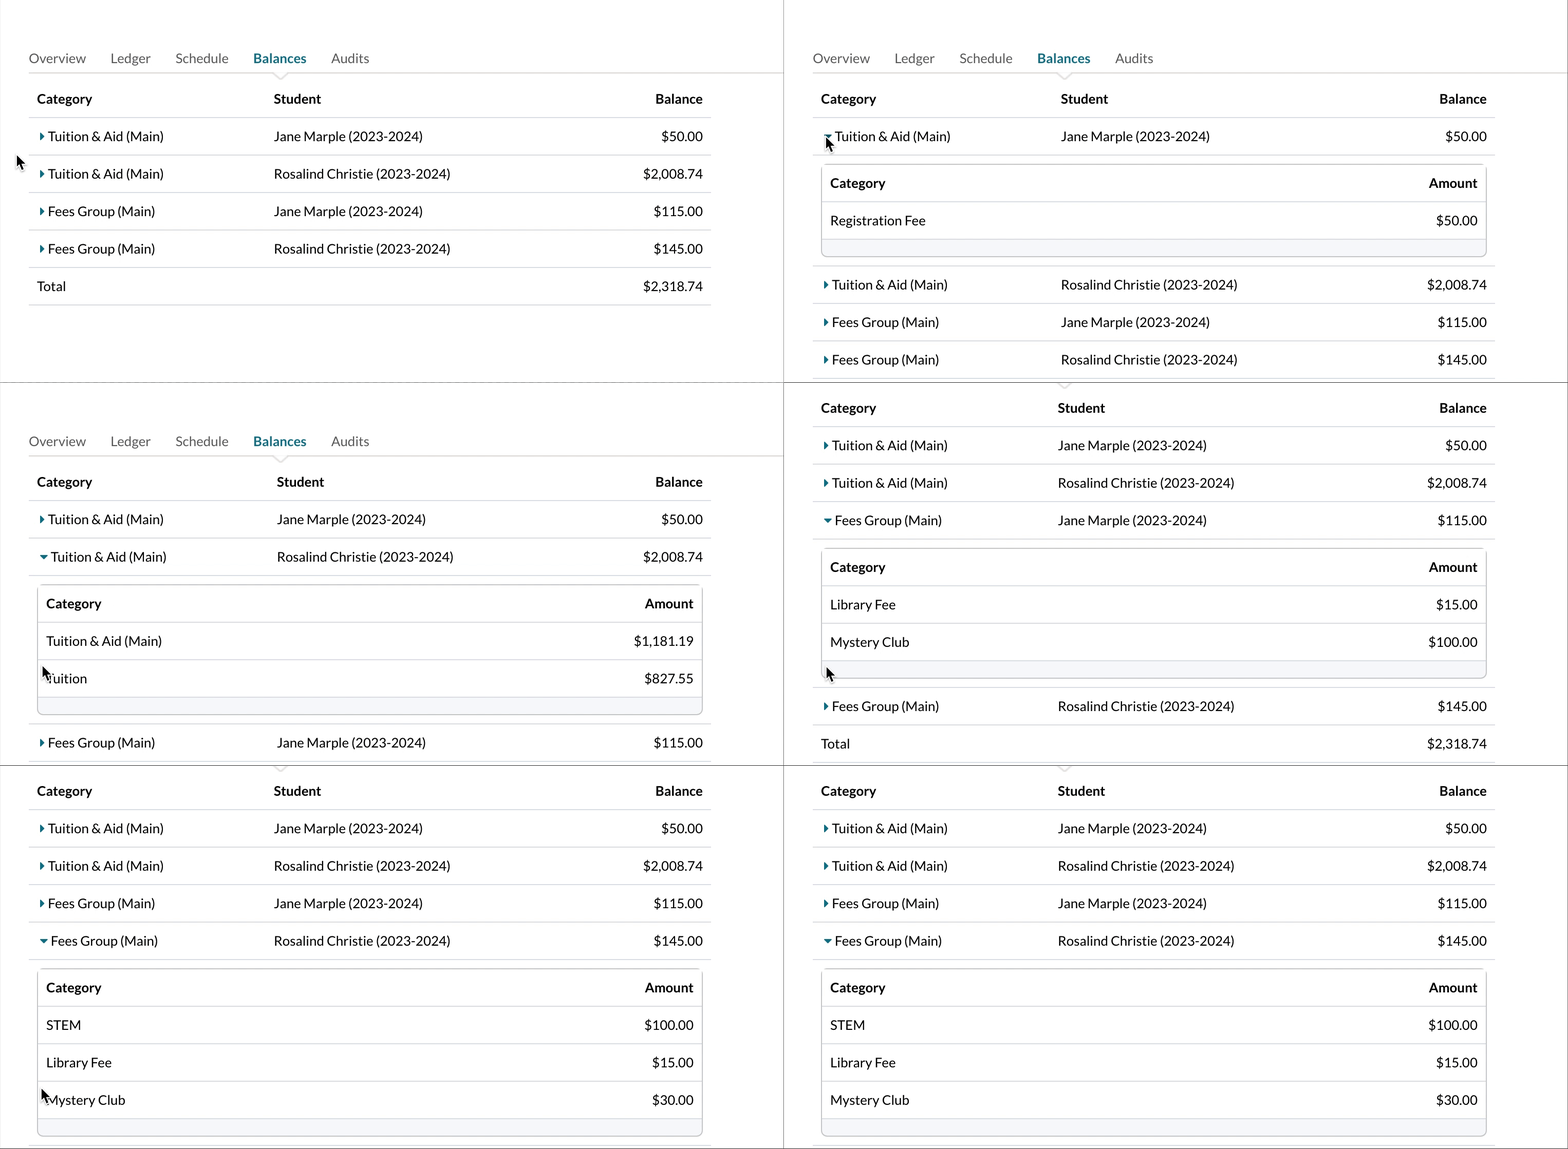
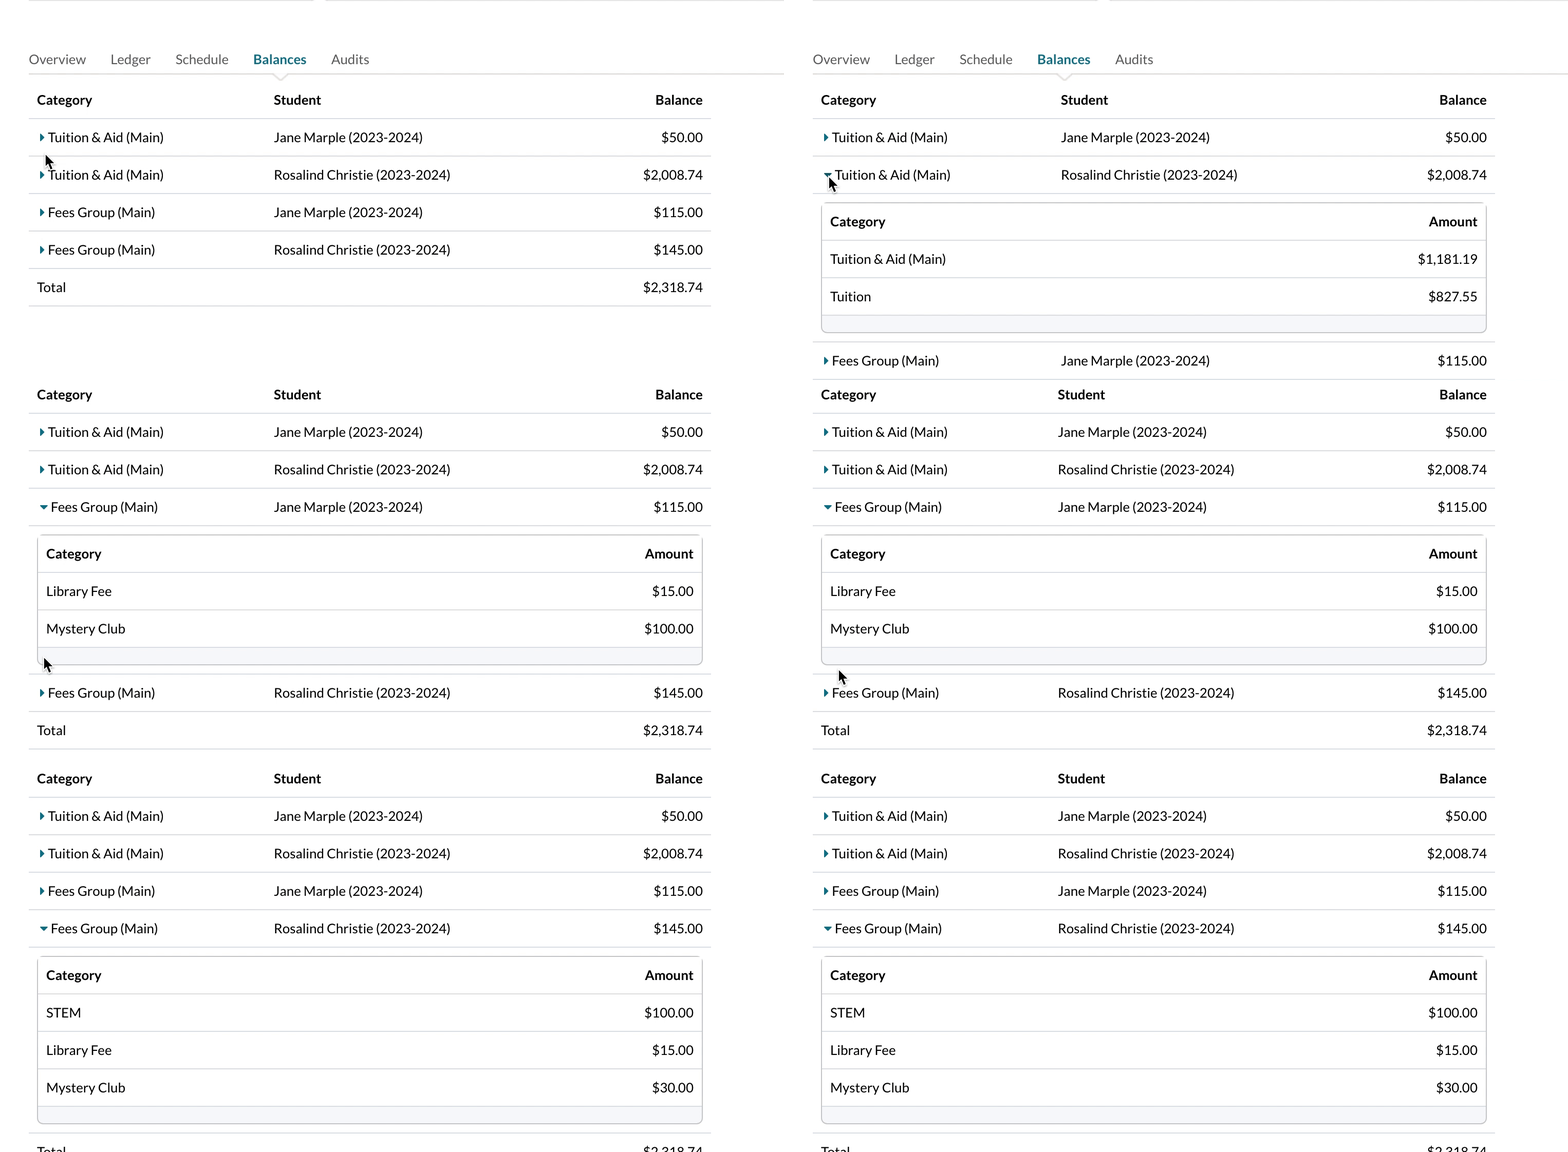
Before expanding, you'll see the category group name. When you expand the group, you'll see the current individual categories that are associated with the student. Only the categories and groups associated with the account are displayed.
Quick Questions
-
Where are billing categories managed?
- You can manage Billing Categories and Groups under Settings > Financial > Billing Categories.
-
What's the purpose of "(Main)" as part of the group titles in the example?
- In this example, the category group titles end in "(Main)". The purpose of this is to differentiate the "Group" from the "Category". This is an optional trick to prevent you from accidentally assigning transactions to the group rather than the specific category it belongs to. Groups and Categories are managed on the Billing Categories page.
Student
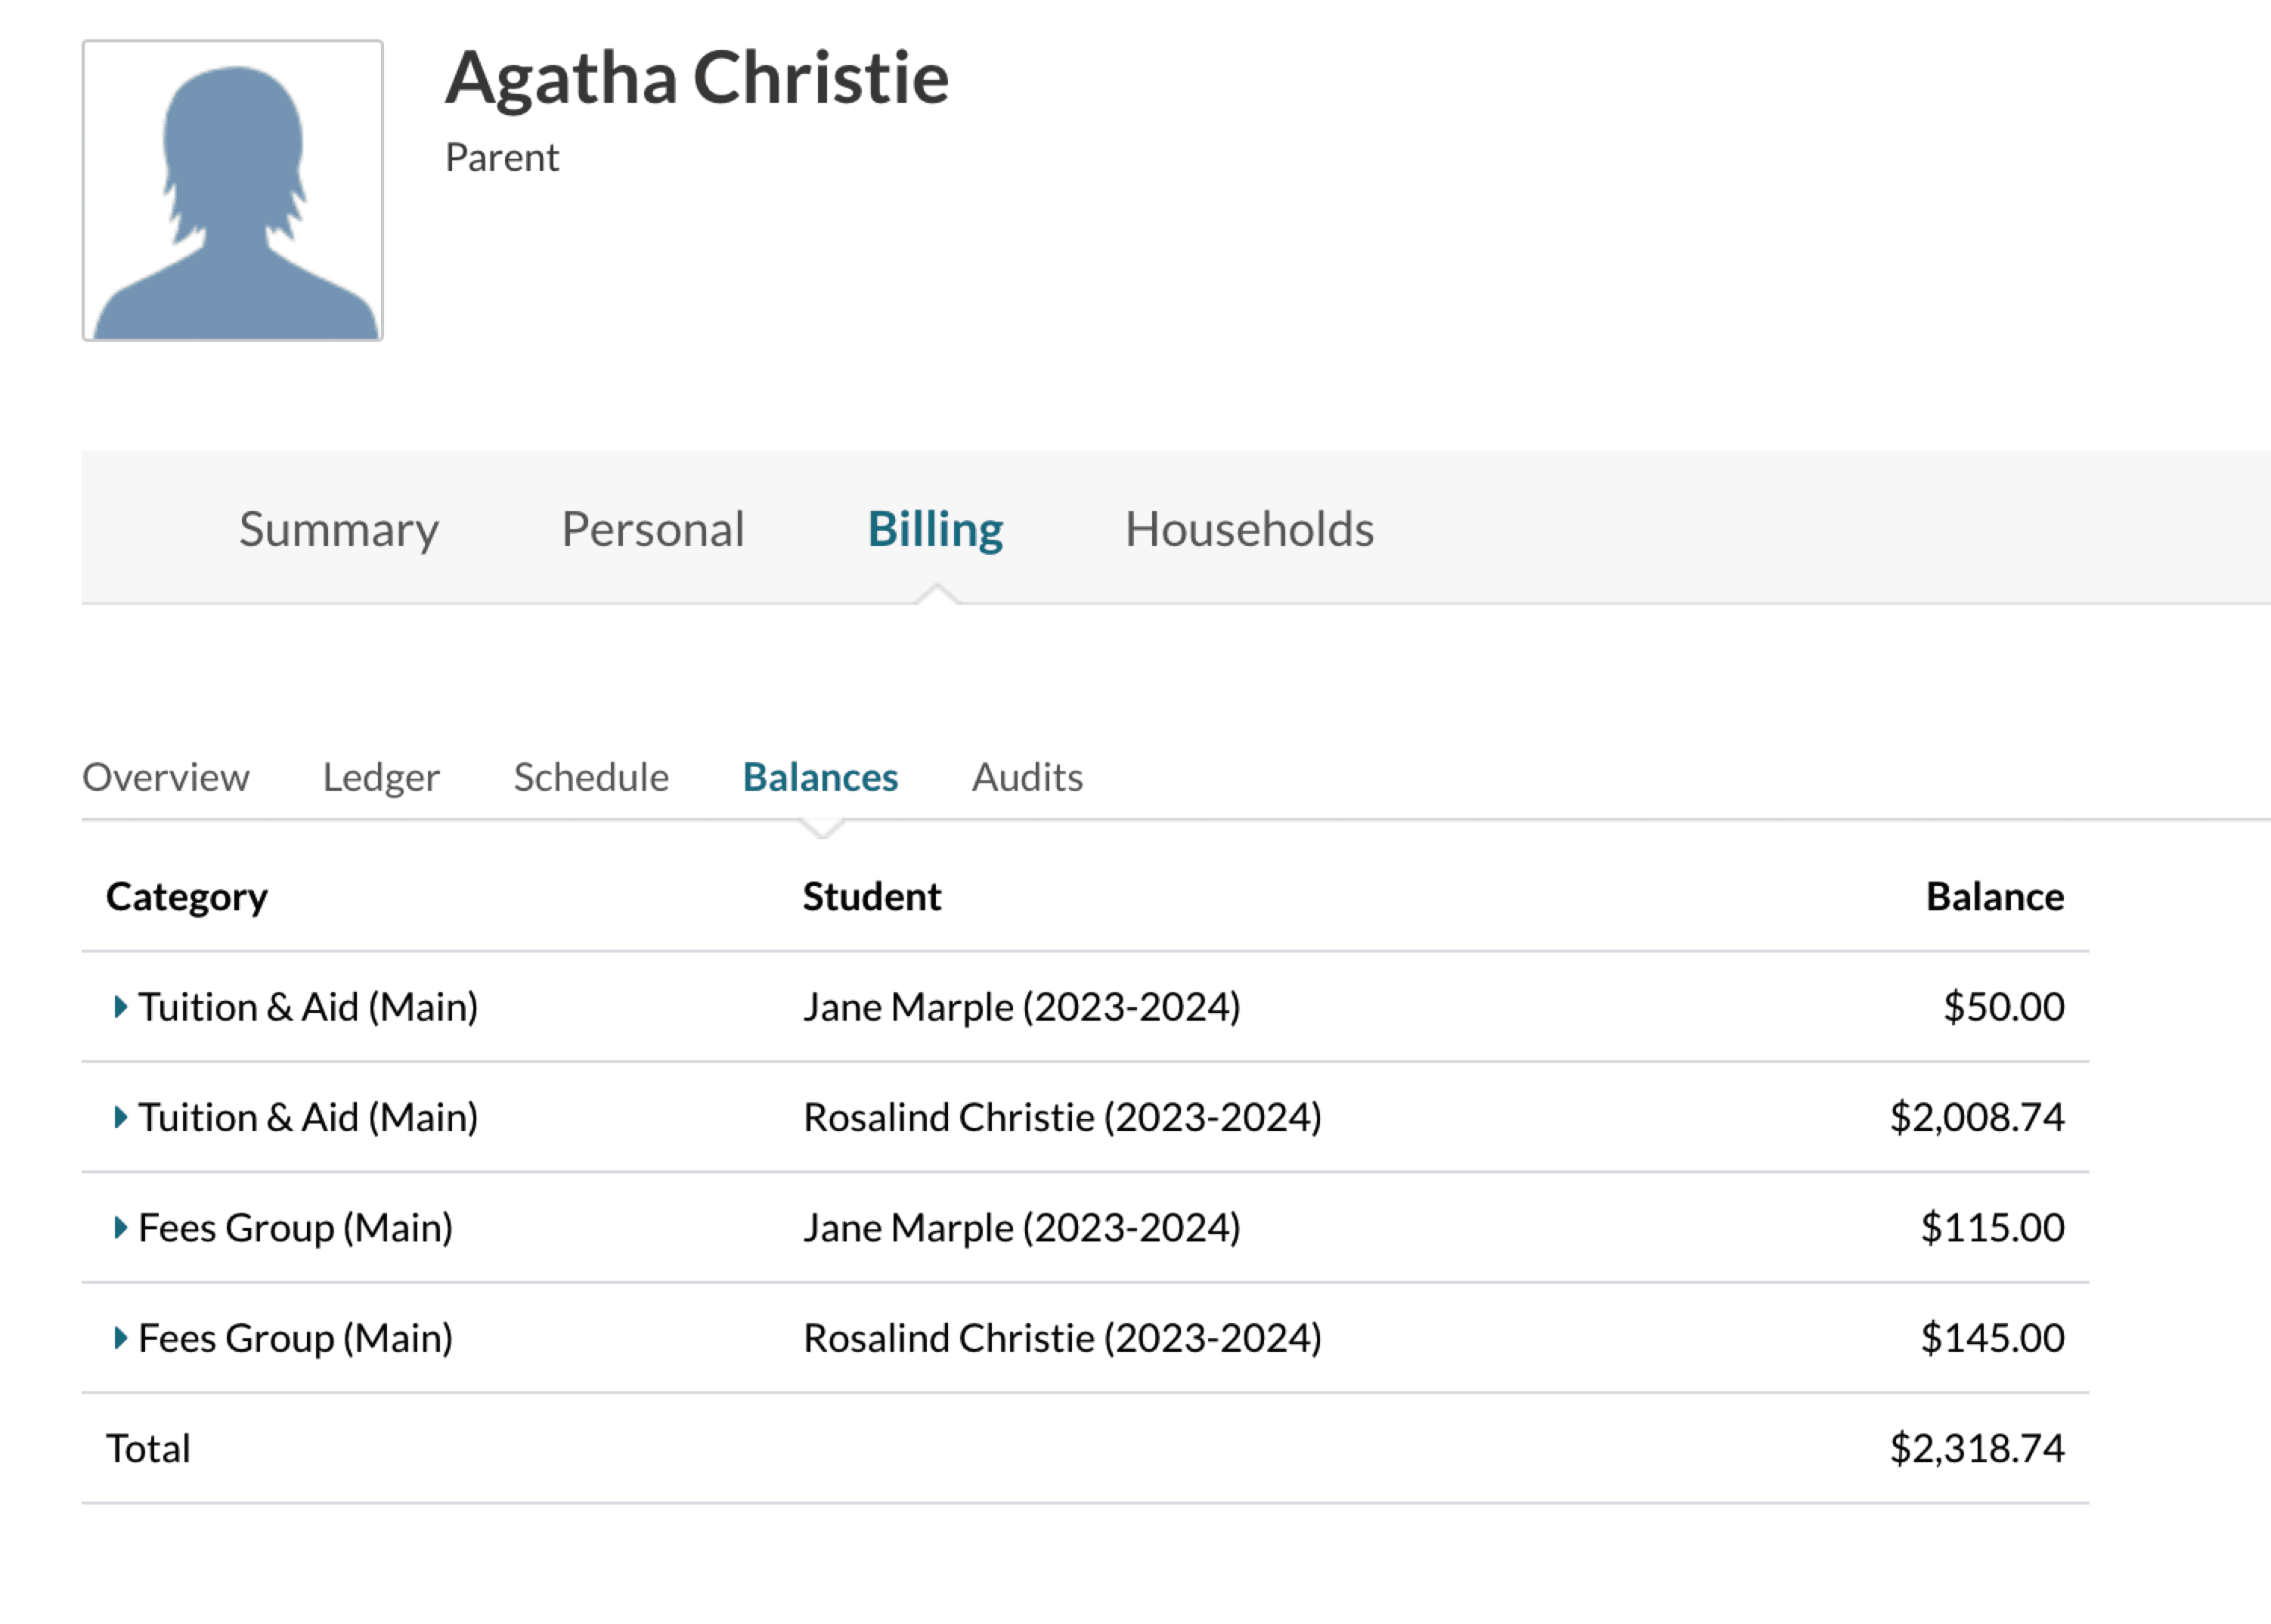
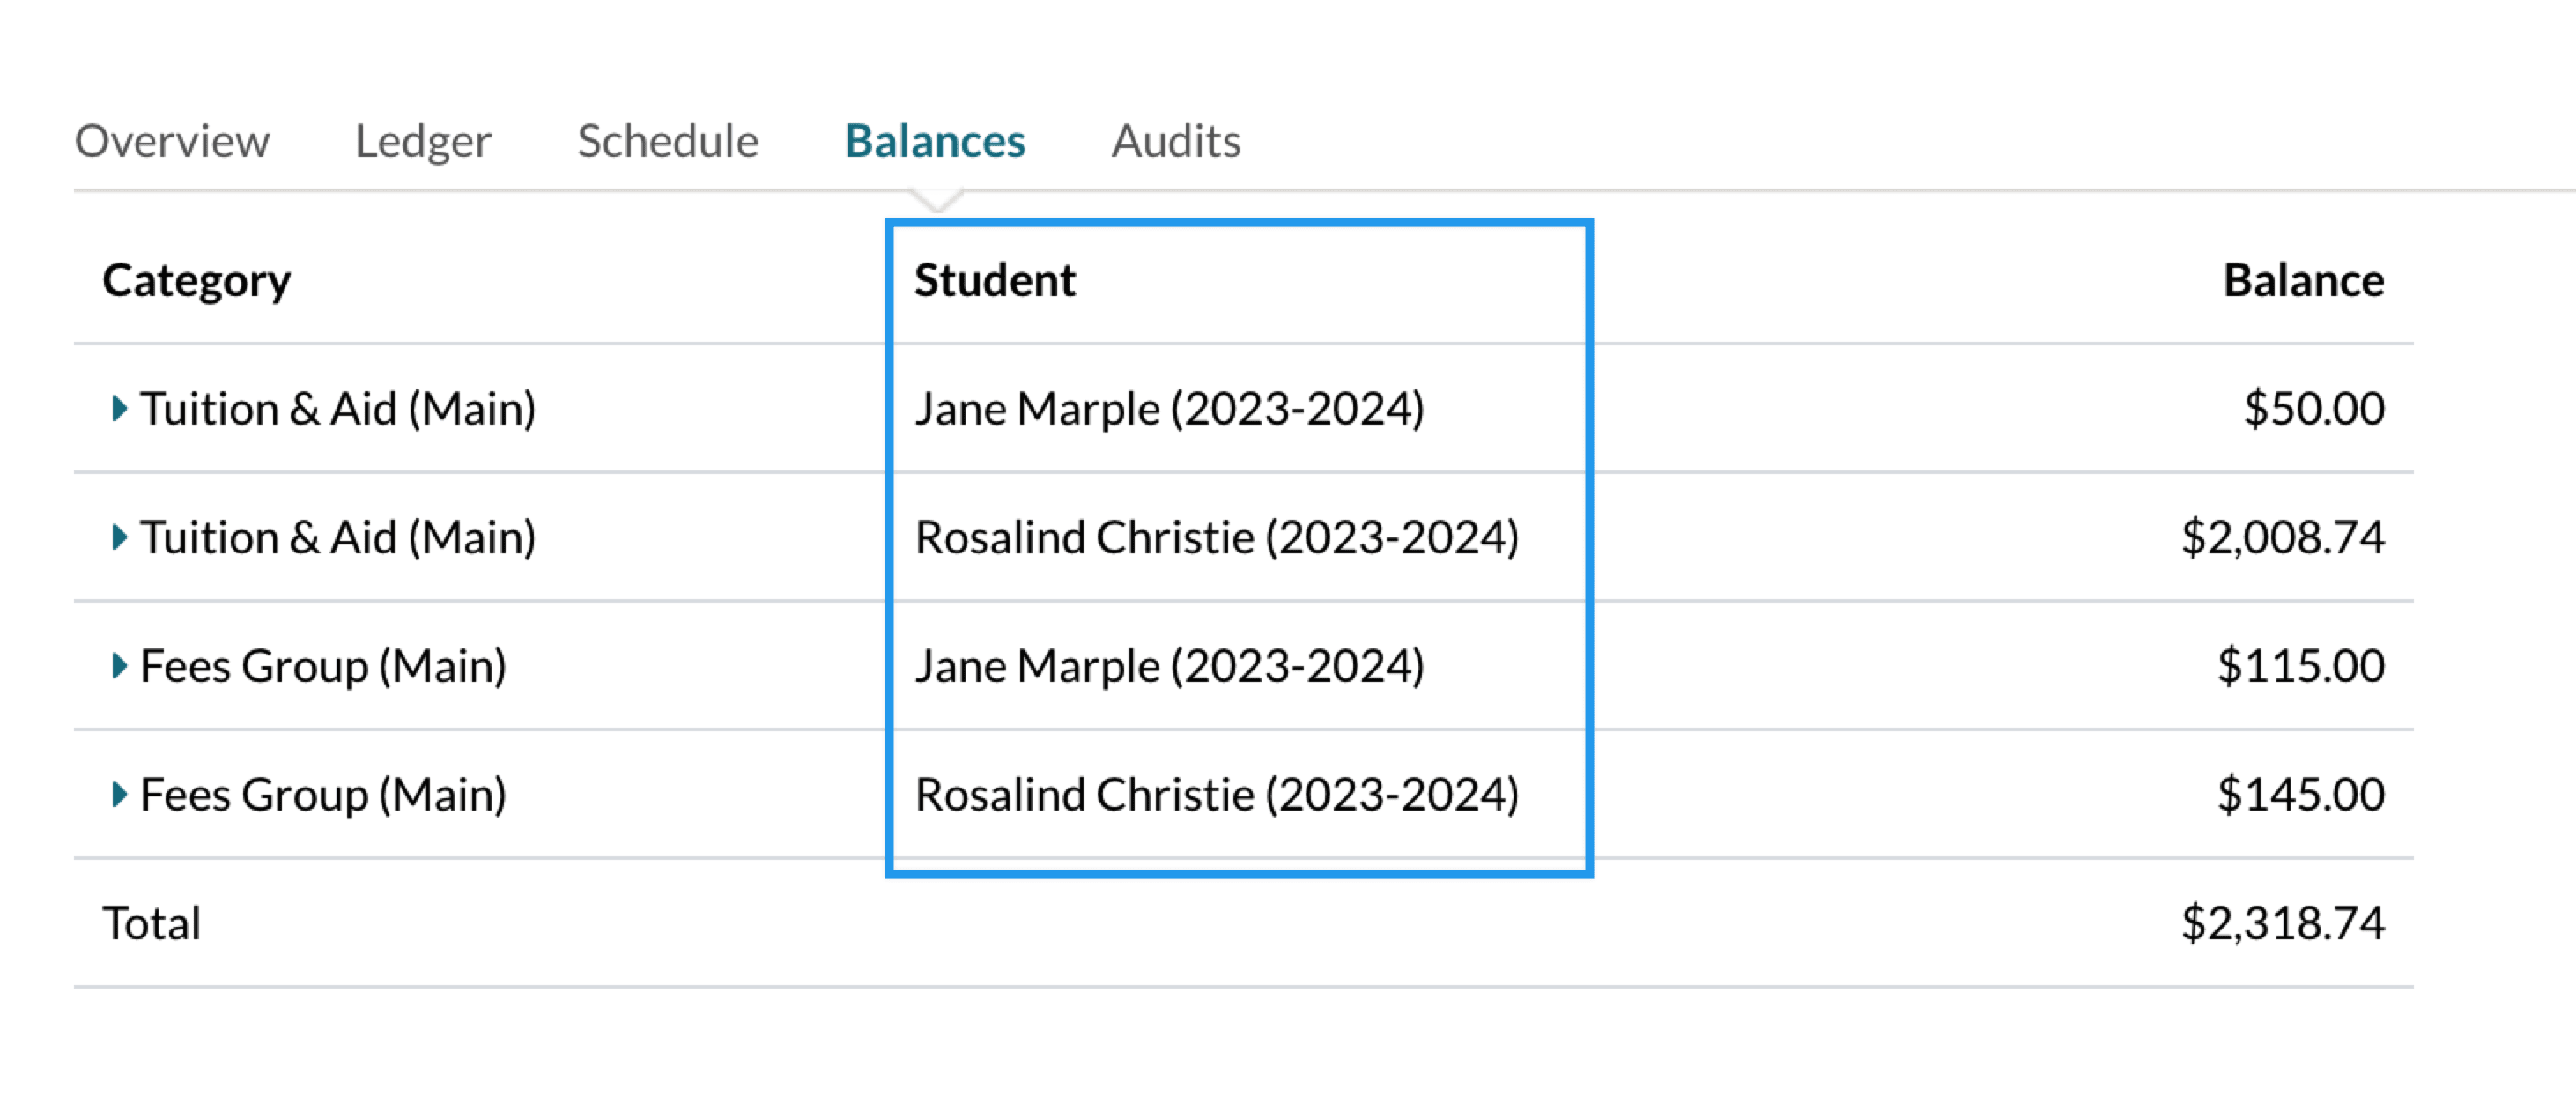
This column shows the student names and terms, with each student and term listed separately. In the image below, you can see that the account includes two students. Each student has fees in two groups: 'Tuition & Aid (Main)' and 'Fees Group (Main)'.
Balance
The Balances column displays the balance for each category group, organized by student and term. When you expand the category groups, you'll see the balance for each specific category and the amount owed within it.
How To Correct Balance Issues
The Balance tab is an excellent resource for identifying ledger issues that may affect reporting. Below are a few common scenarios where adjustments are needed, what they look like on the Balance tab, and how to correct them on the ledger.
Incorrect Category Alignment
In some cases, a family's ledger may show a balanced ledger total, yet the Balances tab indicates imbalances, with some categories displaying negative amounts while others show positive amounts. This situation commonly arises due to discrepancies in Billing Categories, which can be rectified by updating the ledger with a zero-dollar adjustment to reallocate items into their appropriate categories.
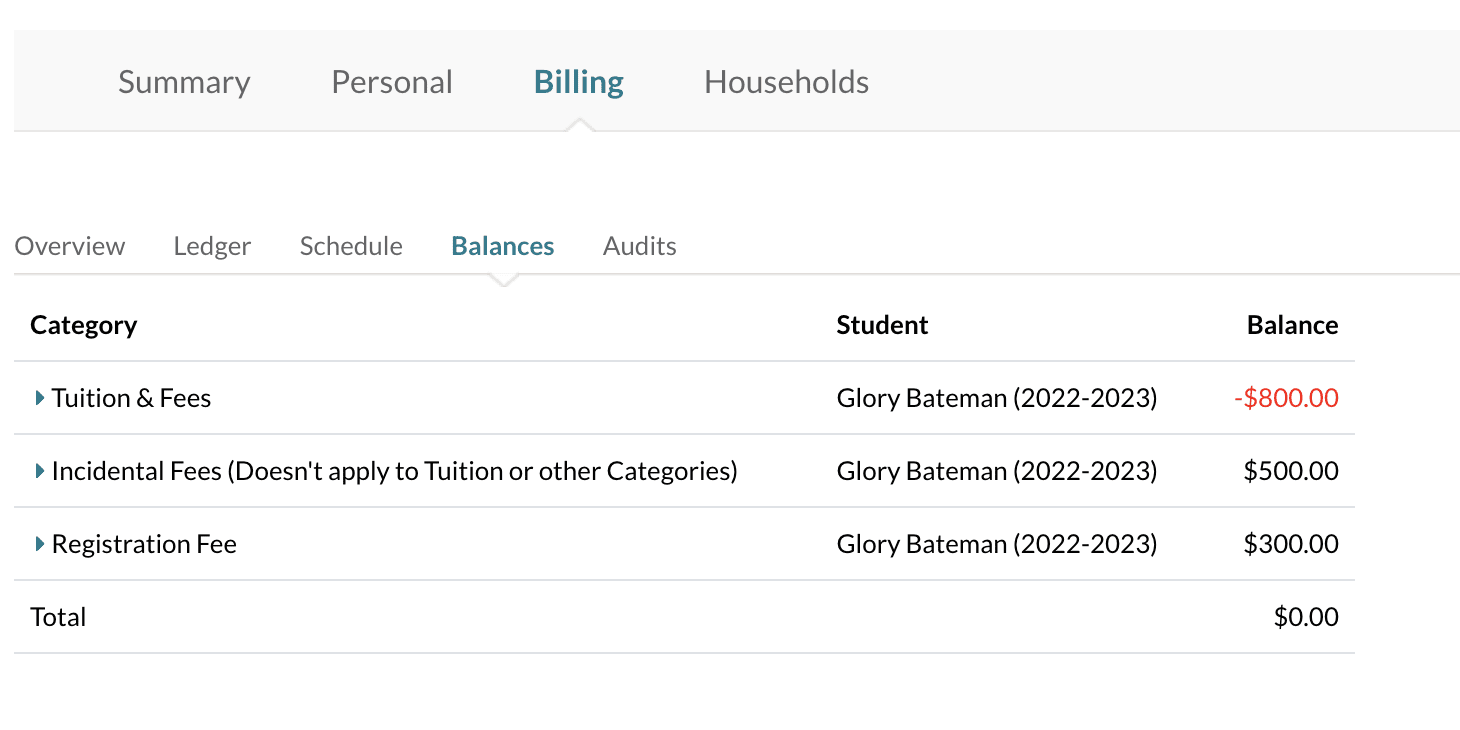
A ledger showing a zero balance.
But, it's actually imbalanced, which can be seen on the balances tab. Notice that even though the total is $0, there's a credit balance in the Tuition & Fees Category group. This non-aid credit balance gives us a clue about the issue.
Although this discrepancy doesn't directly impact the family's finances, it can affect your reporting accuracy, prompting the need for adjustments.
Good to know
- The Balances tab may not always display a total of $0, and this shouldn't necessarily be expected. However, if your ledger is balanced at $0 while the Balances tab shows disparities, it warrants attention as a potential issue.
- Just because you see a credit balance (red text color with a negative sign) on the balances page, it doesn't necessarily need to be corrected. Financial Aid and Scholarships should show up as a credit balance. It's when you notice a credit balance in a category that's not financial aid, that you should consider an adjustment to correct the issue.
Now, let's walk through the steps of correcting this example imbalance to illustrate how to correct this issue.
The Zero Dollar Transaction
To correct the imbalanced categories, we're going to create a "Zero Dollar Transaction." This means there won't be any change to what's owed on the ledger while allowing us to move items into the correct billing categories (thus balancing the ledger.)
Here's a snapshot of what you need to do in these cases:
- (Pro Tip) Open 2 tabs: one tab on the Ledger view and another tab on the Balance view. This will make the process easier.
- Select to Add a Payment to the Ledger
- For the Description, enter "Accounting Adjustment"
- For the Distribution, select Manual Splits
- Do not add a Payment Method
- For the Received Date, you can enter the current date.
- Create a split for each category on the Balances tab.
- For each item, select the corresponding student and term that you see in the Balances tab.
- To know whether the Amounts should be negative or positive, follow what you see on the balances tab.
- For example, if you see on the Balances tab that Tuition is a credit balance of (-$10040.0), enter it as a negative on the Payment you are creating (-$10040.0.) Or, if you see that the Registration fee has a debit balance (300.0...note there is no negative sign), you will enter it as a positive on the Payment you are creating just as it is on the balances tab ($300.)
- Post the payment At Once, on the current date.
- The total amount at the very bottom of the Payment window should be $0.0.
- Preview to check your correction and post it to the ledger.
- Check your work on the balances tab, which should now reflect $0.0 in all categories as well as in the total amount section. If it's not, you can delete the adjustment on the ledger and try again or contact support who can provide more guidance on the steps you should take.
Practice an example of correcting this in the interactive tutorial below.
Here's an interactive tutorial
** Best experienced in Full Screen (click the icon in the top right corner before you begin) **
Pop some Popcorn!
If you'd prefer to watch our video on this, you can check that out here, in our video library.
Moving Credit Balances to a New Term
On a parent's ledger, if any categories from a prior term have a credit in them, you should move the balance to the correct year once the current year ends. This is important because if you leave it in the past term, then, when new charges get added, the credit will not automatically apply to the new balances since it's tied to the previous term.
Reminder: It's important to note that we are specifically referring to credit balances here.
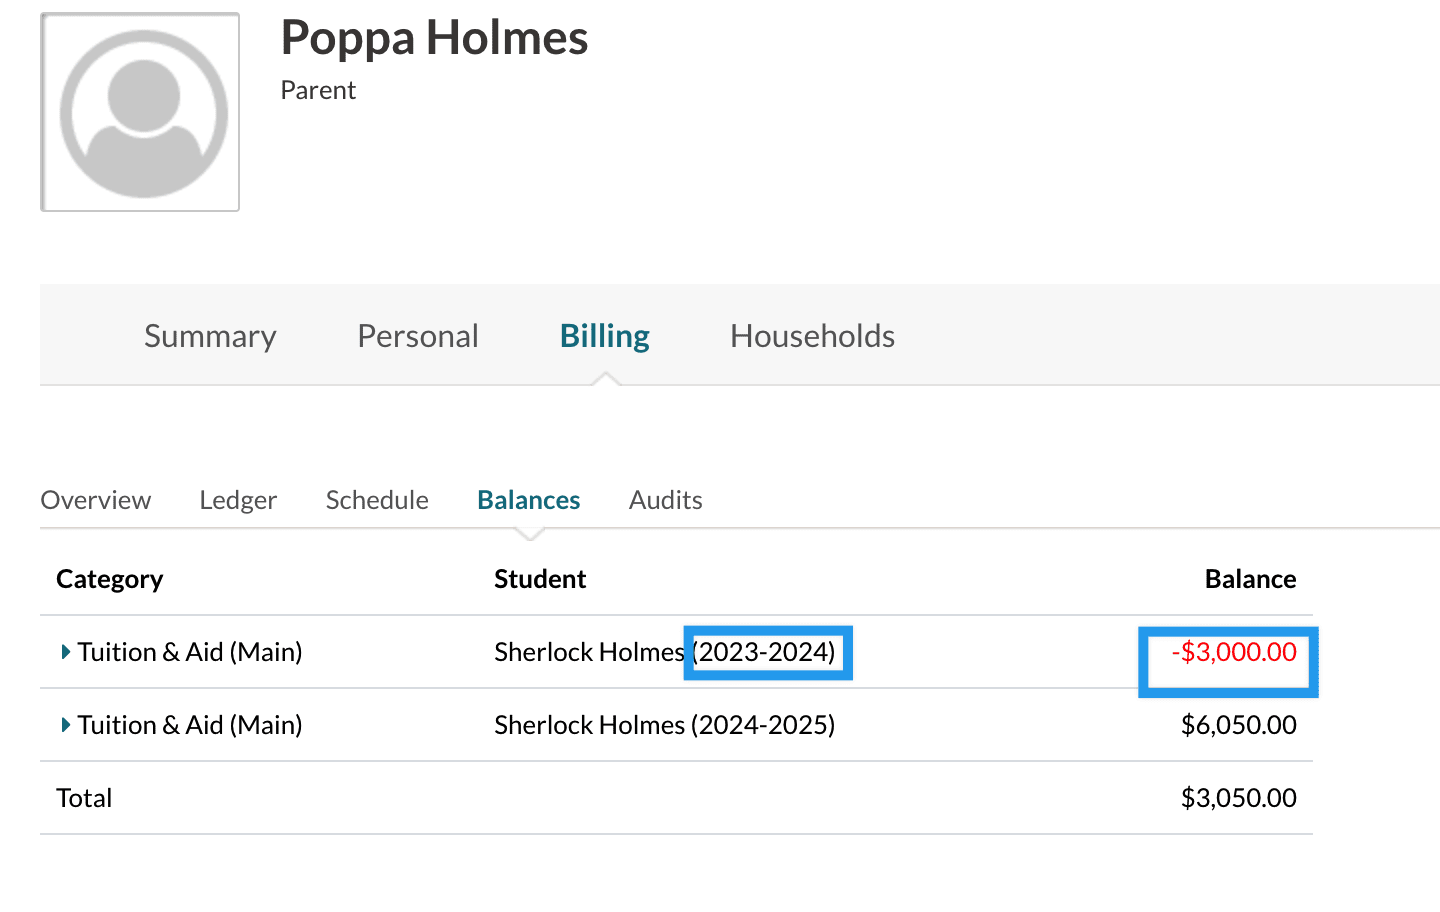
Here's what that would look like on the Balances tab. Notice how the account has a credit balance in 2023-2024 and a charge or debit balance currently owed in 2024-2025. You'll want to correct that to ensure that the credit balance from 2023-24 gets applied to the balances owed in the current term, 2024-25.
We're going to use the Zero-Dollar Transaction again to move the credit balance, only this time, we'll use a negative and positive payment for the same amount to move the credit to the current term's balance.
Here's a snapshot of what you need to do to move a credit balance to a new term
- (Pro Tip) Open 2 tabs: one tab on the Ledger view and another tab on the Balance view. This will make the process easier.
- Select to Add a Payment to the Ledger
- For the Description, enter "Accounting Adjustment"
- For the Distribution, select Manual Splits
- Do not add a Payment Method
- For the Received Date, you can enter the current date.
- Select the category that that credit balance is in.
- If you have a credit balance in more than one category, you will need to adjust each one individually.
- Check your balances tab to ensure that you are selecting the correct category.
- Select the correct contact and term. This is important. Be sure that you are checking that you have selected the term that holds the credit balance.
- Enter the amount just as it appears on the balances tab. You are correcting a credit balance so that amount will be negative on the balances tab. Enter it as a negative here as well.
- Select Add Split to continue.
- This time, select the same category.
- Select the contact and current term (the term you are moving the balance to.)
- Important: This time, enter the amount as a positive number.
- The total amount at the very bottom of the Payment window should be $0.0.
- Post the payment At Once, on the current date.
- Preview to check your correction and post it to the ledger.
- Check your work on the balances tab, which should now reflect $0.0 in the previous term and have a reduced or credit balance in the current term.
- If it's not correct, you can delete the adjustment on the ledger and try again or contact support who can provide more guidance on the steps you should take.
Practice an example of moving a credit balance to the current term in the interactive tutorial below
Here's an interactive tutorial
** Best experienced in Full Screen (click the icon in the top right corner before you begin) **
Pop some Popcorn!
If you'd prefer to watch our video on this, you can check that out here, in our video library.


Comments
0 comments
Article is closed for comments.