
You can customize the Admissions and Enrollment terminology displayed in your Parent Portal from Settings > Portal > Parent Portal Content, replacing default words like 'Apply' or 'Enroll' with alternatives like 'Register' or 'Enrol'.
Who can access this feature and where is it?
Page location: Settings > Portal > Parent Portal Content
Admin Account Types: System Admin and Admin
Permissions: Any
💡Quick Answers
- Where do I update the portal terminology? Go to Settings > Portal > Parent Portal Content, scroll to the Admissions and Enrollment Terminology section, make your changes, and save.
- What terminology options are available? For Admissions: Apply or Register. For Enrollment: Enroll, Enrol, or Register.
- What areas of the Parent Portal update when I change the terminology? The initial portal buttons (Apply/Enroll) that appear before a student is added; the welcome text and bullet points in the Portal Widget section are controlled separately in Parent Portal Content.
- Does the change update every instance of 'apply' or 'enroll' in the portal? No, some text is managed in other areas of the site; the settings only affect the specific button labels listed in the Admissions and Enrollment Terminology section.
In this Article
- Accessing Admissions and Enrollment Terminology Settings
- Customization Options
- What Changes
- What Doesn't Change
Accessing Admissions and Enrollment Terminology Settings
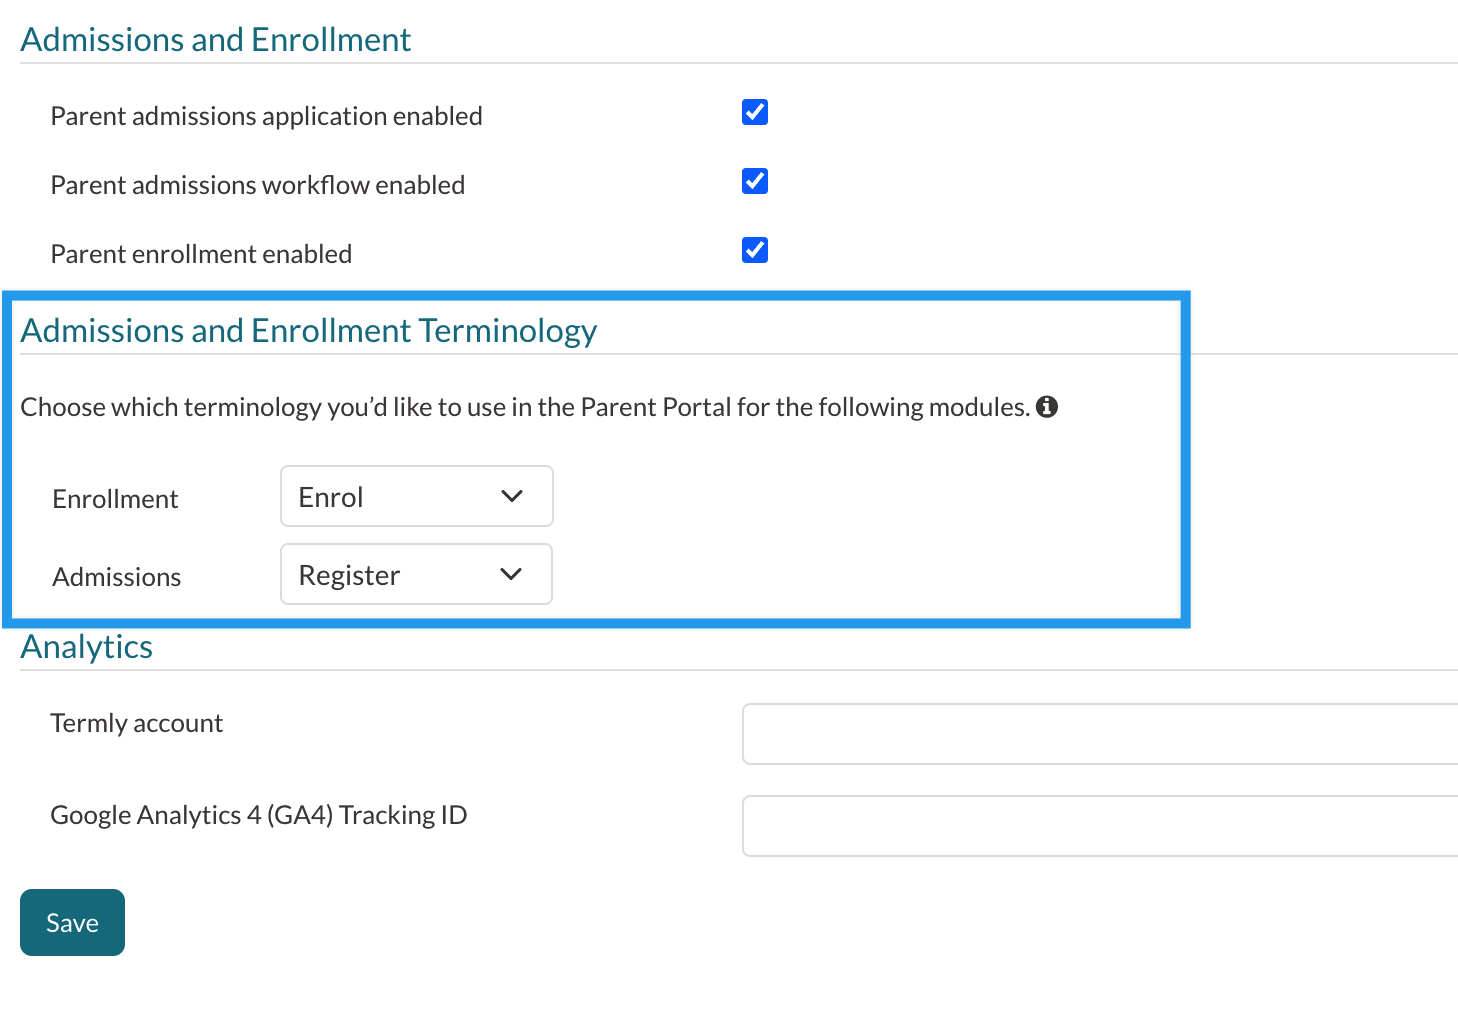
The options for updating the Admissions and Enrollment terminology are found within the Parent Portal Content page.
- Go to Settings > Portal > Parent Portal Content.
- Scroll down to the Admissions and Enrollment Terminology section.
Remember to save your changes at the bottom of the page if you update this!
Please Notes
- This doesn't update every instance of the words "enroll" or "apply" in the parent portal as some text is managed in other areas of your site. Read below in the What Changes and What Doesn't Change sections to learn about what the update affects and where the other changes can be made.
- The terminology will only update if you change and save the settings. If you do not adjust those settings, the default language will appear. The default terminology is as follows:
- Admissions = Apply
- Enrollment = Enroll
Customization Options
- Admissions: Choose between "Apply" or "Register."
- Enrollment: Select from "Enroll," "Enrol," or "Register."
What Changes
Updating the terminology affects the following areas in the Parent Portal:
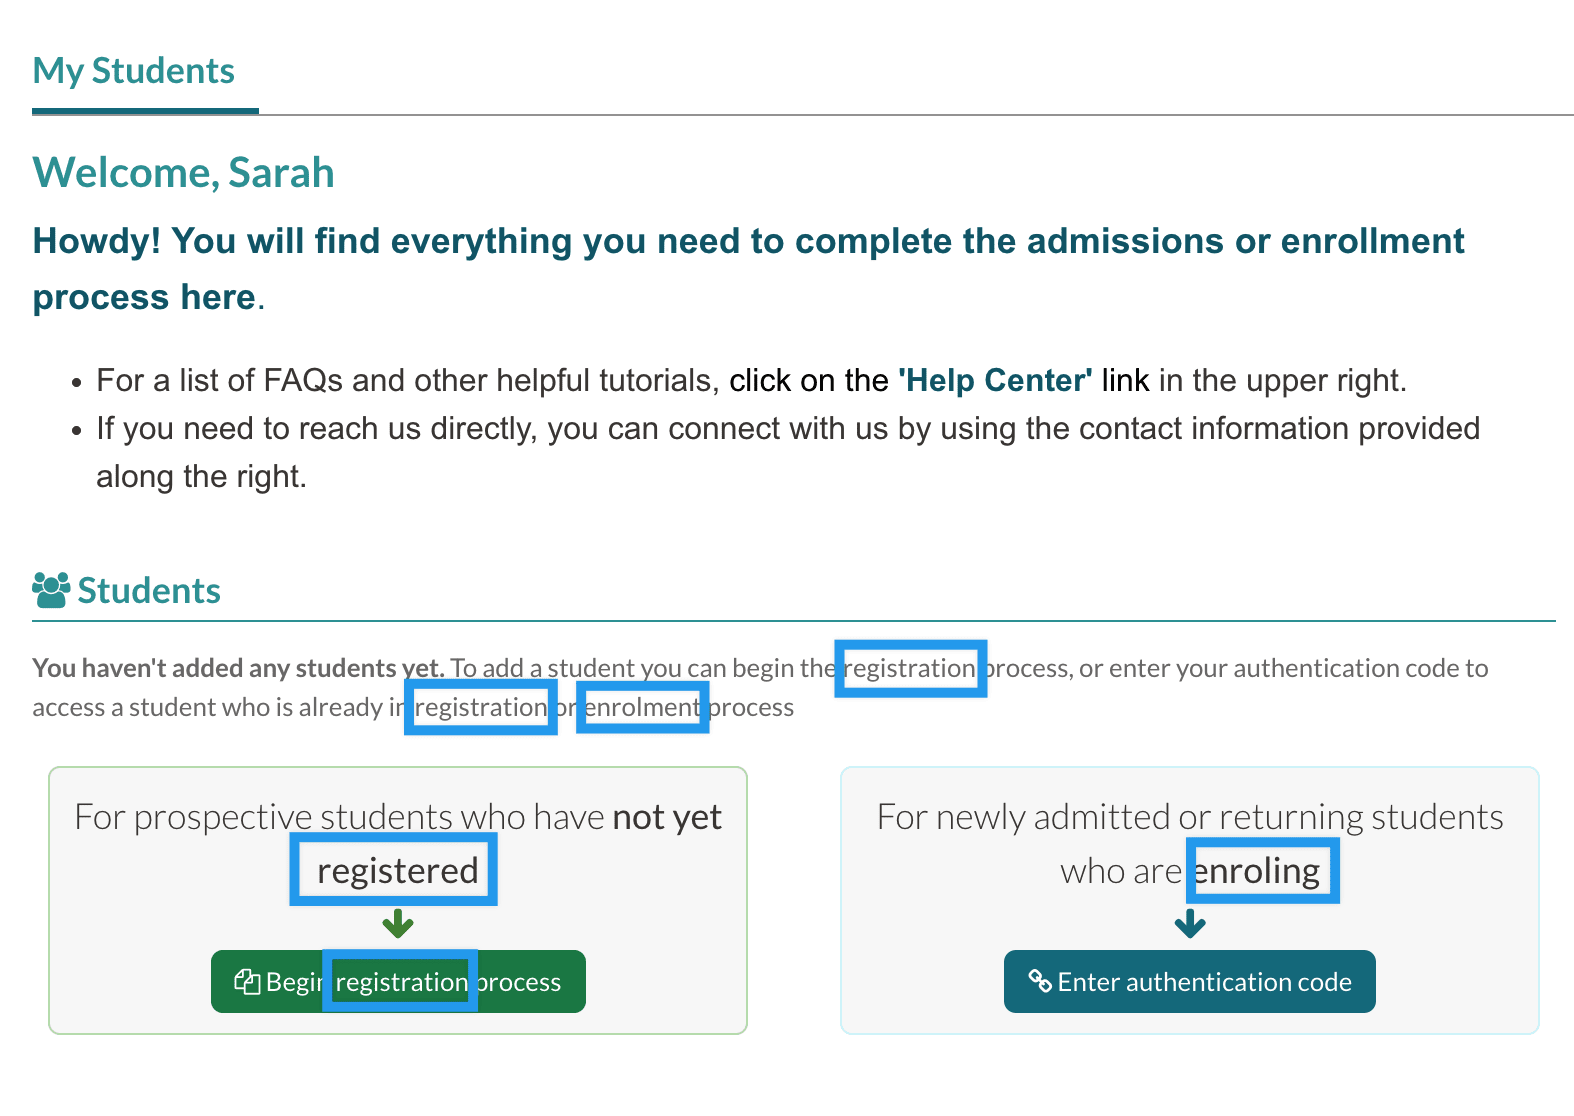
Initial Portal Buttons
When the parent first visits the parent portal and before they have any children listed as applicants or enrollees, they will see admissions or authentication buttons.* These will change if you update the Admissions and Enrollment Terminology.
- In this example, the following settings were used: Admissions = Register and Enrollment = Enrol.
- The highlighted sections note the places where the terminology will update based on the settings within the Parent Portal Content page.
- The sections at the top of this page (welcome text and bullet points) will not automatically update. Those areas are controlled in the following template on the Parent Portal Content page: Portal Widget.
*Whether or not parents see both of these depends on your specific site setup. Schools utilizing the Admissions and Enrollment modules will see both.
Pre-Import Application Language
The confirmation text that appears in the portal when a parent has submitted an application but before the application has been imported into Finalsite Enrollment.
Please note that this is based on your site settings. You have the flexibility to auto-import applications. Read more about those settings here: Basic Setup (look for the section that discusses the Auto-Import Inquiries and Applications and Auto-Merge Forms With Strong Matches options.)

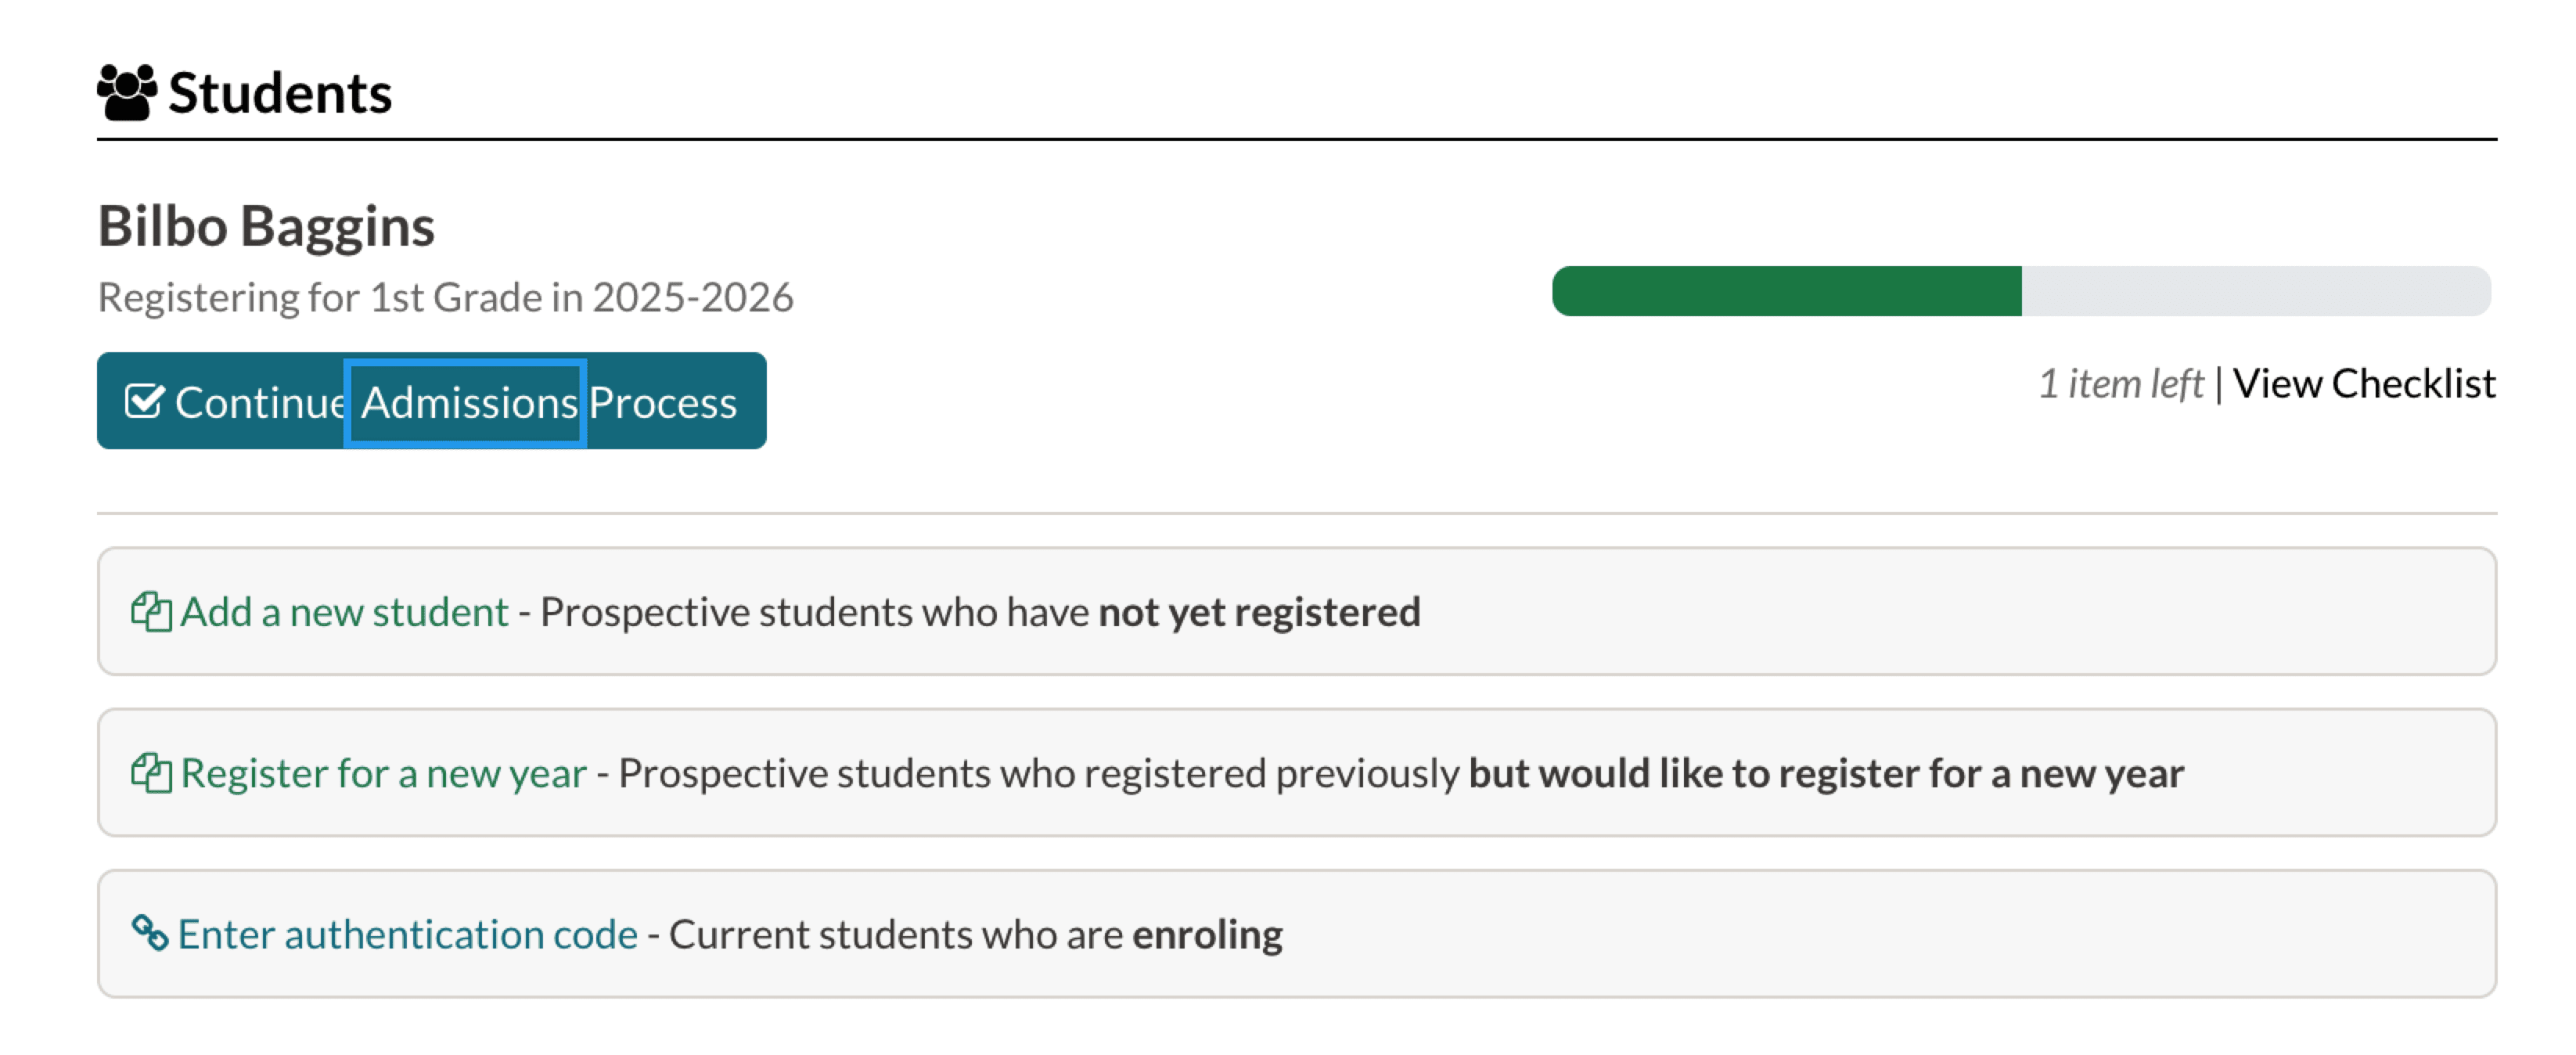
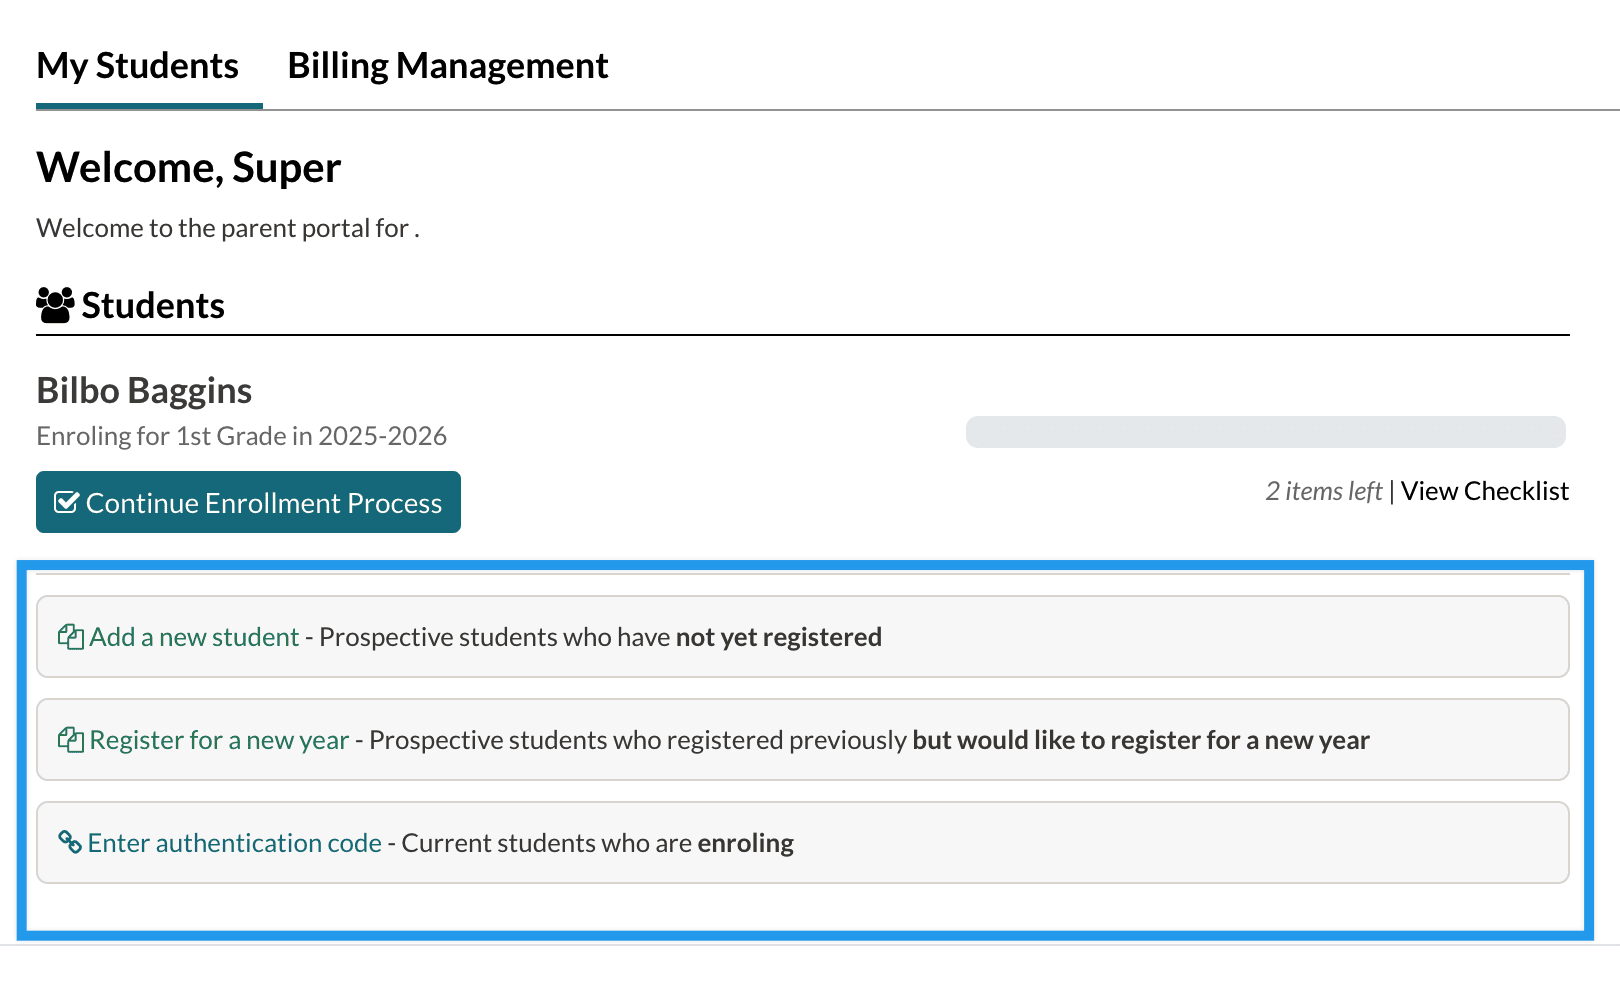
Continue Process Buttons
The "Continue Admissions Process" and "Continue Enrollment Process" buttons that appear on the Parent Portal home page will update based on the terminology settings. Clicking those buttons brings the parent into their student's checklist.
Example of the Admissions button
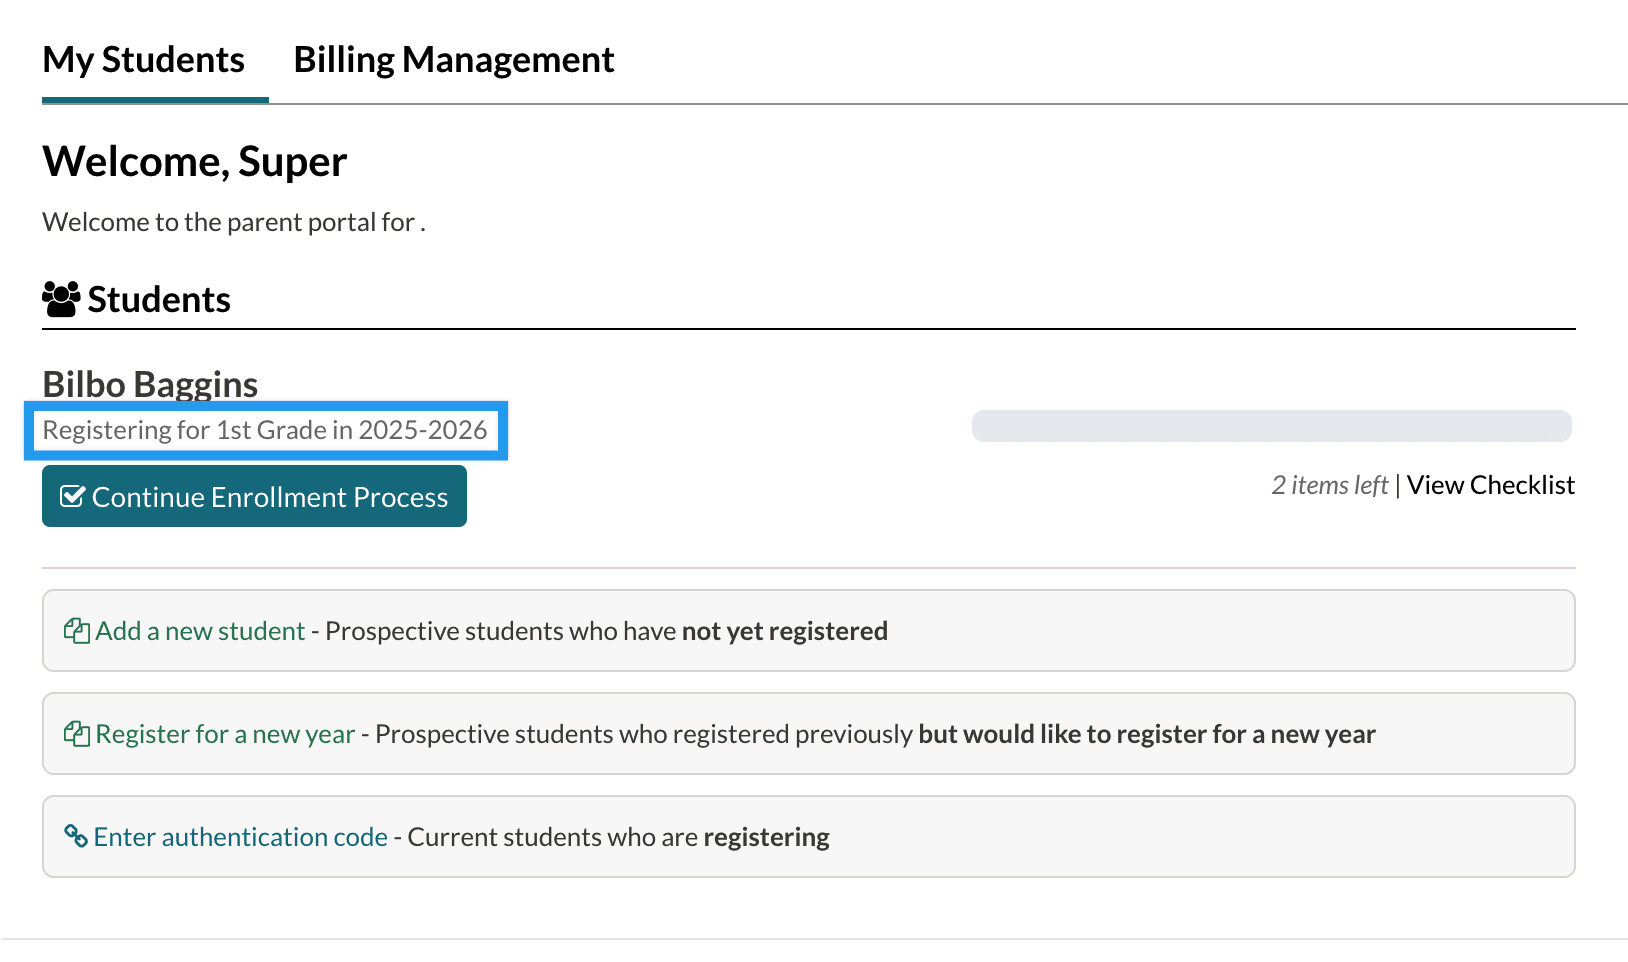
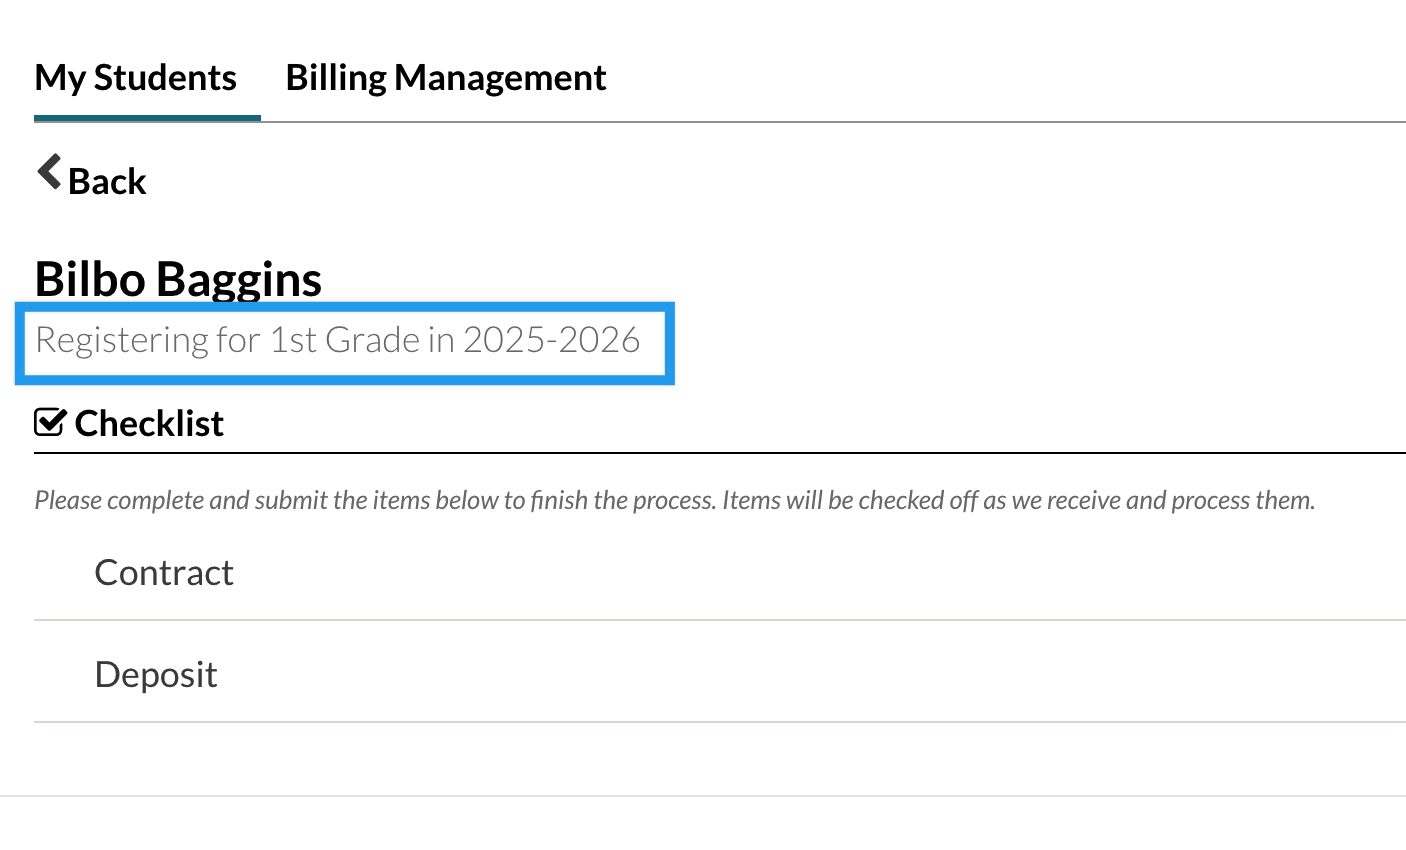
Checklist Subtext
The text under the student's name on the checklist, both on the summary page and the checklist page.
Summary Page: Parents with students enrolling or applying see this page after logging into their account but before they click into the actual student checklist. The text that appears under the student name updates based on the terminology settings.
Checklist page: Parent sees this after clicking on their student from the summary page. It lists all of the required and optional steps involved in admissions or enrollment. The text that appears under the student name updates based on the terminology settings.
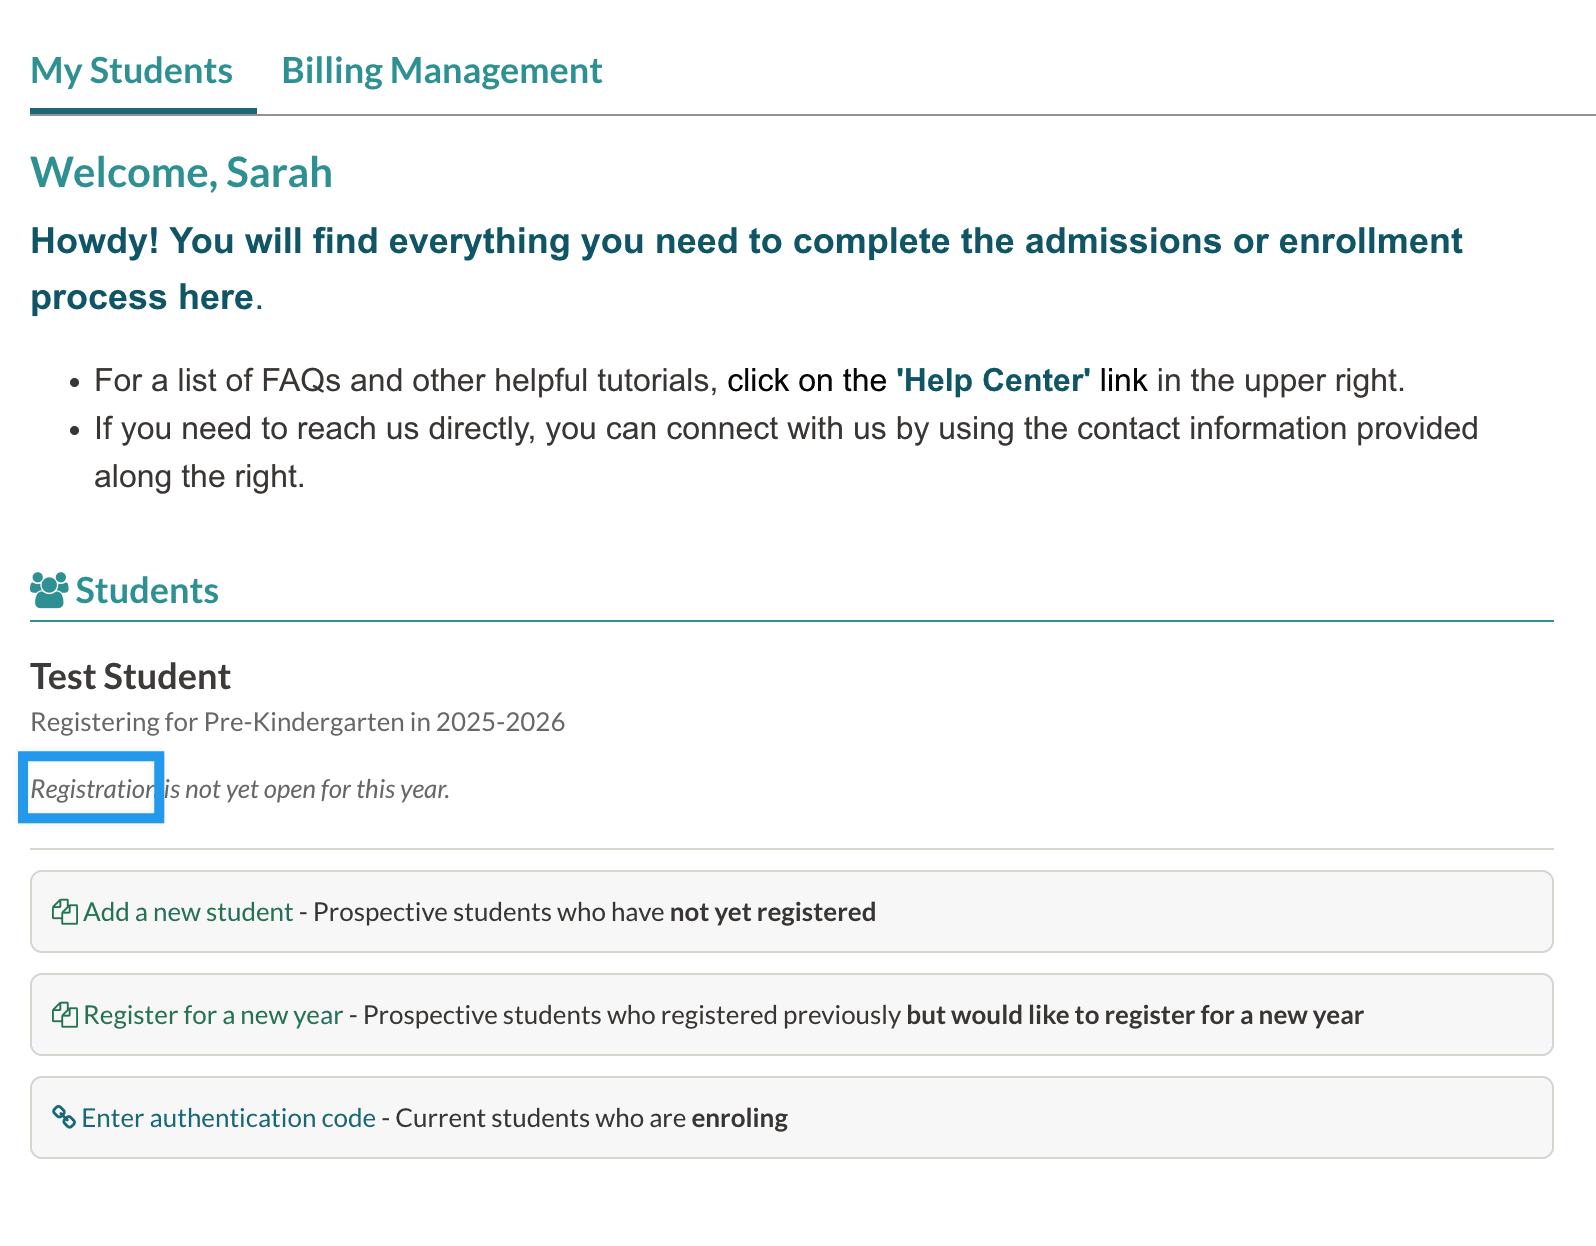
Language that appears when Admissions or Enrollment is disabled
When you disable or enrollment (preventing checklist access) the parents see a message instead of the checklist access button. This text is automatically updated based on your terminology settings.
To learn more about the Admission/Enrollment enablement settings, please refer to this article: Control Parent Access to Admissions & Enrollment in the Parent Portal.
Summary Page Apply/Enroll Links
At the bottom of the summary page, below the list of students, all link options will adjust based on the terminology settings.
What Doesn't Change
The following sections do not adjust when you update the Admissions or Enrollment terminology in the Parent Portal.
Thank You Landing Pages
The customizable landing thank you pages that parents encounter after applying or enrolling aren't affected by the terminology update.
Where can you adjust those?
These pages can be customized on the Parent Portal Content page (Settings > Portal > Parent Portal Content) when you select to edit the Application Thank You or Contract Thank You pages.
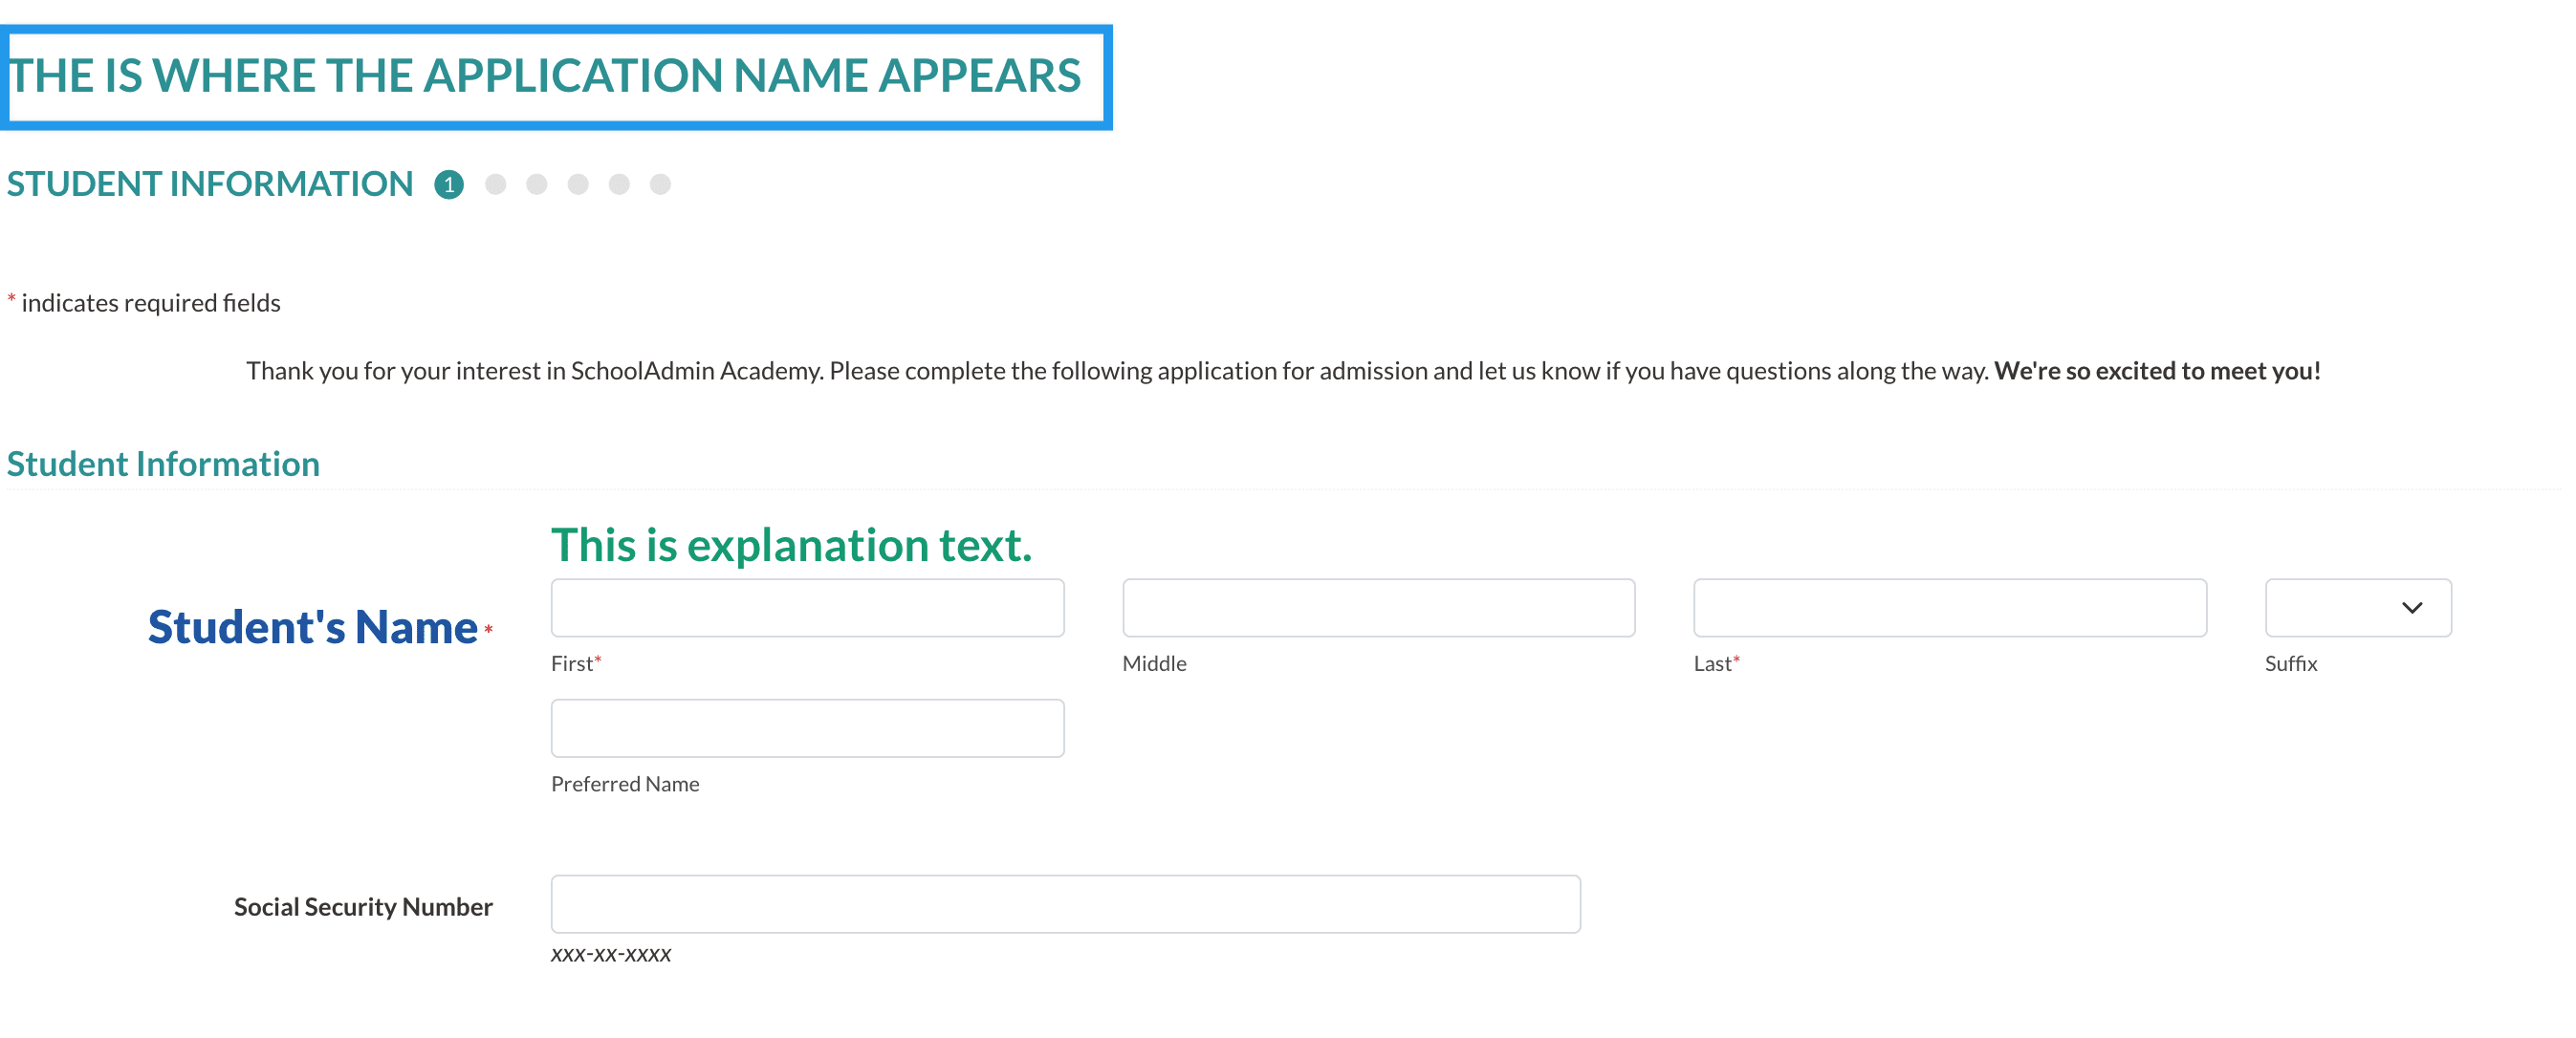
Name of the Application
The application name appears in large font at the top of the Application form. This text is not affected by selecting a custom terminology for admissions/enrollment.
Where can you change the application name?
The name of the application can be adjusted on the Basic Setup page (Settings > General > Basic Setup) under the section titles New app caption.
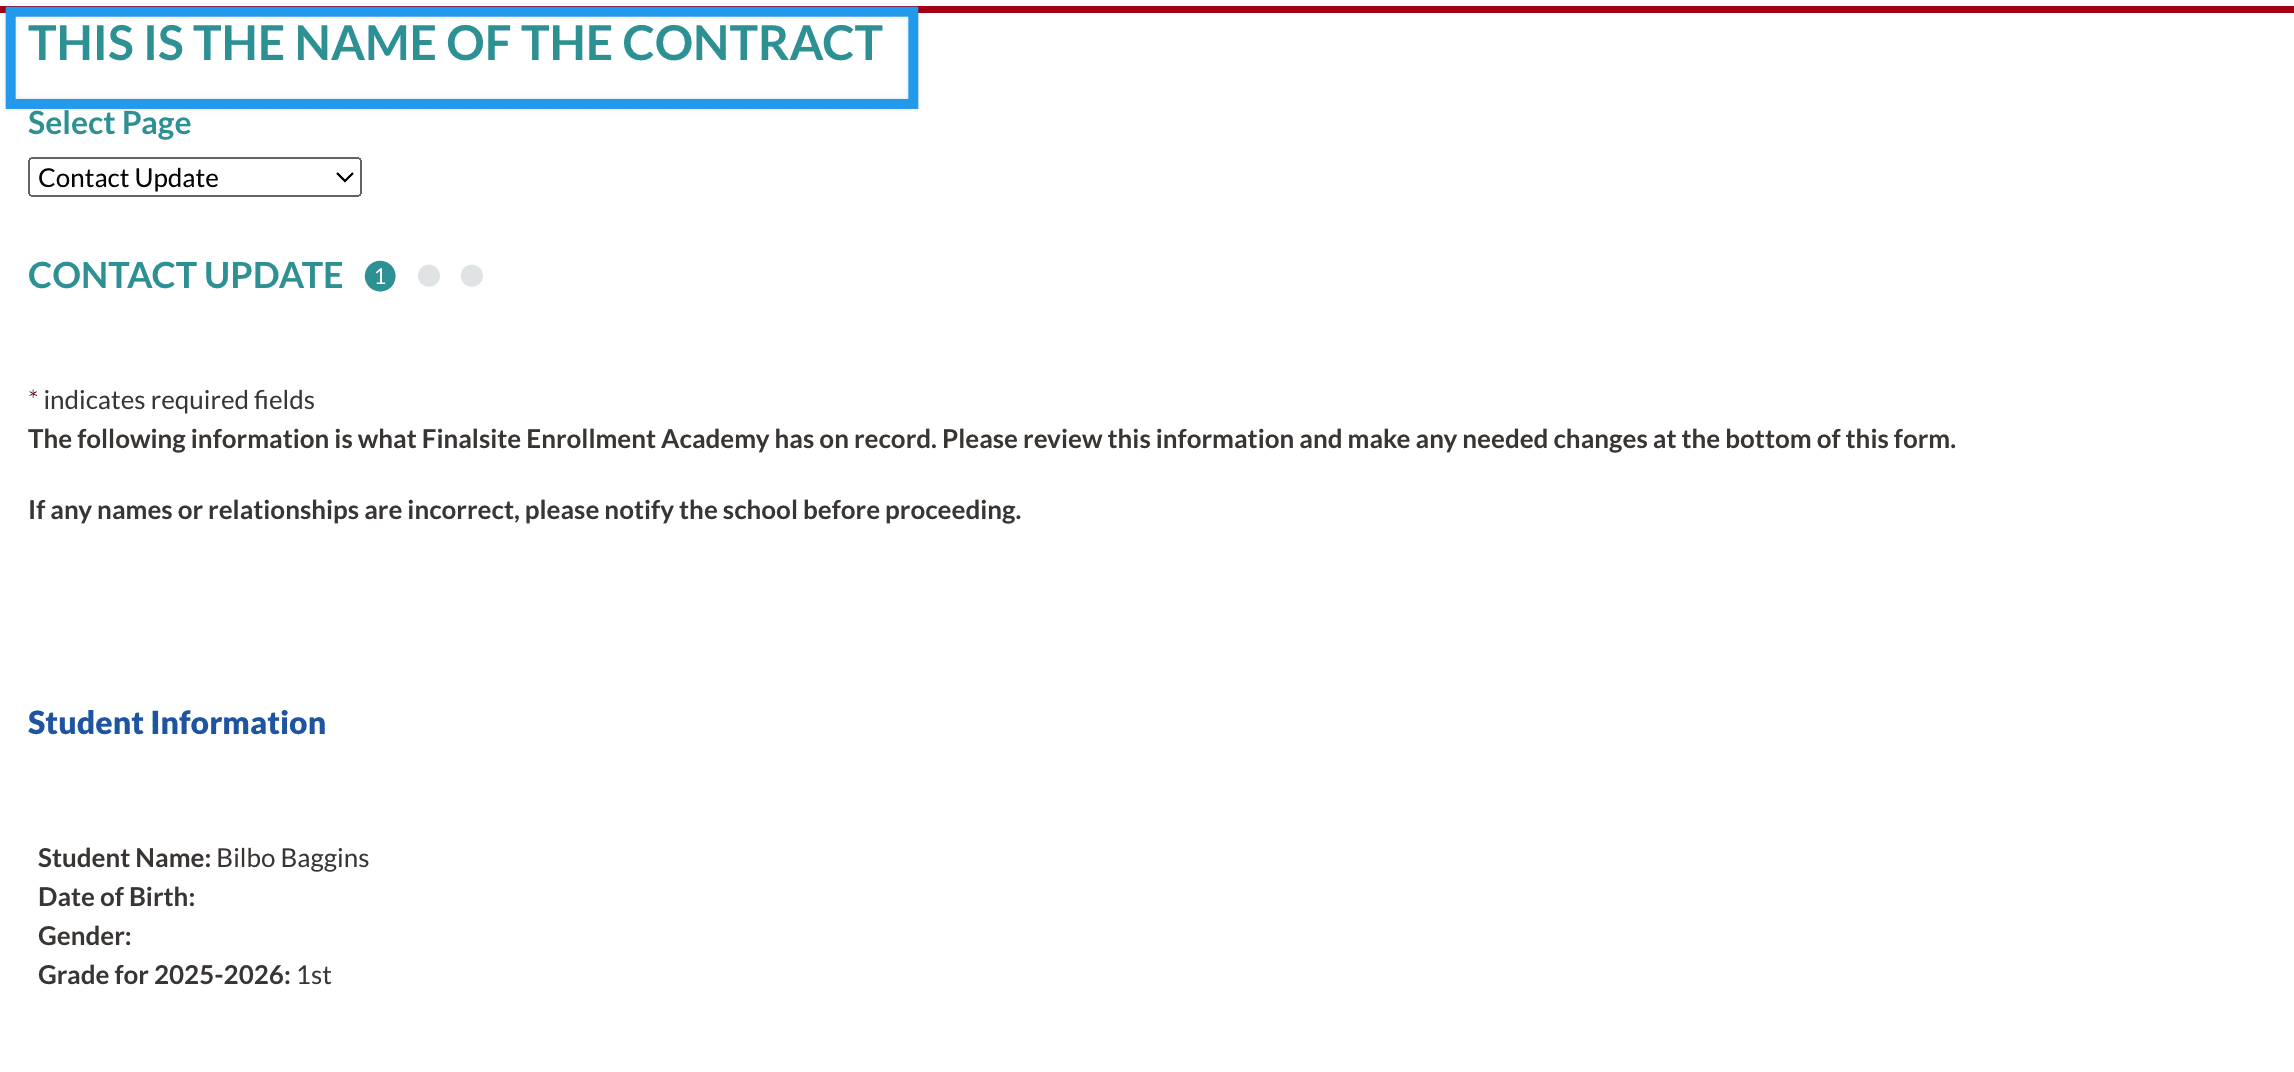
Name of the Contract
The name of the contract appears at the top of the contract in bold text. The name of the contract is not updated when you select custom terminology.
Where can you adjust those?
The name of the contract and deposit can be adjusted on the Enrollment Setup page (Settings > Fields & Data > Enrollment Setup.)
Where can you adjust those?
This can not be updated or customized.
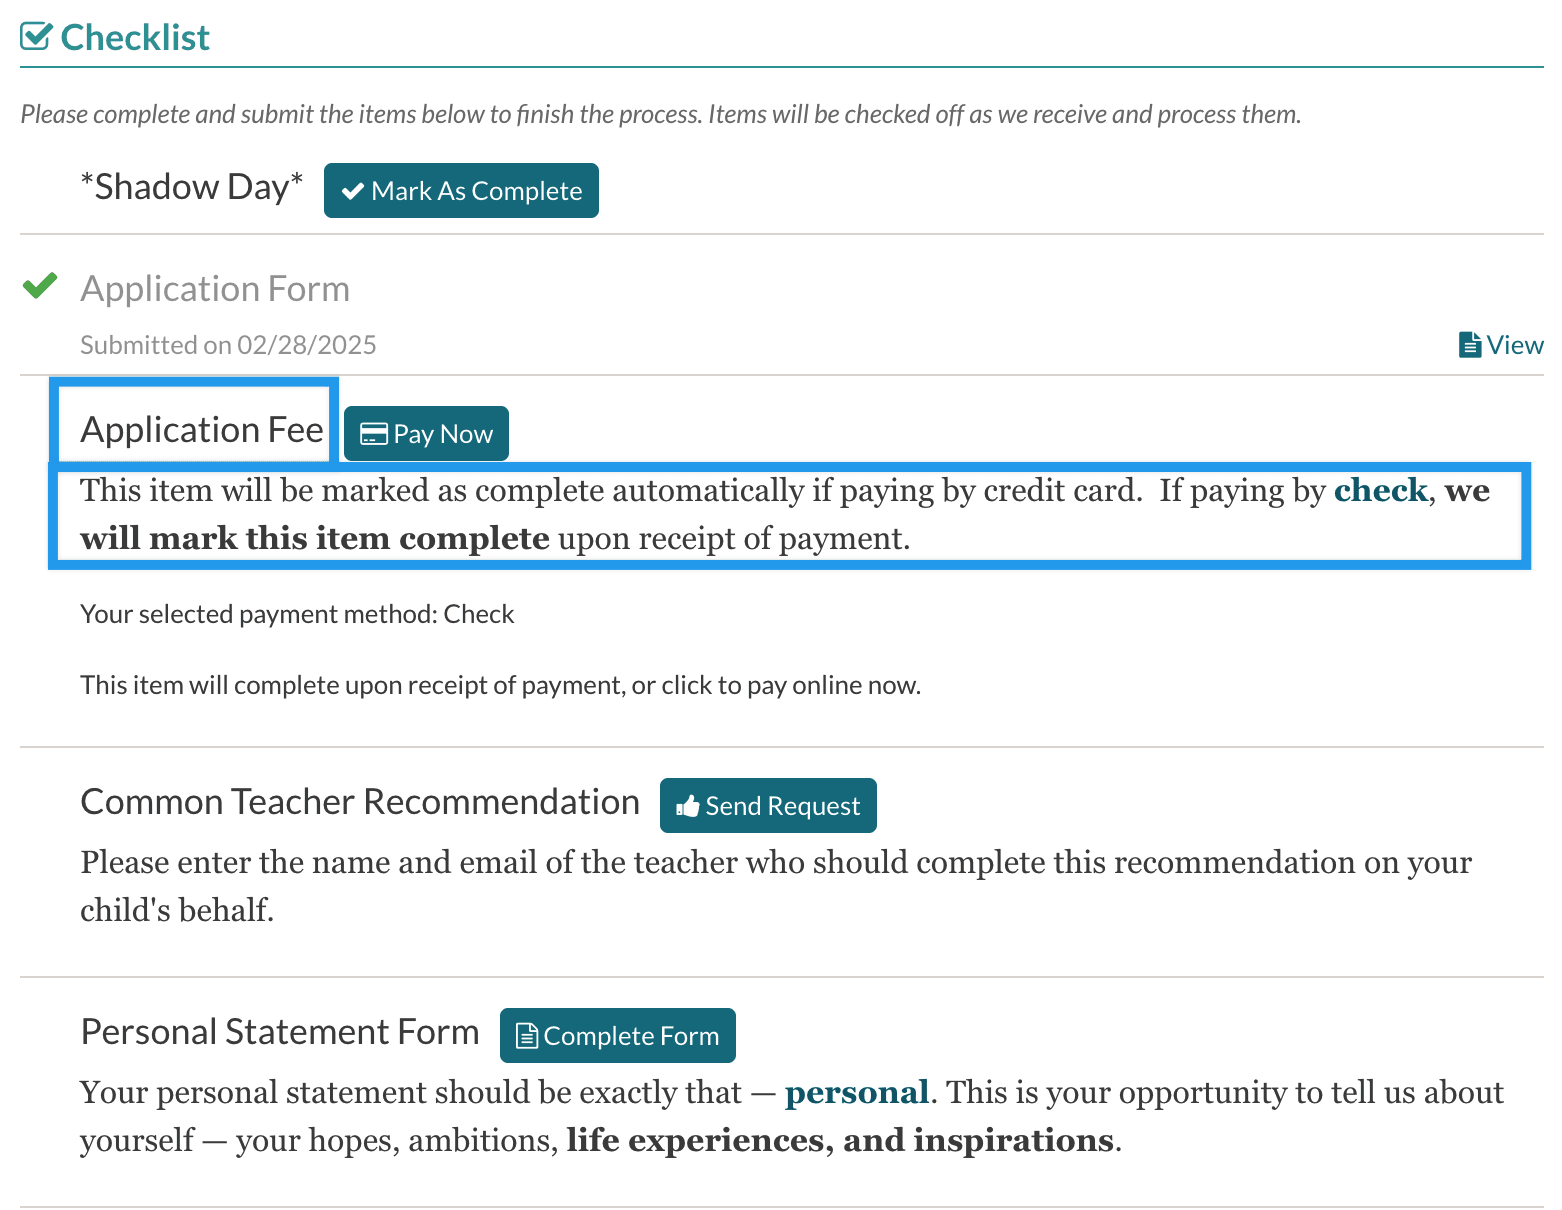
Checklist items and Descriptions
Checklist item names and descriptions are not affected by updating the terminology.
Where can you adjust those?
Checklist items and descriptions can be updated on the relevant checklist settings page under Settings > Checklists.
Need Help?
If you have questions or need assistance with customizing Parent Portal terminology, please contact our support team.
Comments
0 comments
Article is closed for comments.