Overview
Continuous enrollment allows families to sign a contract once, with the option to opt out each year, rather than completing and signing a full contract year over year. This article reviews how to set up your own Continuous Enrollment workflow within Finalsite Enrollment.
Please refer to this article for more detailed information regarding best practices around Continuous Enrollment and additional resources for yearly workflows.
Enabling Bulk Contract Submission
To enable the ability to bulk submit contracts, follow these steps:
- Navigate to Settings > Fields and Data > Enrollment Setup.
- Scroll to the bottom of the page and find the Continuous Enrollment section.
- Check the box for Enable Bulk Contract Submission and click Save.
How to Bulk Submit Contracts
Once the feature is enabled, you can access it within the Edit menu of the Enrollment List Page > Students in Enrollment.
- First, you will select one or more students from the list using the checkboxes along the left of each student name.
- Next, select Edit > Submit Contracts.
- Once selected, the 'Submit Contracts' screen will display important points to review and the actions that will take place.
Please Note:
- Only contracts not yet completed will be submitted
- Any in-progress contracts will have their data overwritten with the information you select in the following steps
- Contracts that are already submitted will not change
Click Next to continue.
On the second page of the Submit Contract dialogue box, you will need to select a new Payment Plan option or choose to rollover the existing payment plans with the Use previous payment plan option selected.
Type the word SUBMIT as instructed and then click on the Submit button.
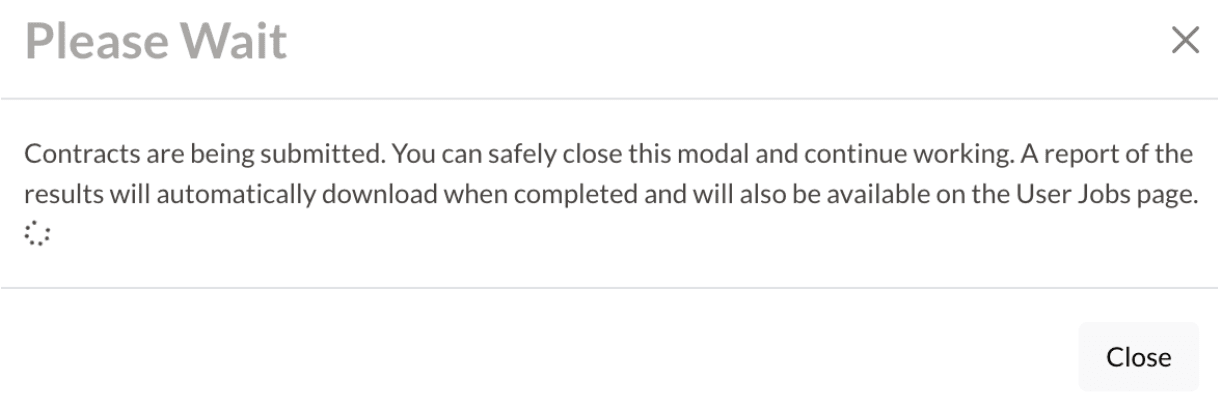
A message will display letting you know the system is working on submitting contracts for the selected students. You can close this window and navigate to other pages while you wait.
If you stay on the page, when the system is complete, you will see another dialogue box letting you know that the contracts have been successfully submitted.

When the contracts are successfully submitted, the system automatically downloads a file onto your computer that is a report listing all of the contracts you have submitted.
- If you selected the ‘Use a previous payment plan’ option, but the student doesn’t have a previous payment plan, the contract will not be submitted. The student will be listed in the downloaded report of submitted contracts and will include a note in the Errors column to let you know.
- You can only submit contracts for returning students. New students have not yet submitted their first contract, and therefore are not eligible for the continuous enrollment bulk contract submit feature.
Behavior of the Checklist Item Post Submission
Once submitted, the checklist item for the Contract will be marked as complete. The item will display the date the contract was submitted and the name of the admin who submitted it.
Please Note: The contract pdf will not be available on the parent side. If the contract checklist item is displayed to parents as a required item, the parents/guardians will only see the completed checklist item to signify that the contract has been submitted.
Admin view of the contract checklist item after bulk submission
- The See Details button will open a pdf copy of the contract.
-
Manage Files will open the Document Manager dialogue box window.
- Within the Document Manager dialogue box, you will have the following additional options:
- Clicking ‘Upload New File’ will open your computer’s file management system and allow you to upload an additional file to the Contract checklist item. It will not delete or replace the contract itself.
- Clicking ‘Download’ will download the contract onto your computer.
- Within the Document Manager dialogue box, you will have the following additional options:
Please refer to this article for information on yearly workflows for Continuous Enrollment.


Comments
0 comments
Article is closed for comments.