Overview
Once decisions have been made on which applicants your school has accepted for the upcoming year, you’ll need to move these students into the Enrollment workflow so that they can complete a contract and any other enrollment checklist items.
For any parents that declined the offer to enroll their child, or that simply did not enroll, the appropriate statuses need to be set to differentiate them from those entering enrollment. Your school may also have custom enrollment statuses to further define decline reasons, which can be set through an individual or bulk status change.
How-To: Move Accepted Students into Enrollment
IMPORTANT: Before you begin the process of moving students into enrollment, make sure to activate your new enrollment year in Finalsite Enrollment.
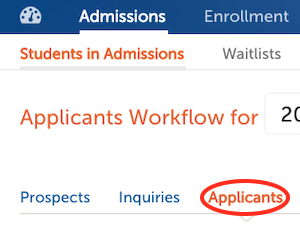
Once all inactive statuses have been set for any families that are not enrolling in your school, you can filter out your Accepted students to move them into Enrollment. To do this, start by clicking into the Admissions tab at the top of the page, and make sure you are on the Applicants sub-tab.
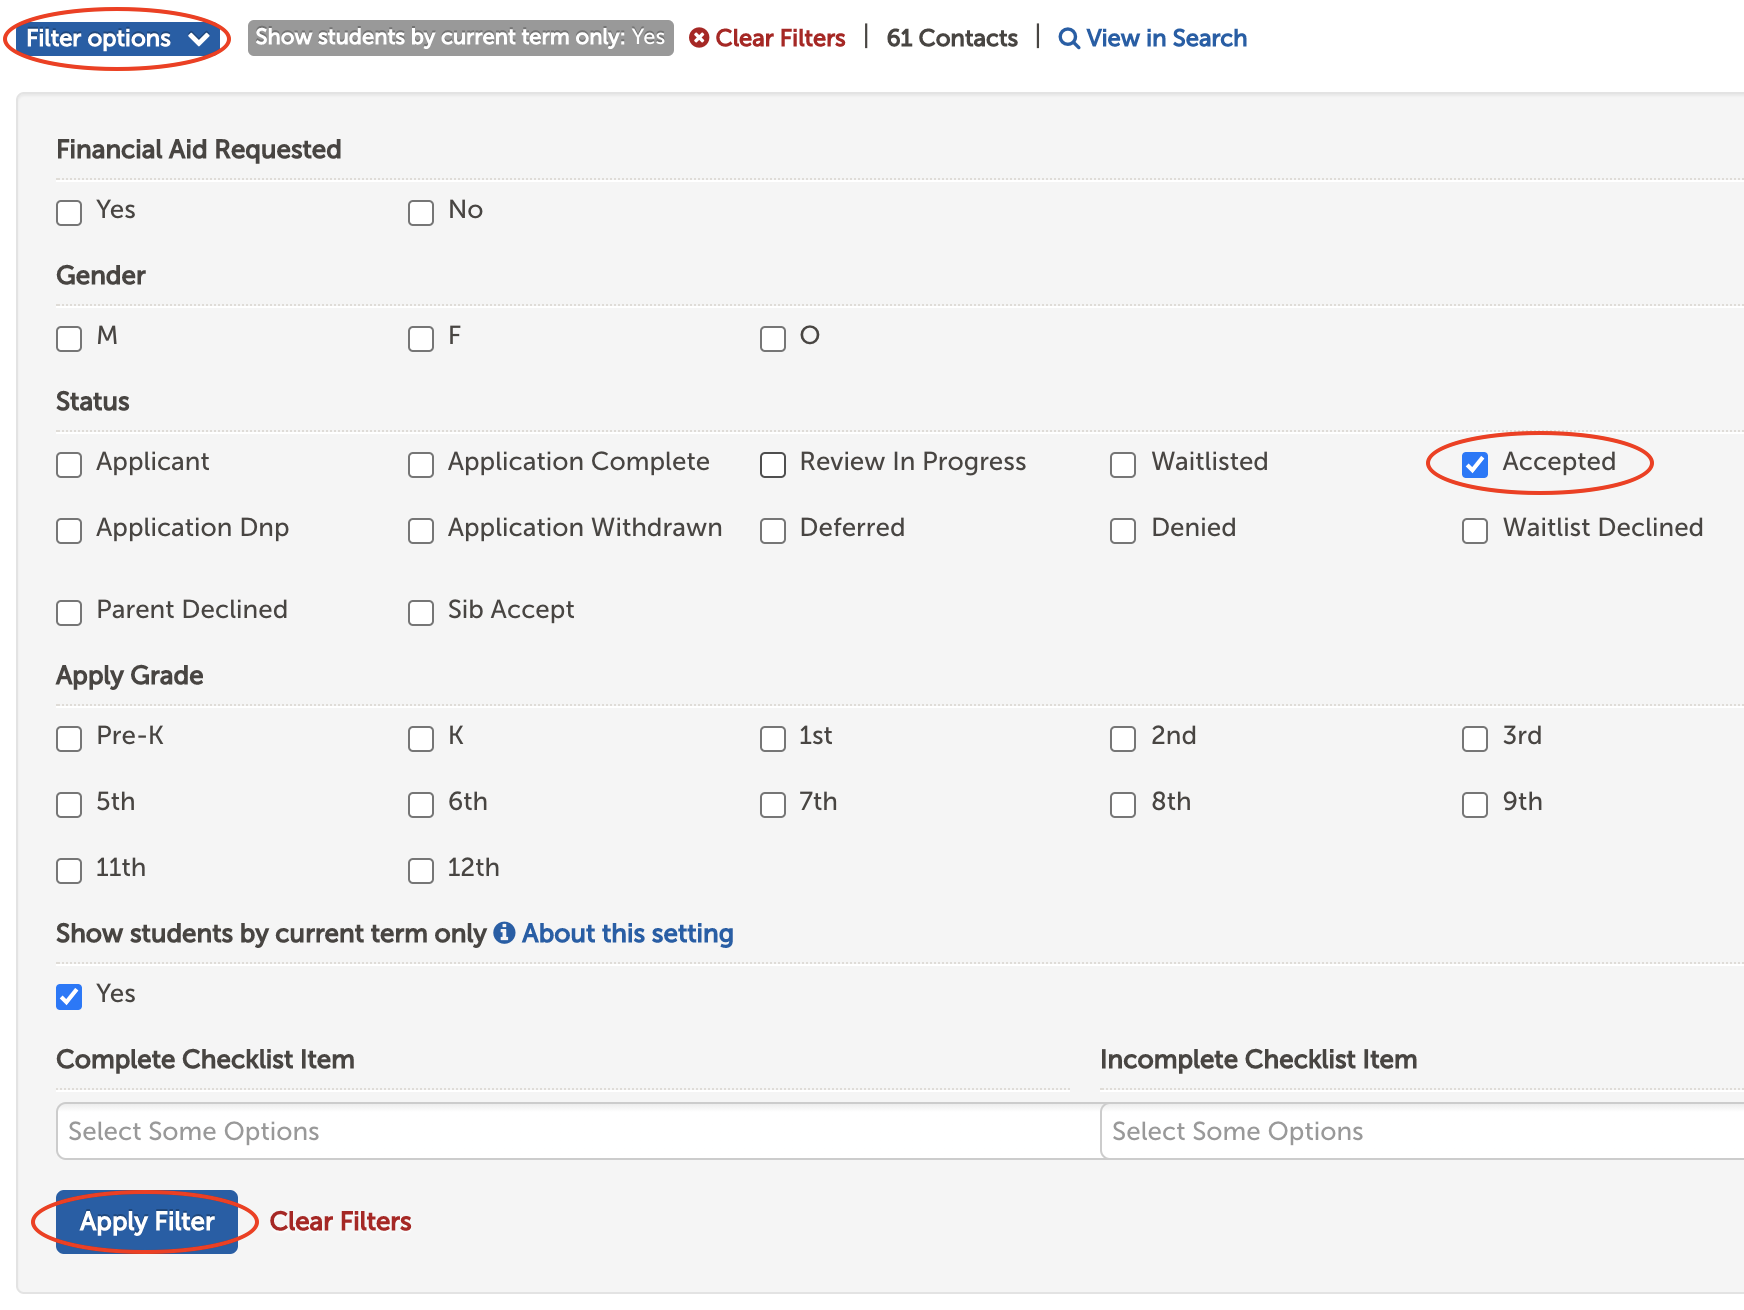
Set the current Term using the drop-down menu at the top of the page, then click on the blue Filter Options button and mark the Accepted status checkbox. Additional filters can be set as needed. Click Apply Filters to update your results.
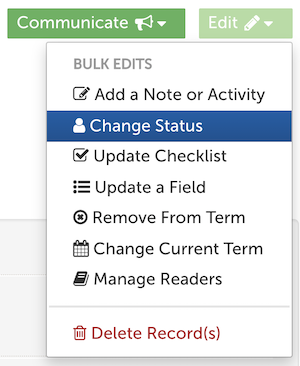
Once you have your list of Accepted students pulled up on the list page, you can then select them in bulk by checking the box next to the Name header.* This will activate the action menus in the upper right of the page. Click on the green Edit menu, and then select Change Status.
*Please note: The select all action will only select the students on the current page. If you have multiple pages of results, you will need to repeat this process for each page. You can increase the number of contacts per page from Basic Setup.
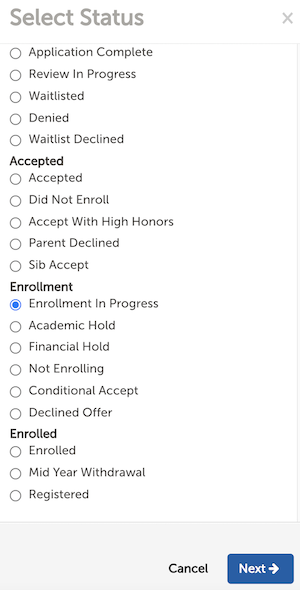
From the Change Status menu, select Enrollment in Progress, and then click the blue Next button.
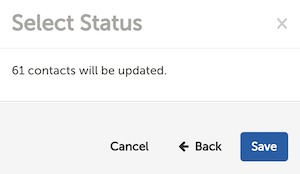
The system will let you know how many contacts will be updated. Once you confirm this information is correct, click the blue Save button to confirm the status change action.
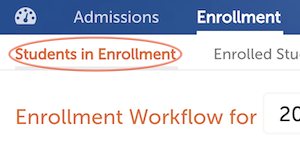
All of your Accepted students will now move into a status of Enrollment in Progress and they’ll show up on the Enrollment list page (Enrollment tab at the top of the page) within the Students in Enrollment page.
These students will now also have an Enrollment Type of 'New,' and a Contract Status of Pending (this means it’s pending your team generating it). You are now ready to start previewing student contracts and preparing to generate those contracts.

Comments
0 comments
Article is closed for comments.