Overview
This article is designed to give you an overview of the process that parents/guardians will go through in the Parent Portal to enroll their students in your school.
Please note that before a parent can complete this process, you must generate the contract for their student(s) and enable enrollment in the Parent Portal. You should also make sure that your Enrollment Checklist is ready with all of the items you need the family to complete.
How-To: Parent Portal Login / Account Creation
After you’ve sent your enrollment emails to both new and returning families, parents will be instructed to log into their Parent Portal to access the Contract and Enrollment Checklist for their student(s).
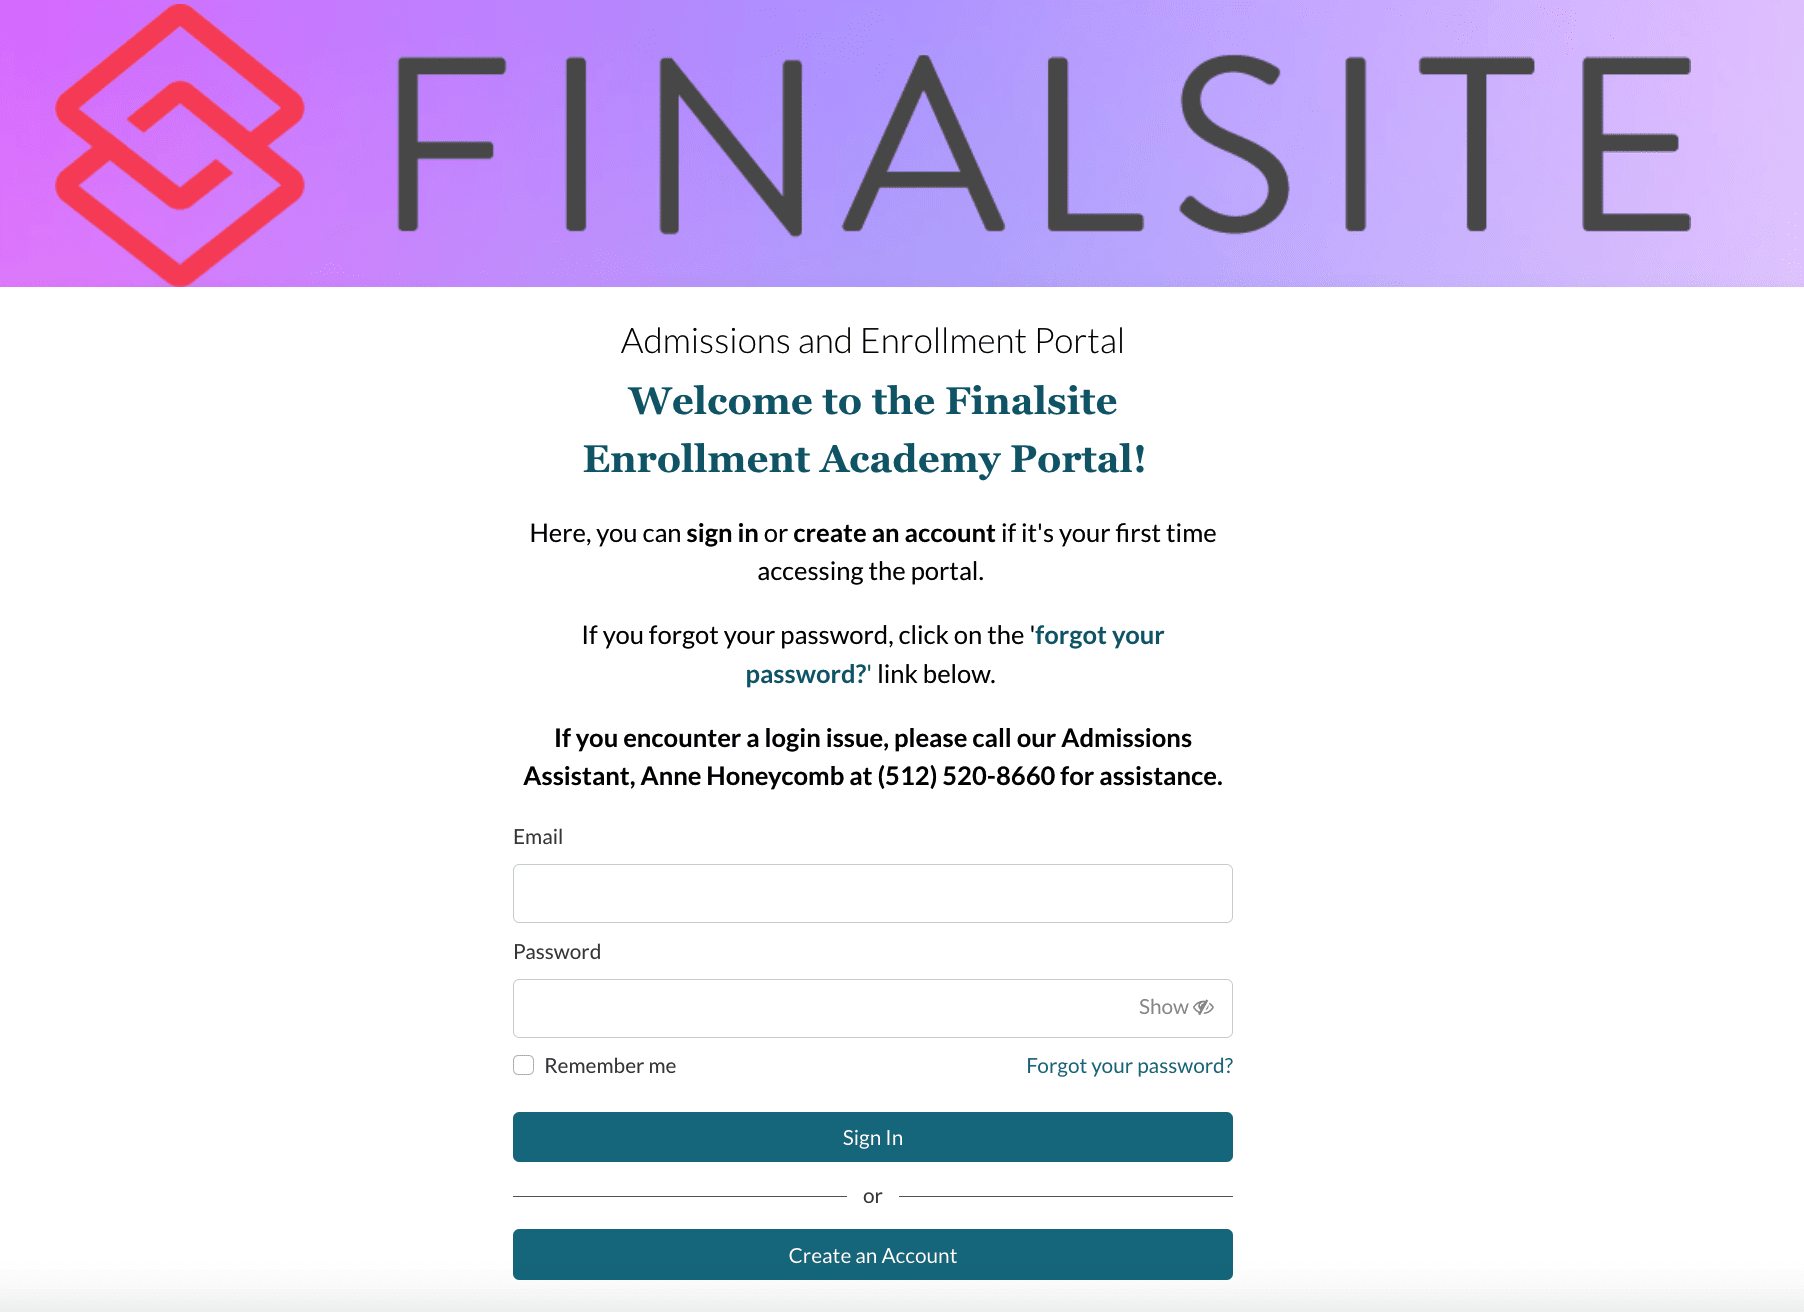
- They can Sign In to an existing Parent Portal Account by entering their Email Address and Password.
- If they forgot their password, they can click on the 'Forgot your password?' link (see below for more information)
- Once they fill out both fields (email and password), they’ll click the blue Sign In button.
- If they do not have an existing Parent Portal Account, they will need to create a new one by clicking on the blue Create an Account button.
The text you see above the sign-in area is called the Login Page Description and is customizable on your Parent Portal Content page.
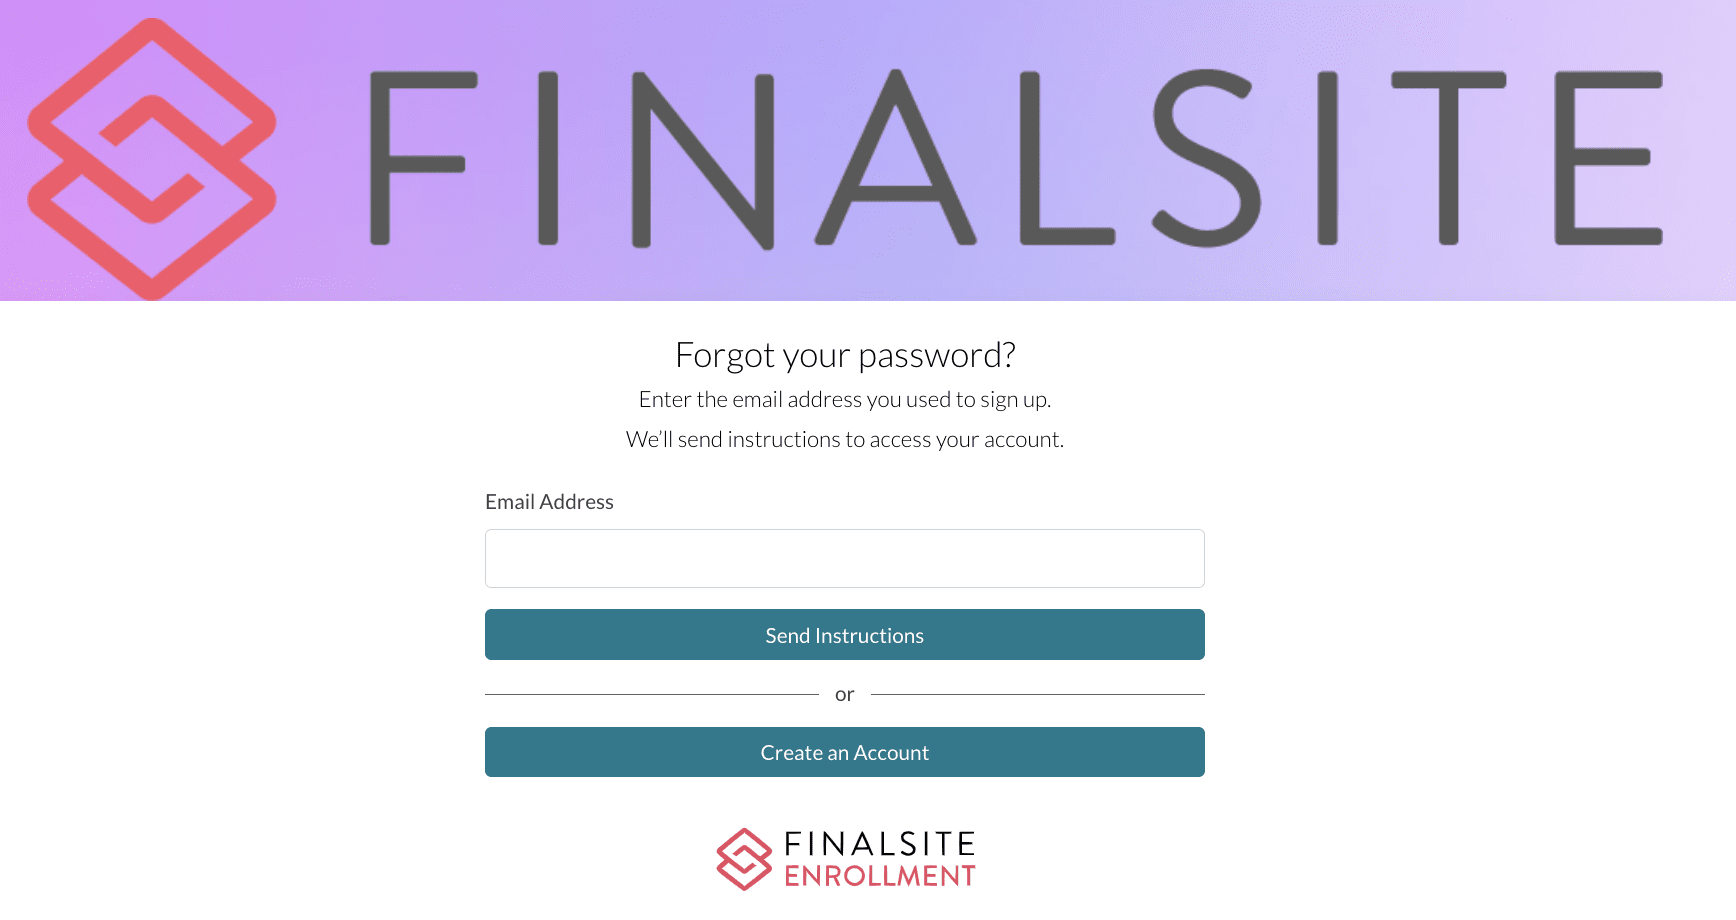
*If the parent/guardian forgets their password, they’ll be asked for the email address they used to sign up previously. If a Parent Portal Account with that email address is found in the system, an email will be sent to the parent/guardian with instructions on how to reset their password. You can also send password reset emails from the admin portal - click here to learn how.
How-To: Access the Enrollment Checklist
After the parent/guardian successfully logs into the Parent Portal, they’ll see any linked student(s) listed in the Students section of the page. To access the checklist for any of the enrolling students, they’ll click on the blue Continue Enrollment Process button or the View Checklist link to the right. The checklist progress bar on this page will fill in with green as items are completed on the checklist, which is the same way it displays on the admin side within the Enrollment List Page. The parent/guardian can also see how many items are left to complete as they work through the checklist.

A best practice is to have your Contract and Deposit checklist items at the top of the list so that they are the first items seen by the parent/guardian when they open their student's enrollment checklist. You can rearrange the order of your checklist items on the checklist setup page.

On the Enrollment Checklist, all required items will be listed at the top, in the same order as they are arranged on the fields setup page. Any optional items will be below the required items, in their section titled 'Optional Steps'.
How-To: Complete the Enrollment Contract
To start filling out the enrollment contract, the parent/guardian can click on the blue Complete Form button next to that item on the enrollment checklist. Please note: If a parent/guardian is reporting that they see the Contract checklist item, but not the option to complete the form, check the following:
-
Make sure that the contract is generated, without errors. An easy way to check this is to go to the Enrollment List Page (by clicking the Enrollment tab) in the admin portal. Find the student on the list and make sure that the Contract Status column lists the contract as Generated and does not have a warning symbol next to it.
-
Make sure that a parent/guardian (not the student) is authenticated and has financial responsibility switched on. Financial responsibility is required to view the contract, and since students cannot have financial responsibility, the contract is hidden if they are the only ones authenticated. To review this, go to the student's contact record in your admin portal, then click on the Parent Portal Access page.
Your Contract is customizable and so the specifics of it will be unique to your school; however, these forms typically consist of contractual text, a breakdown of tuition/fees/aid, and payment plan options. You may also choose to include a contact update page, where parents/guardians can update any contact information (e.g. phone numbers, emails) as needed.
Any field data that was previously captured for the student or parents/guardians will pre-populate on the Contract. The parent/guardian can edit these fields as needed within the form and they’ll update accordingly in your admin portal once the form is submitted.c
Parents can select 'Save and Finish Later' at the bottom of the page at any point before submitting payments. If the parent opens the contract, it will change from a status of Generated to a status of In Progress. However, if the parent completes all pages of the Contract up to the point of the Deposit page, the contract will go into a status of Pending Payment. Click here for more information on contract states.
How-To: Pay the Deposit
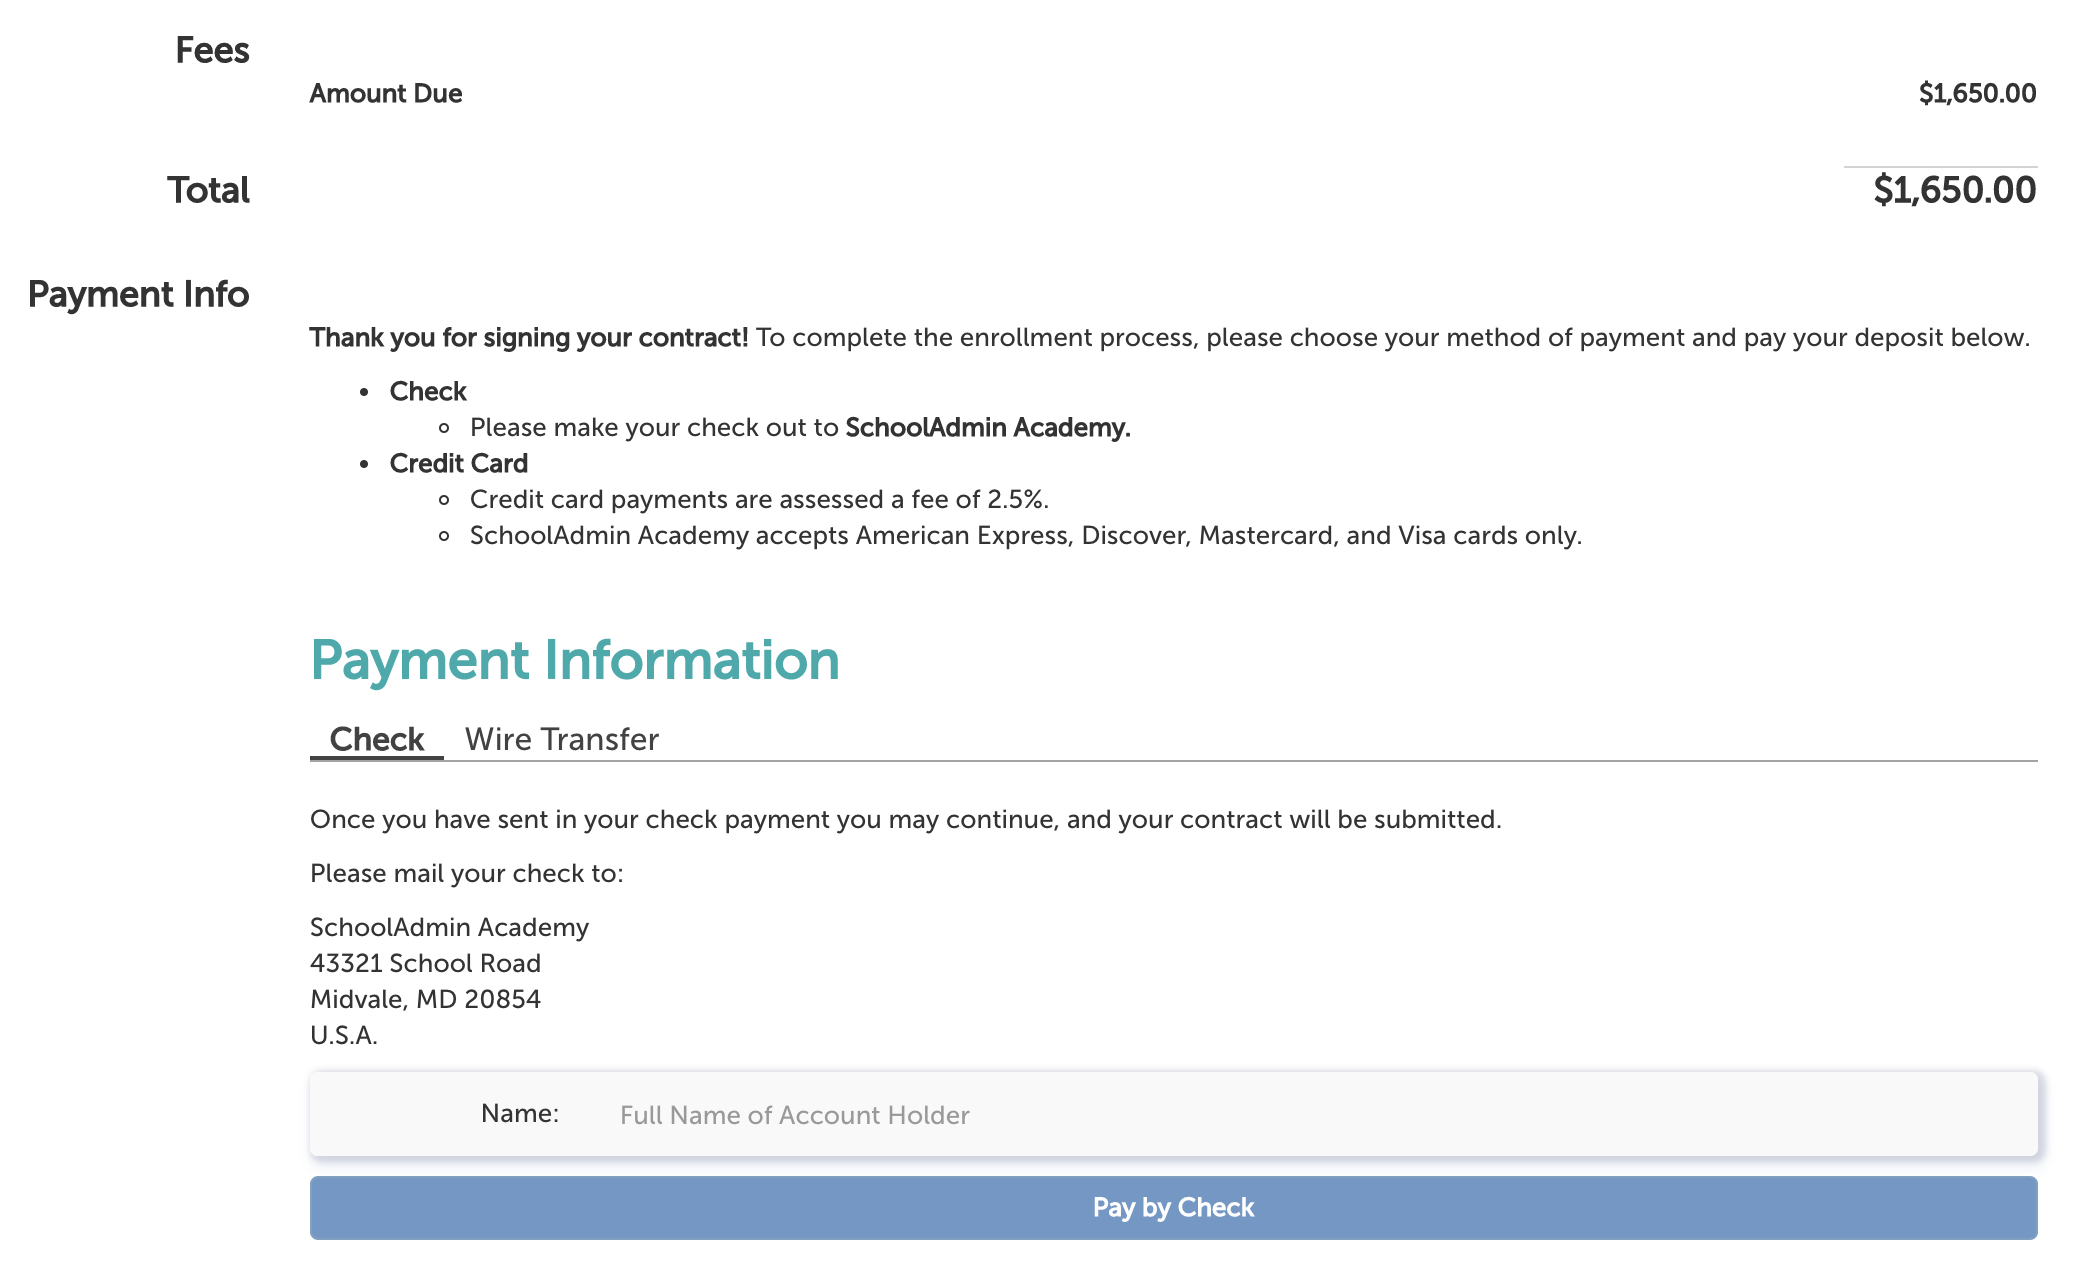
The final page of your contract is most likely the Deposit page. The parent will select their method of payment, fill out any necessary fields, and click the corresponding payment button to submit the contract and deposit. At this point, the Contract moves into a status of Submitted and the parent can no longer go back into the Contract to make changes.
The Deposit checklist item will be immediately marked off as complete once the parent/guardian submits their payment information if they pay by credit card or electronic check. If the parent/guardian elected to pay the deposit by paper check or a custom payment method, the Deposit checklist item will need to be manually marked as complete by your team (in the admin portal) when you receive the payment.

A recommended search within your Enrollment List Page – Filter Options is to look for a Complete Checklist Item of Contract and an Incomplete Checklist Item of Deposit. This way you can send a bulk communication to families that need to submit their deposit by a certain deadline.


Comments
0 comments
Article is closed for comments.