
The In School Payments Report (Billing menu) tracks all payments that were manually added to the site, whether entered by completing a fee checklist item or using the Add Payment button on the ledger.
Who can access this feature?
Admin Account Types: System Admins, Admins, and Users
Permissions: Financial
💡Quick Answers
- What types of payments appear in this report? Any payment manually added to the ledger, regardless of payment method (cash, check, credit card, etc.), including deposits checked off via checklist items.
- What columns does the report include? Posted Date, Student Name, Term, Associated Account, Amount, Description, Category, Type, Payment Method, and Received Date.
- How do I filter or export the report? Use the Received Date Range dropdown to filter by when payments were recorded, the Filter Options dropdown for additional filtering, and the Export button to download as CSV or PDF.
In this Article
Pop some Popcorn!
If you'd prefer to watch our video on this, you can check that out here, in our video library.
How Payments Are Added to this Report
Manually added payments are payments added by:
- Completing a fee checklist item manually (like marking a deposit fee as complete).
- Using the Add Payment button on the ledger to add a payment to a ledger.
Regardless of the payment method selected (Electronic Check, Credit Card, Cash, etc.) any payment that is manually added to the ledger through the above methods will show up in this report.
Additional Notes
- When manually checking off a fee checklist item (like a Deposit checklist item), the received date is optional. If none is added, the In-School Payments report will display the date the item was marked as complete.
- For ledger corrections that require adding a manual payment (such as adjusting a lump sum payment), we recommend adding a description that allows you to easily spot these within this report.
Within the Report
Within the In-School Payments report, you can:
- Filter the results based on the date a payment was recorded as received within the Received Date Range dropdown.
- Use the Filter Options dropdown, to filter the report in a variety of ways.
- Export the report as a CSV or PDF.

The following columns are displayed with the results:
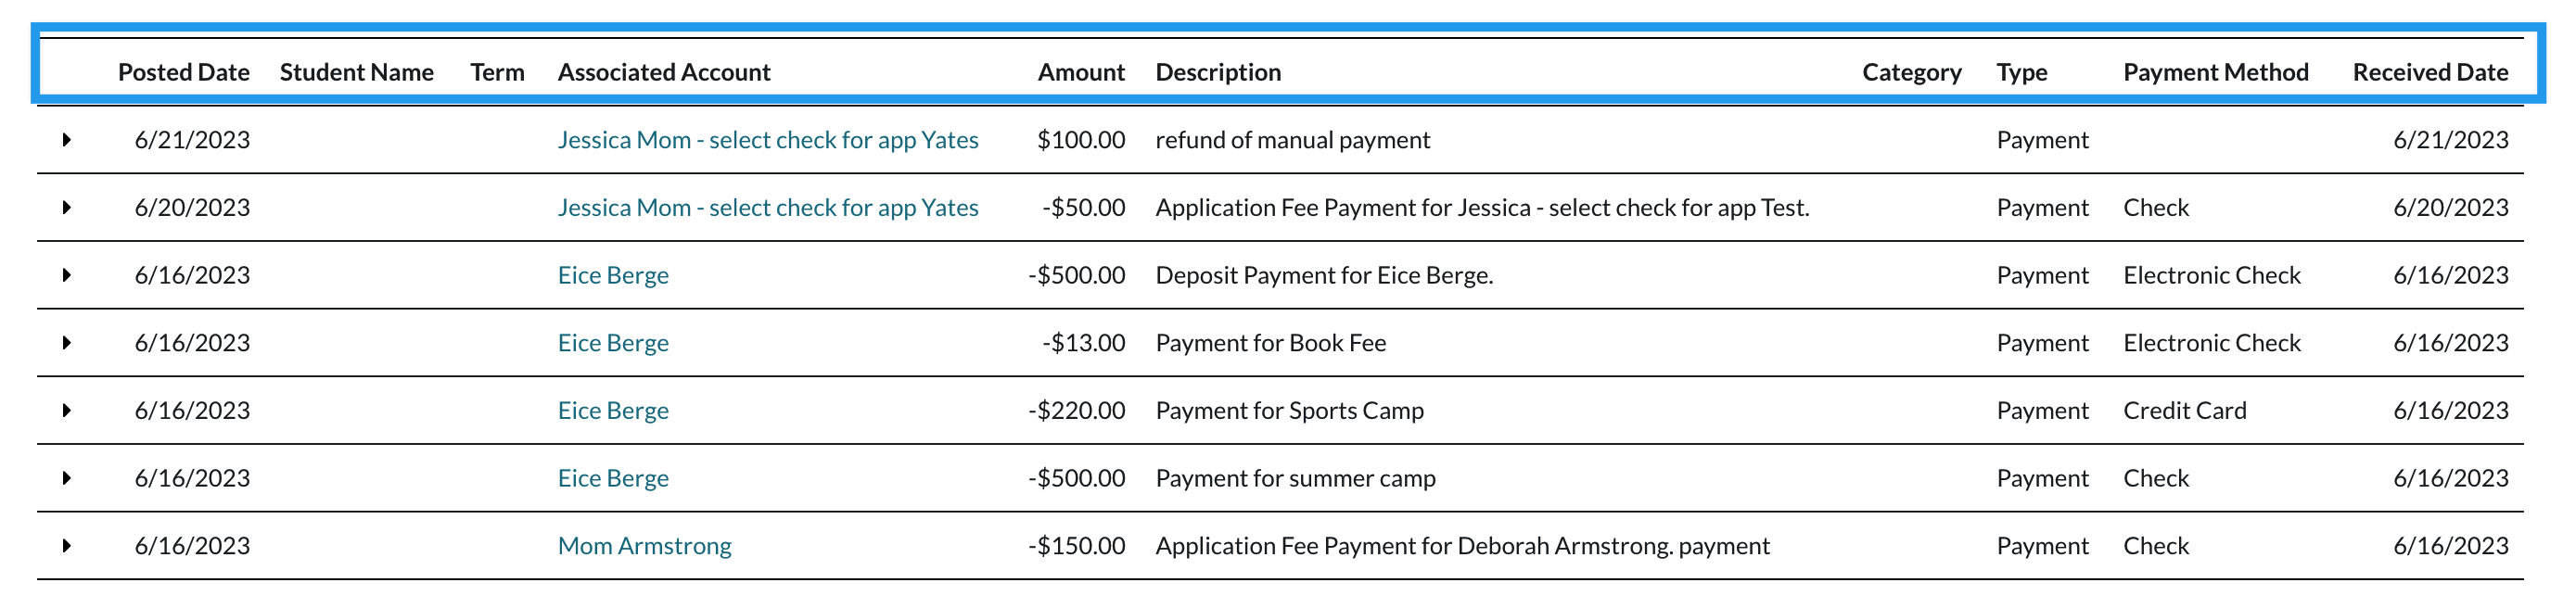
- Posted Date
- Student Name
- Term
- Associated Account
- Amount
- Description
- Category
- Type
- Payment Method
- Received Date
Each line item can be expanded to display the student name, term, and billing category.

Comments
0 comments
Article is closed for comments.