Overview
Payments - powered by Stripe - is a simple and powerful way to accept payments inside Finalsite Enrollment. For an overview and frequently asked questions (FAQ) on Payments, please check out our Payments: Overview & FAQ article. For detailed steps on how to onboard with Payments, read below.
Who has access to this?
Types: System Admin
Permissions: Financial
In this article
- What you will need to get started
- How to Set Up your Payments Account
- Convenience Fees
- Monitoring the Status of your Onboarding
- Alerts
- ACH Company ID (Stripe)
- Disconnecting or deleting additional Stripe accounts
- Payment Methods Available
- Refunds
- Deductions
- Information Regarding Payouts
- Autofill Link
What you will need to get started
To make the process easier, we recommend making sure that you gather the following details before starting. You can read more in-depth details of the steps and what's required in the section below titled How to Setup your Payments Account.
- Your type of business and business structure.
- Information related to your school, such as your EIN, address, and website.
- Contact information for the individual at your school responsible for managing Payments. This will likely include their name, email, date of birth, address, phone and the last four digits of their Social Security number OR an official ID document.
How to Set Up Your Payments Account
Follow the steps below to create your account and onboard to Payments.
Please review these notes before beginning the setup:
- Your school's bank account may require authorization for withdrawals. Please contact your bank to confirm and authorize withdrawals before enabling refunds.
- You'll need to check that you have set your Currency under Settings > General > Basic Setup before you can begin the setup process. If currency is not set there, please select one before returning to the Payments page to begin the onboarding.
- Very Important: When setting up your Payments account, you will need to establish an "owner" for the account. This person will have management access and be able to make important adjustments to the account. Please keep in mind that if the person you establish as the account manager ever leaves the school, it will be important to establish a new account manager before the original person departs. If a new manager for the account is not established, it could result in delayed payouts and other transitional issues. You can establish a new manager for the account by having the original manager navigate to Settings > Financial > Payments, selecting the Update Information button, and, after the original account manager signs in, the account information can be updated with the new manager's information.
-
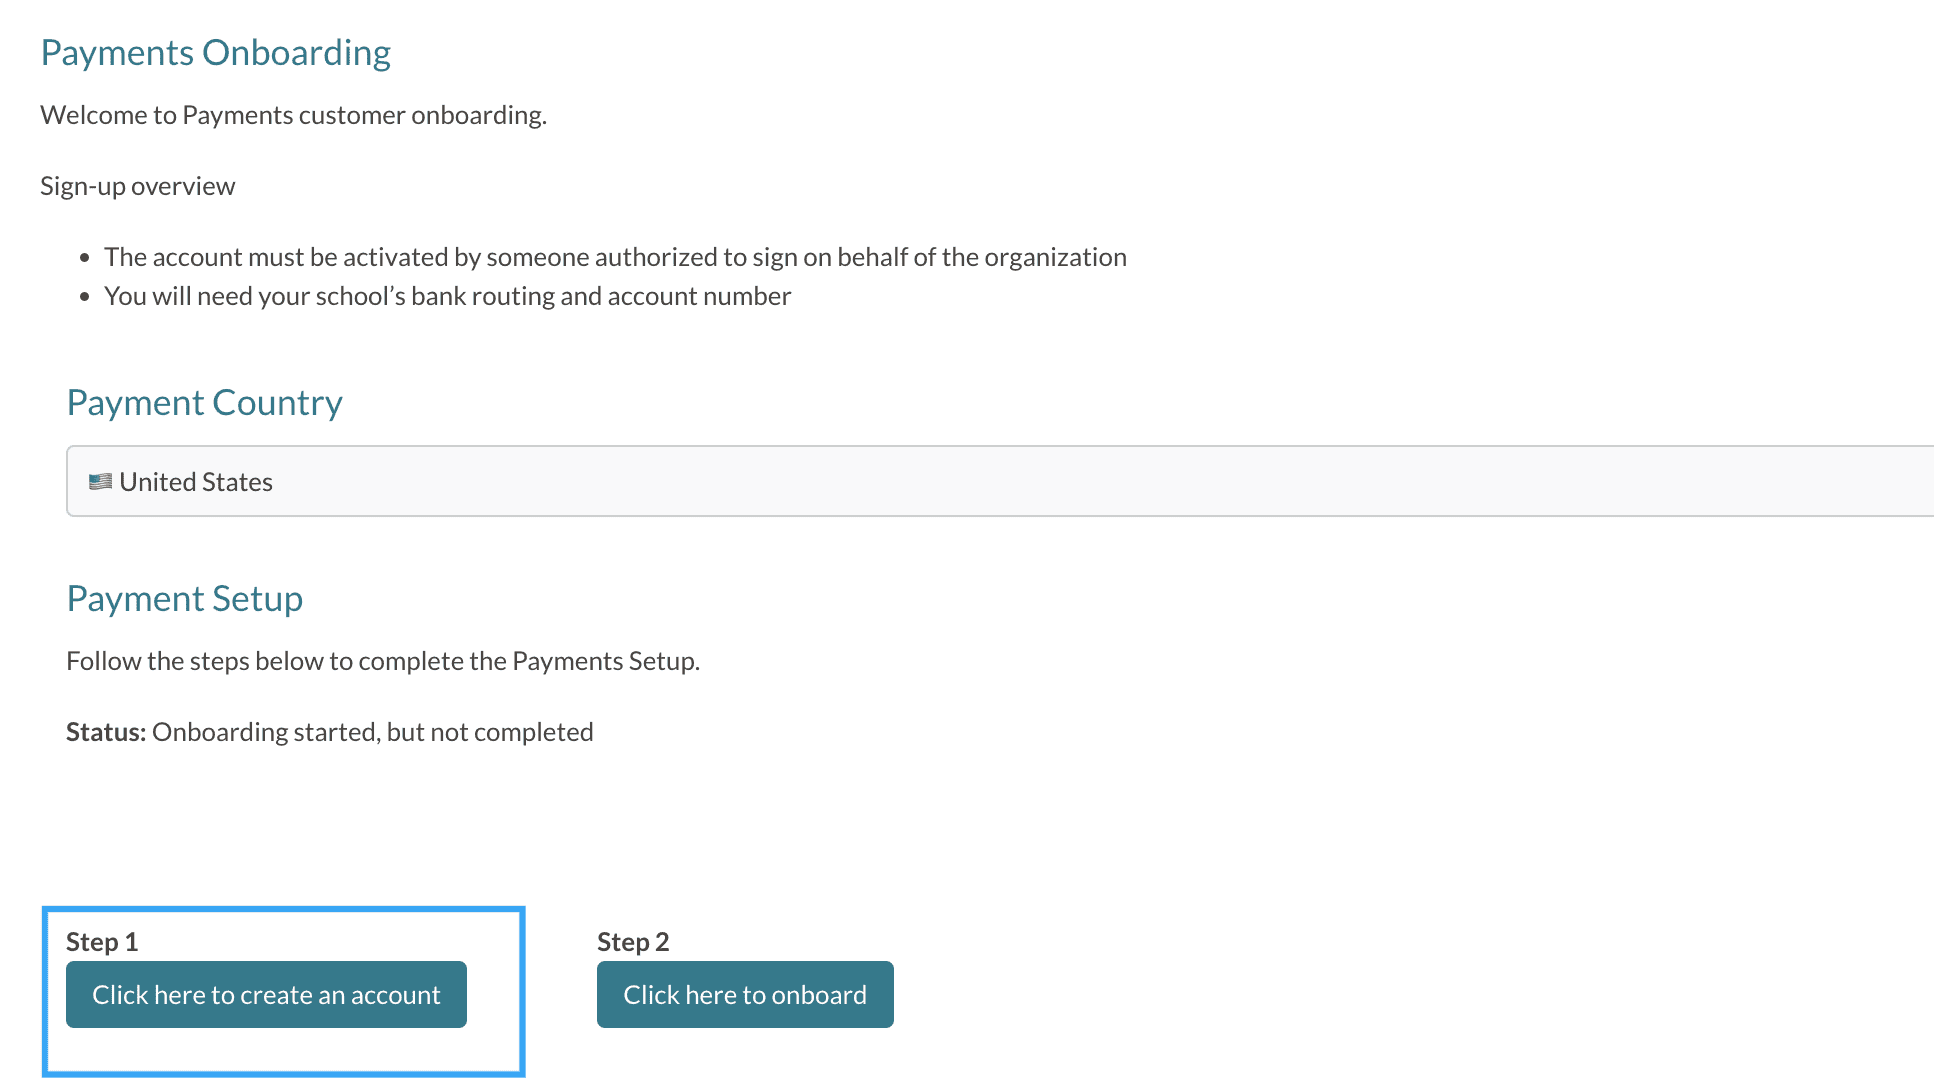
- Within your Finalsite Enrollment site, navigate to Settings > Financial > Payments. Please note: Only System Admins will be able to access this page.
- Within the Payment Setup section of the page, select the button under Step 1, Click here to create an account, which will look something like this:
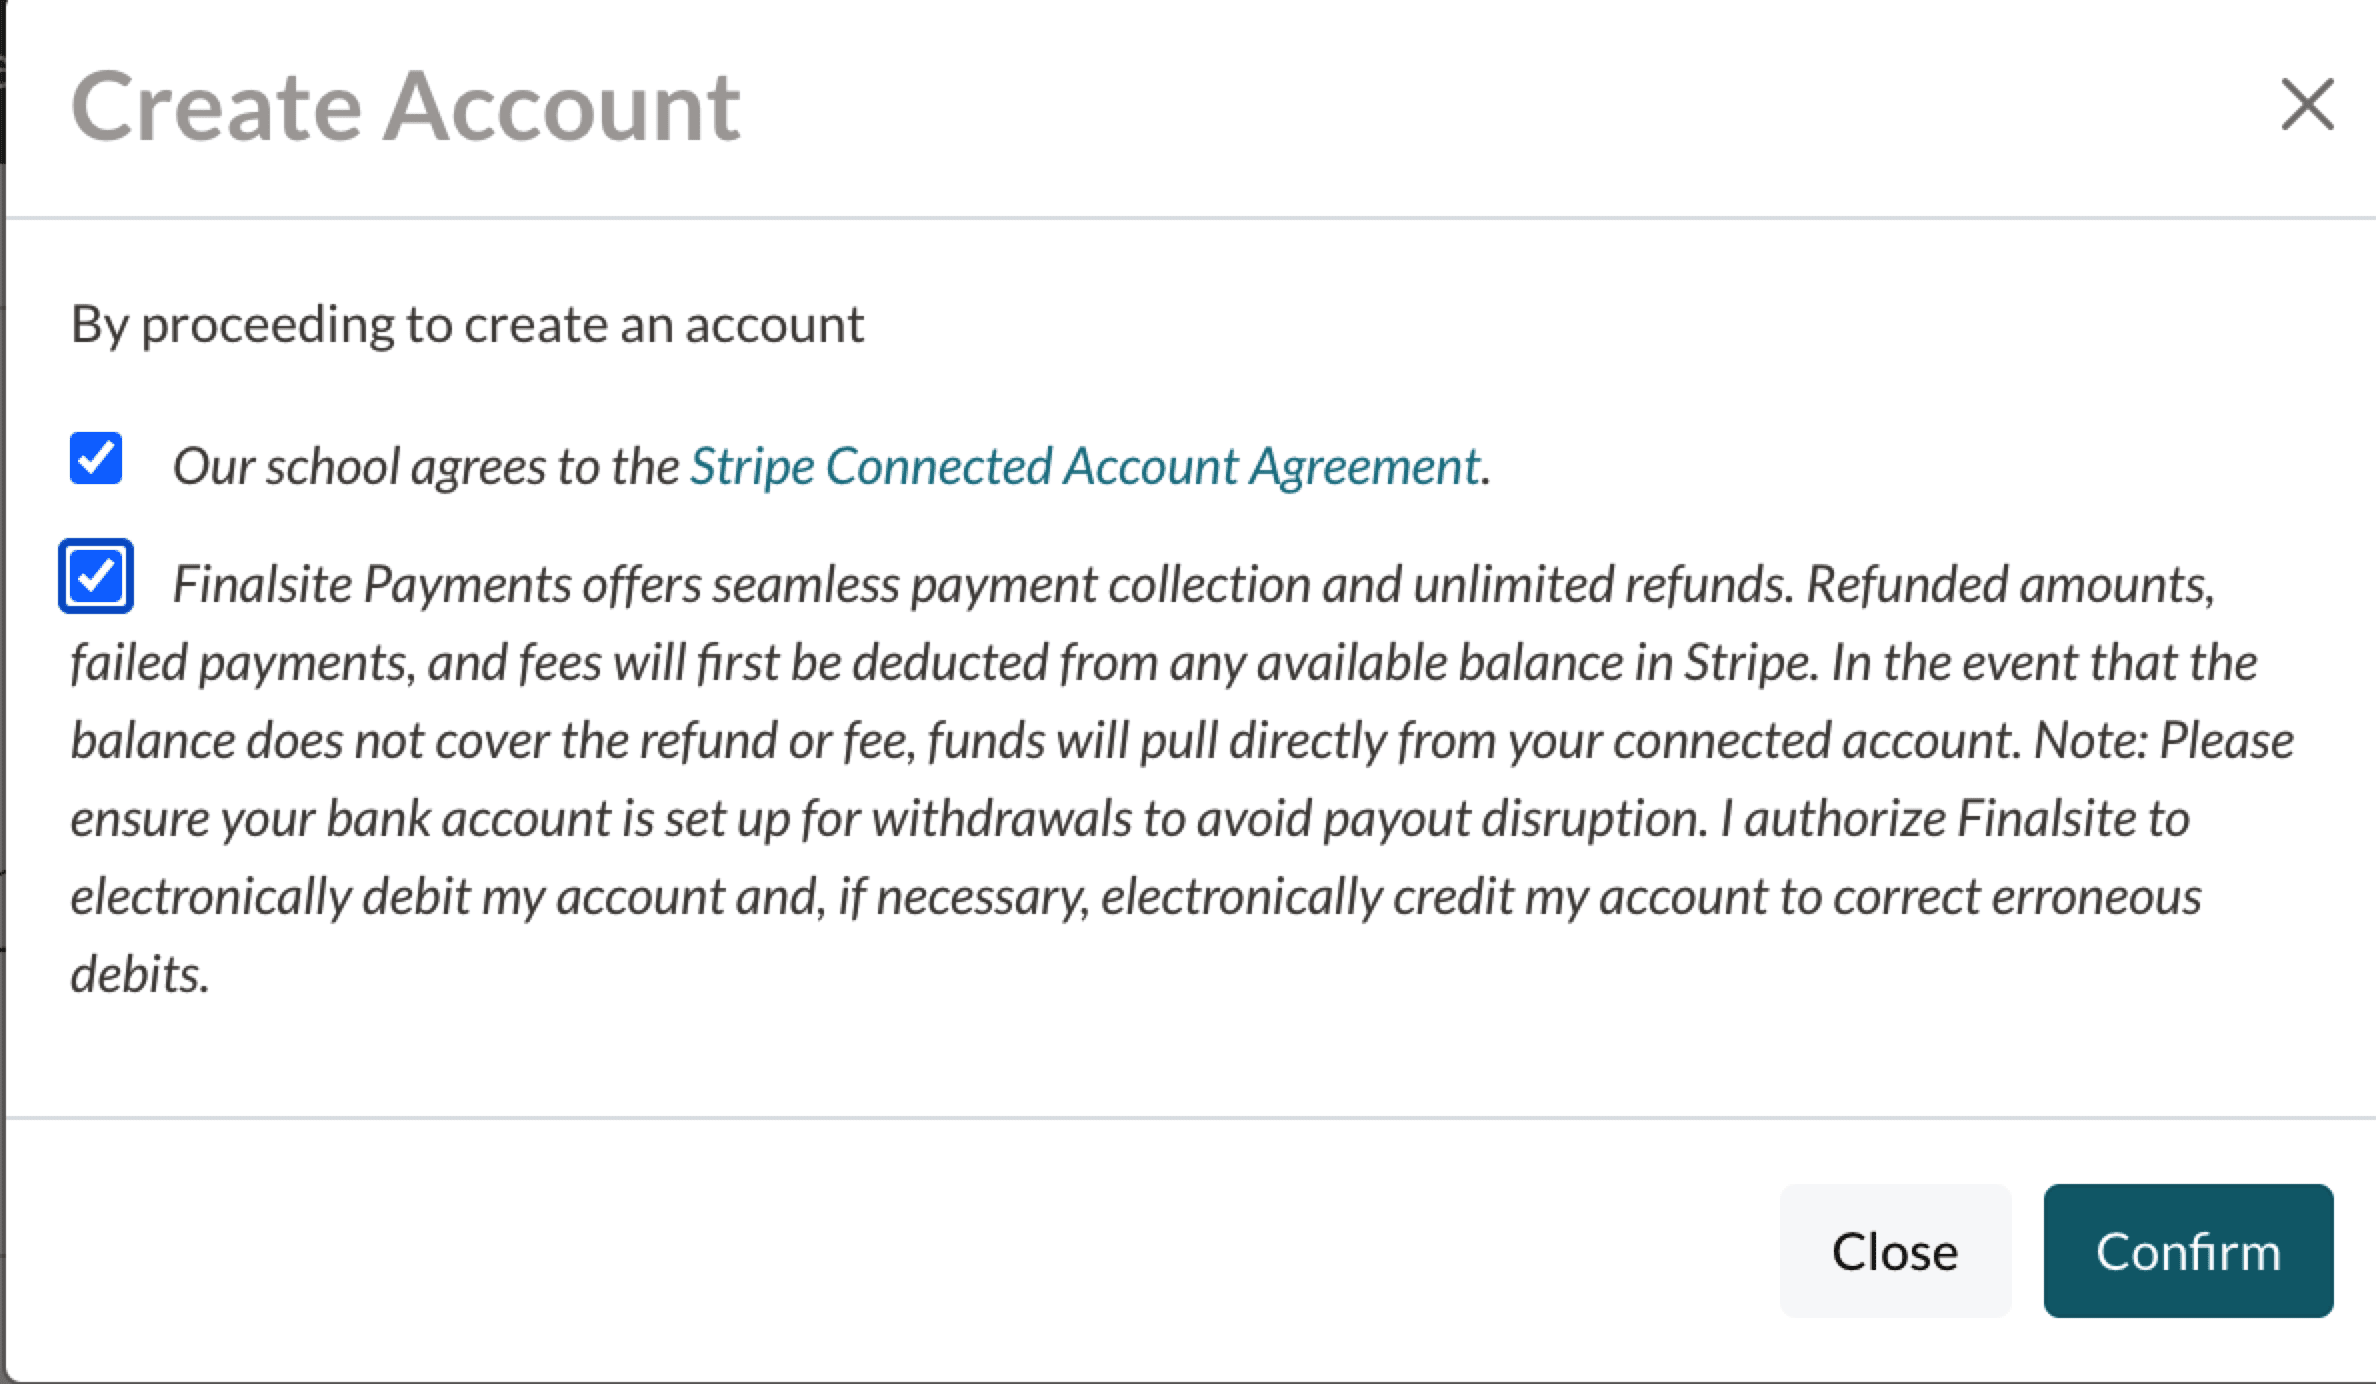
- When you select the box under Step 1 (Click here to create an account), you will see the Create Account pop-up. This box will ask you to agree to Stripe's Agreement* and Enable Refunds.
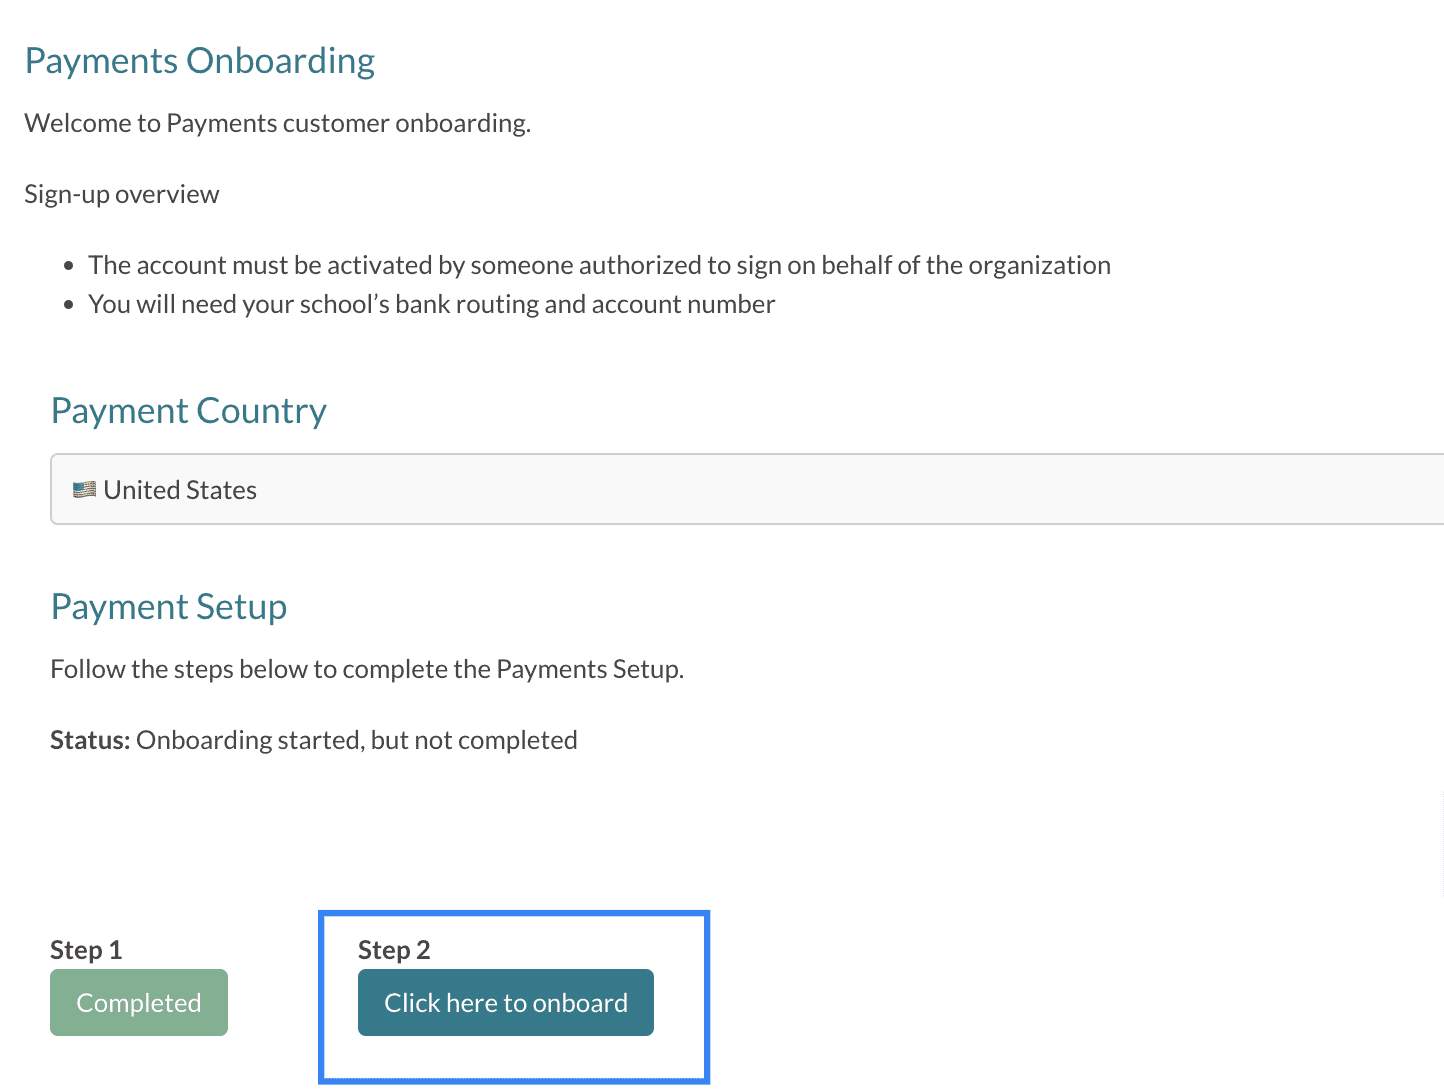
*You can read Stripe's agreement by clicking on the words "Stripe Connected Account Agreement". - Once you confirm both options in the Create Account pop-up, Step 1 will show as completed and you can proceed to select the button under Step 2, Update Information. That will look something like this:
When you select Click here to onboard, you will be redirected to the Stripe. Here, you will be required to fill out information related to your school and your business representative.
Onboarding Around the World
Depending on which country you are located in, you will see different Onboarding steps during your onboarding. Please use this documentation from Stripe to read more about your onboarding experience: Required Verification Information.
The dropdowns below contain an example of what you might encounter during the onboarding process. As noted above, this will vary by country. The examples below represent onboarding as a school in the U.S. Your experience will likely be similar, but please refer to the Stripe documentation for the most exact information on what you'll be required to contribute.
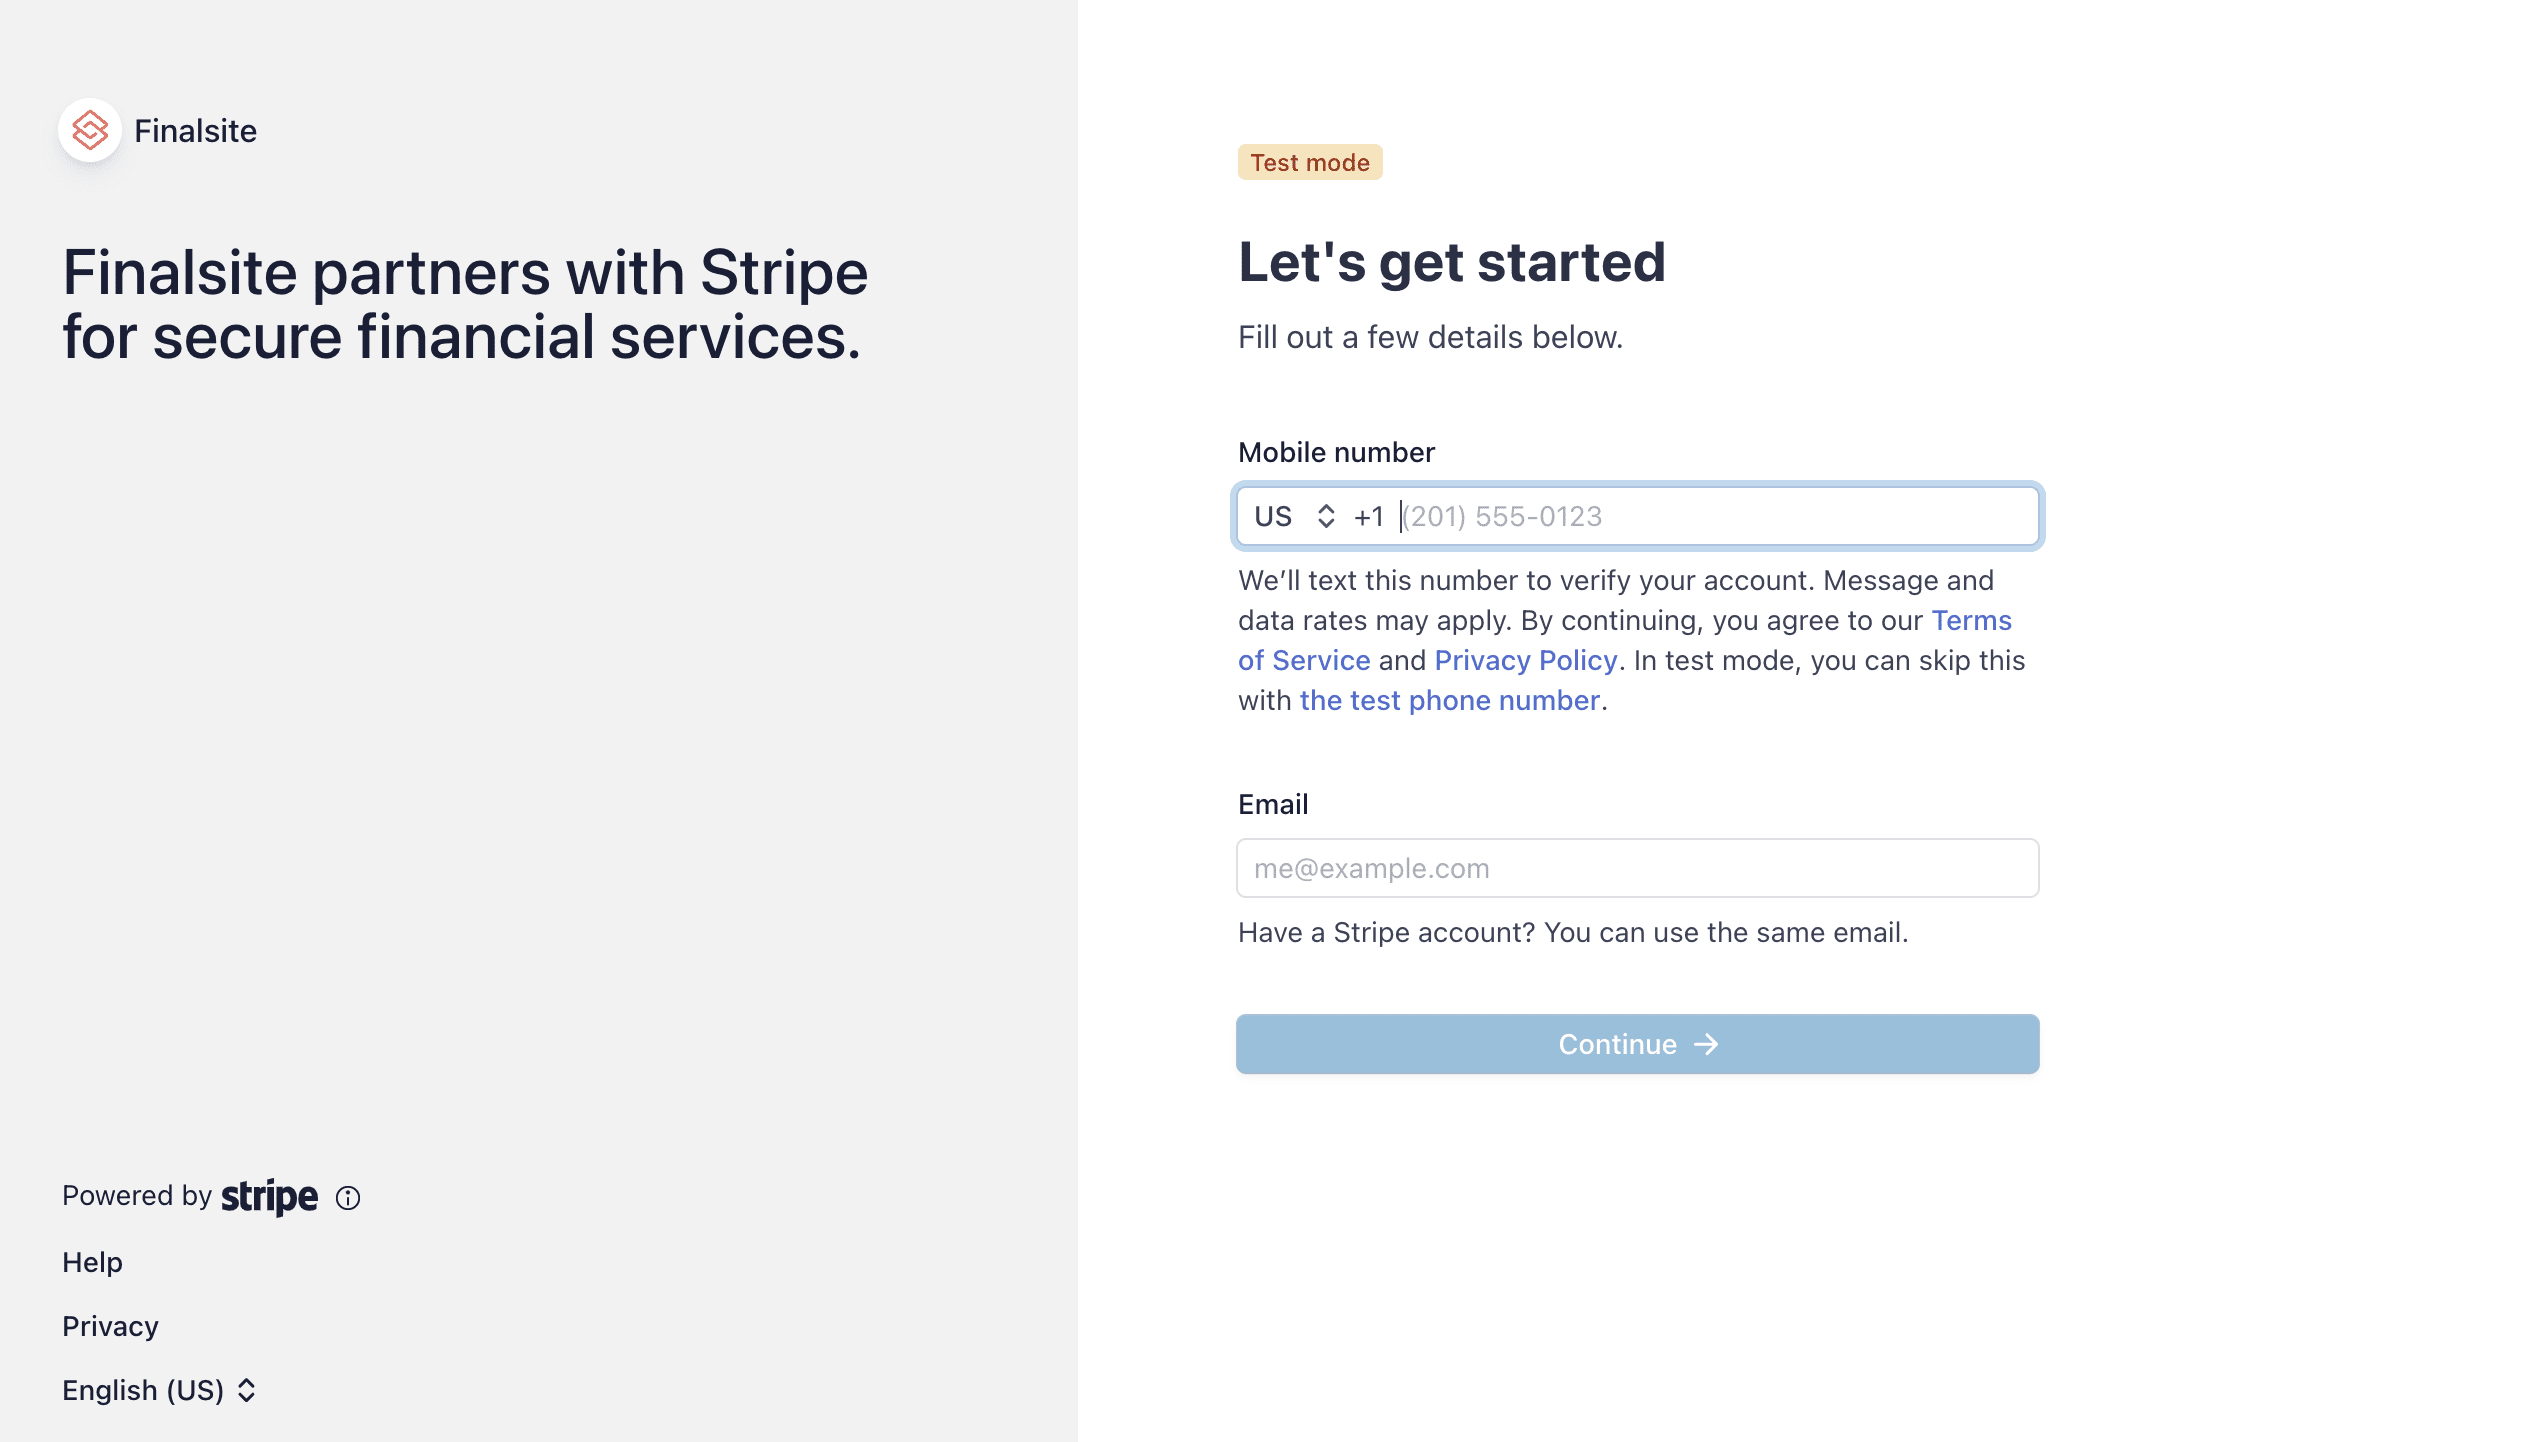
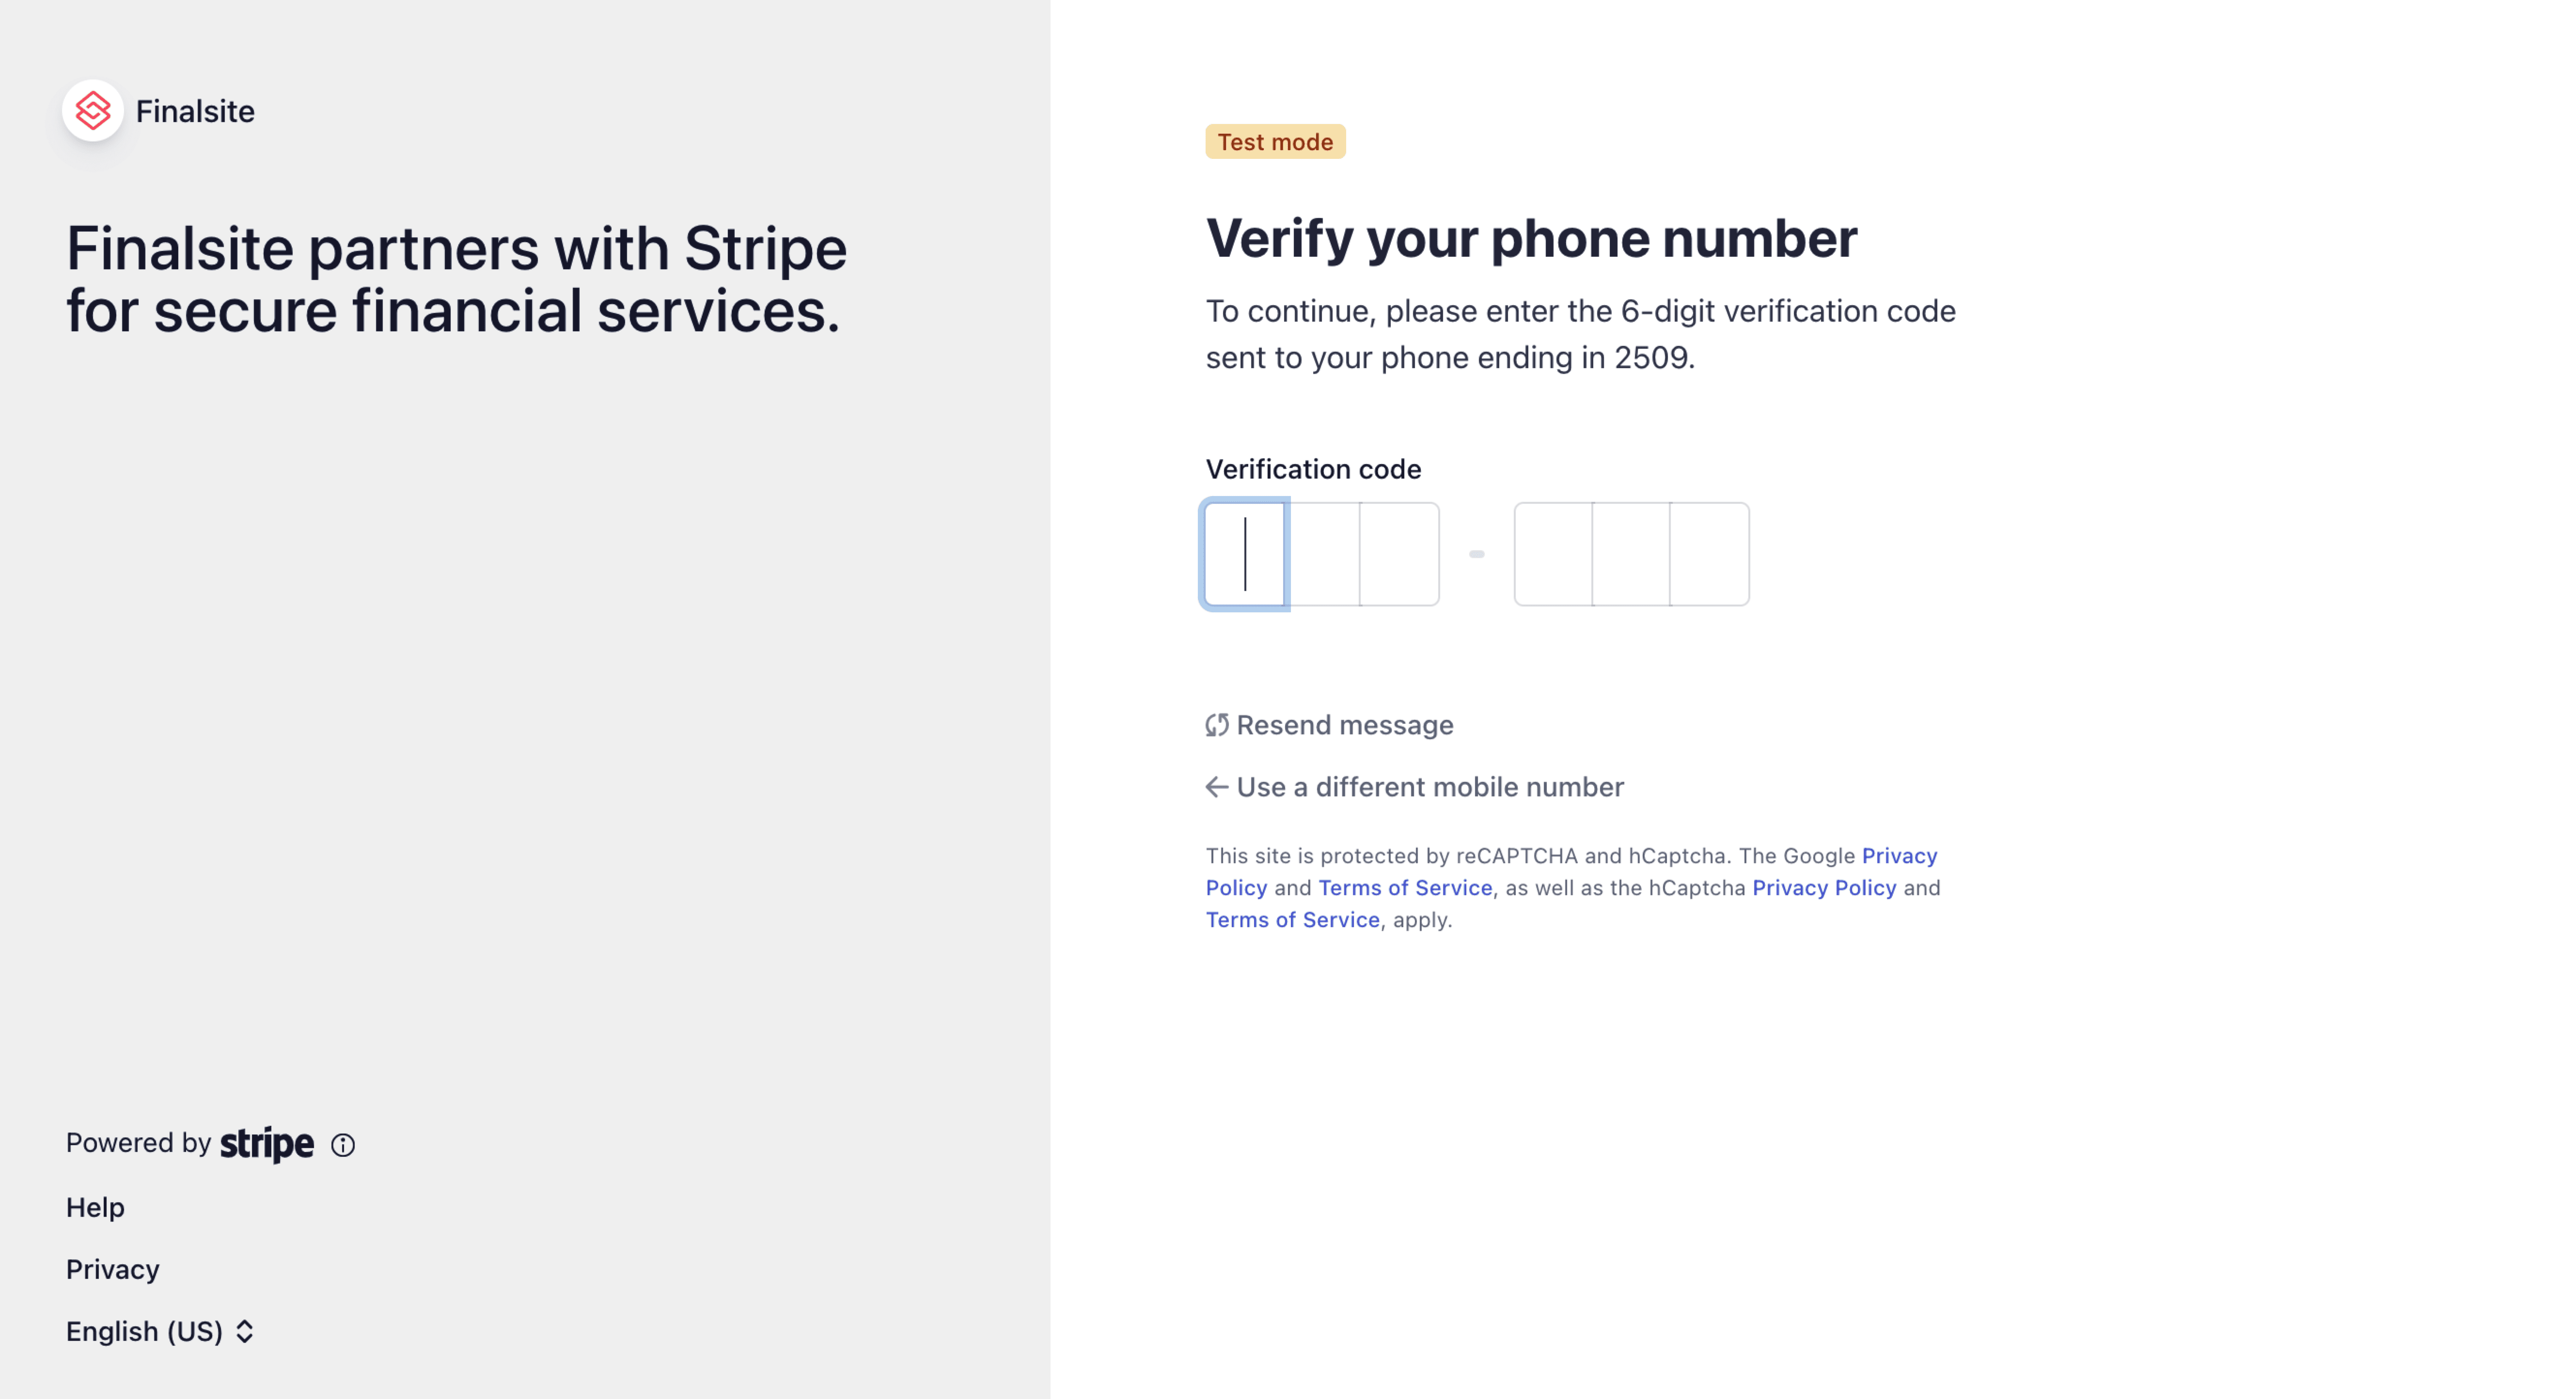
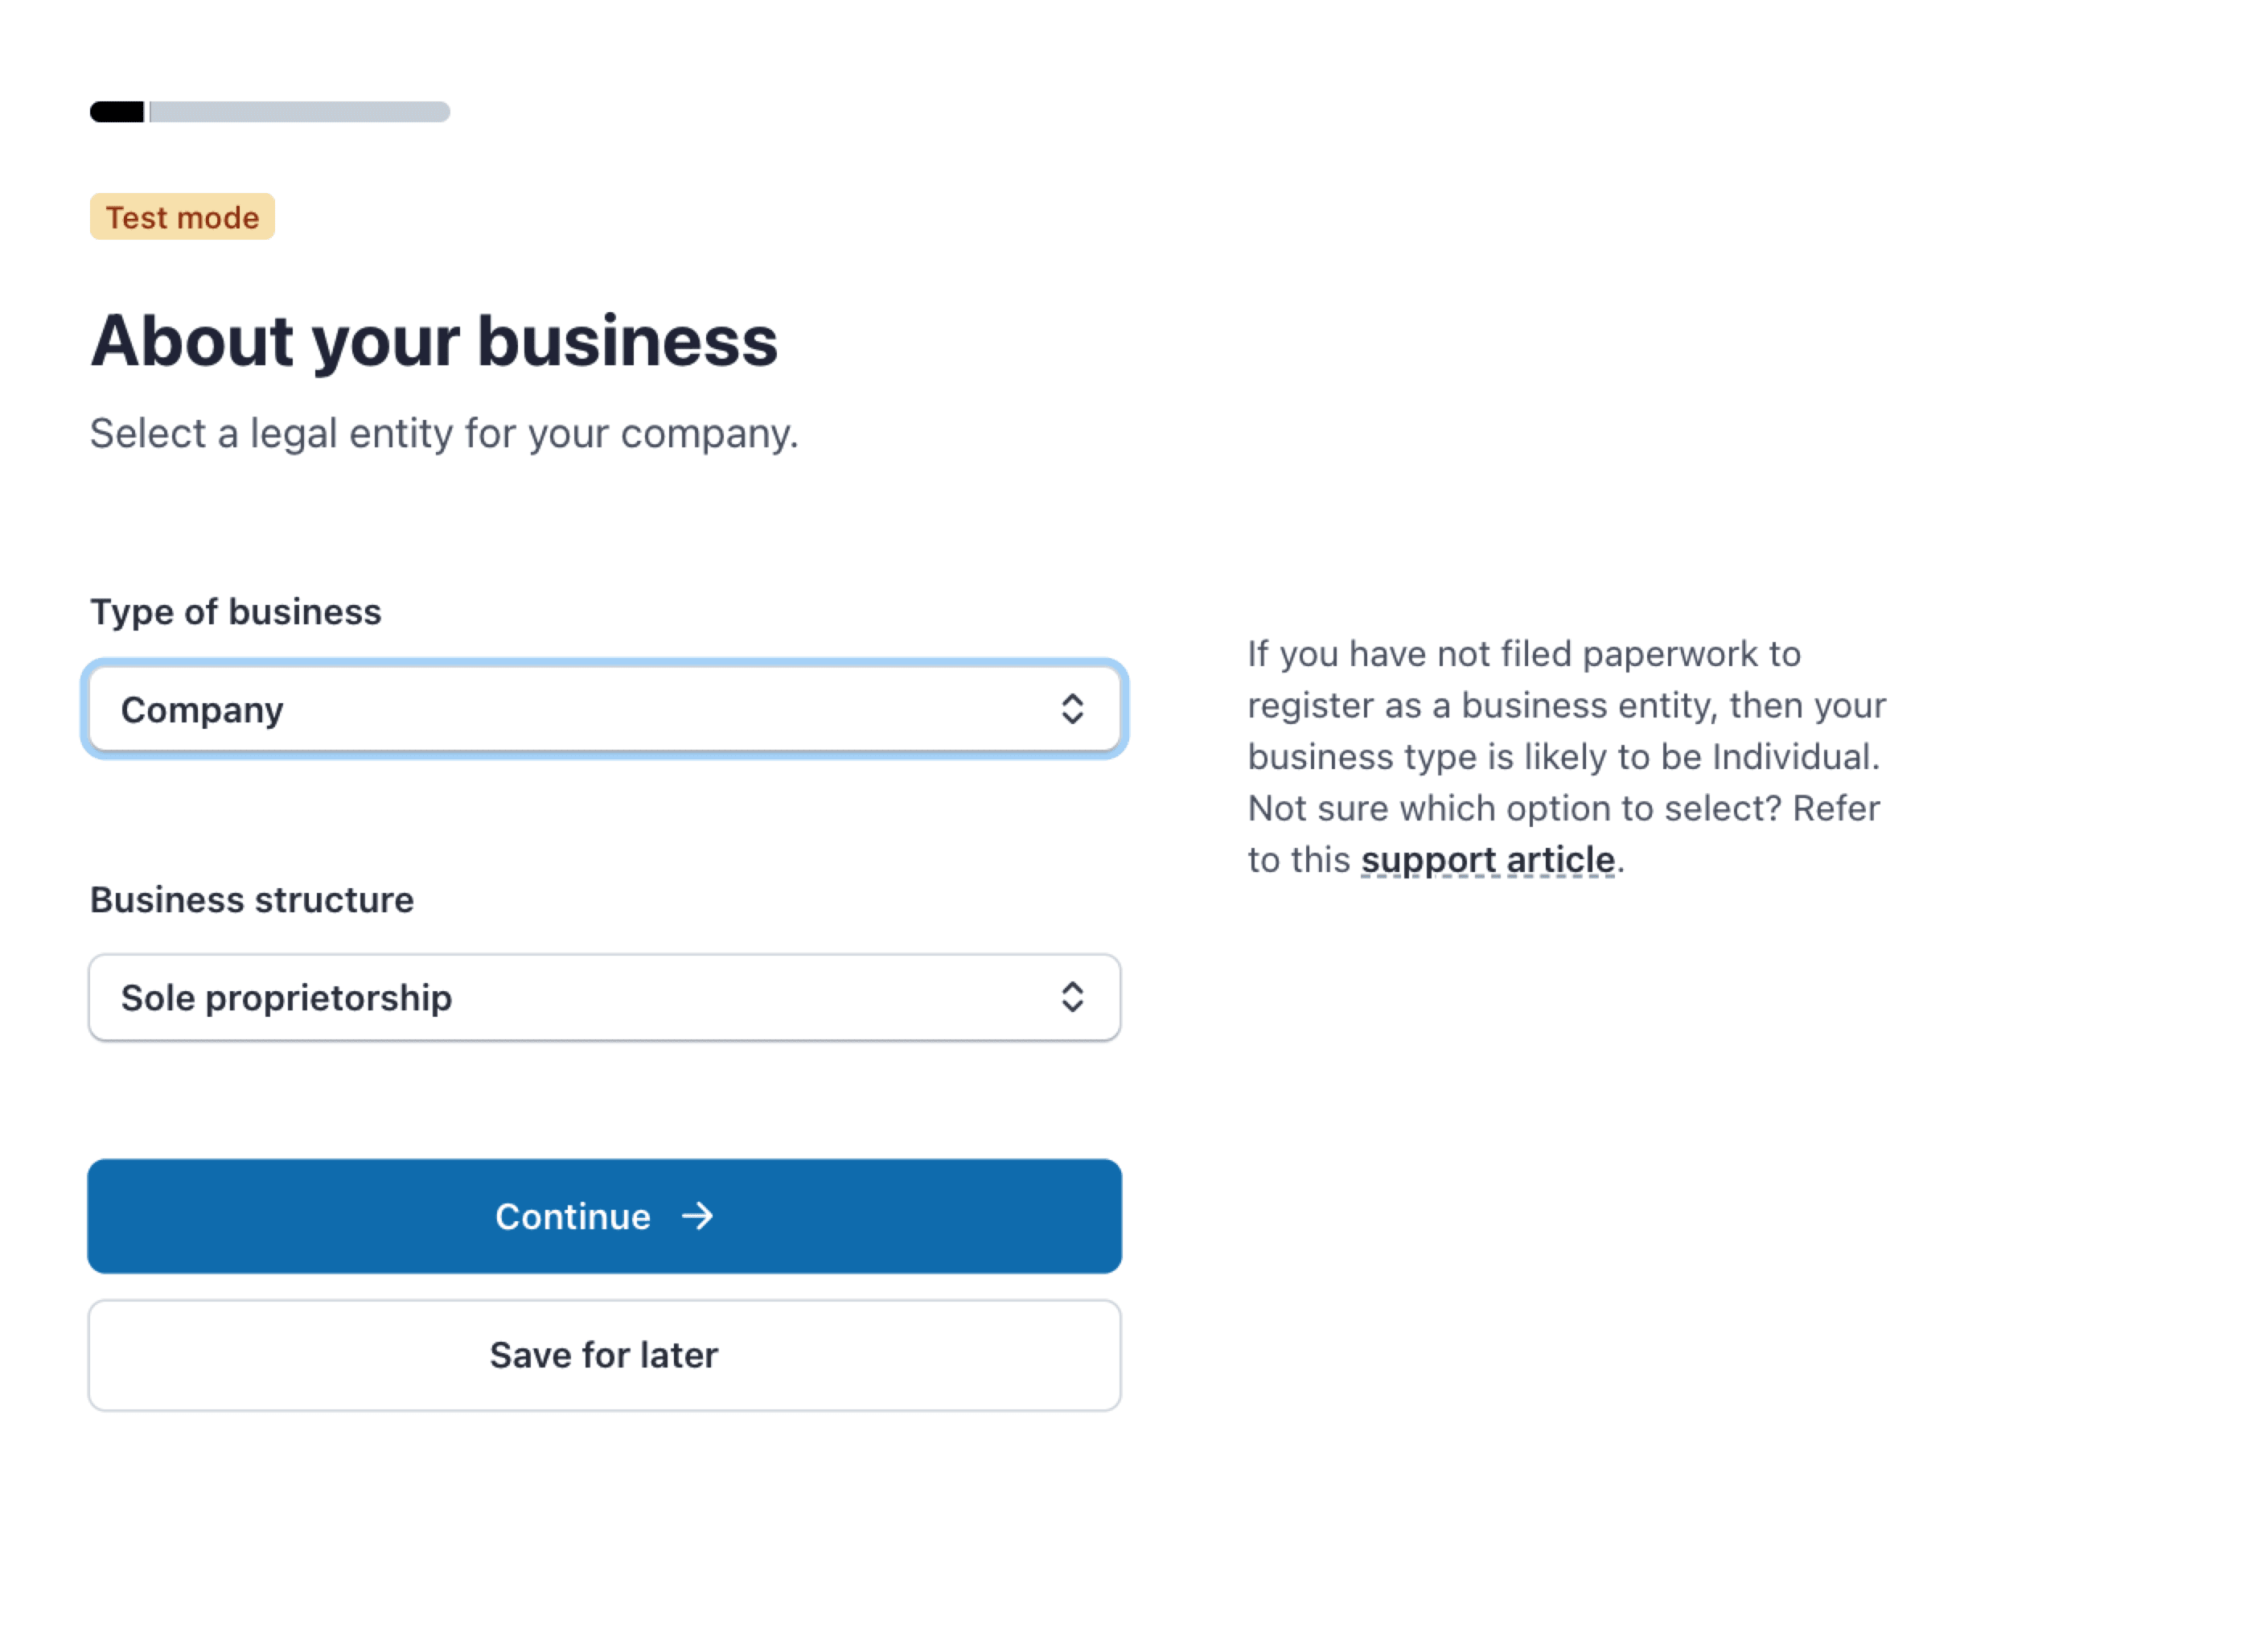
-
-
Type of business (Individual, Company, or Nonprofit Organization)
- Very Important. You should never select 'Individual' for this step.
- You should either select Company or, if your school is an NPO, you should select Nonprofit Organization. If you select 'Individual' here, the 1099 filed with the IRS will be under the individual's name.
-
Business Structure
- You'll be asked to select one of the following: Sole Proprietorship, Single Member-LLC, Multi-Member-LLC, Private Partnership, Private Corporation, or Other/I’m not sure.
-
Type of business (Individual, Company, or Nonprofit Organization)
- Legal business name (as appears on your IRS documents)
- Employer Identification Number (EIN)(or SSN if used for business tax purposes)
- Note for schools in Canada: This will be your Tax ID (also known as a Business Number)
- Doing business as (optional)
- Registered business address
- Business phone number
- Industry Select your industry - type in Education to see the types of educational institutions
- Business website
Note: The Business Representative should be the executive, senior manager, or someone else who has significant responsibility for the control and management of your business. You can choose ‘Save for later’ and have them return to fill this out if you do not have all of the information.
- Legal Name
- Email Address
- Job Title
- Date of Birth
- Home Address (i.e. the person’s address of residence, not the school address)
- Phone Number
- Social Security Number (SSN) - last 4 OR upload an Id document
- The last 4 digits of your SSN are only used to verify your identity—no credit checks.
Why am I required to enter my social security number?
SSN collection is required to comply with the ‘Know Your Customer’ laws passed by the federal government after 9/11. It is not something that we or Stripe can control.
Important to note: The initial setup requires only the first four digits of the SSN. However, the full SSN is mandatory once payments collected surpass $500k.
Additional Info on this:
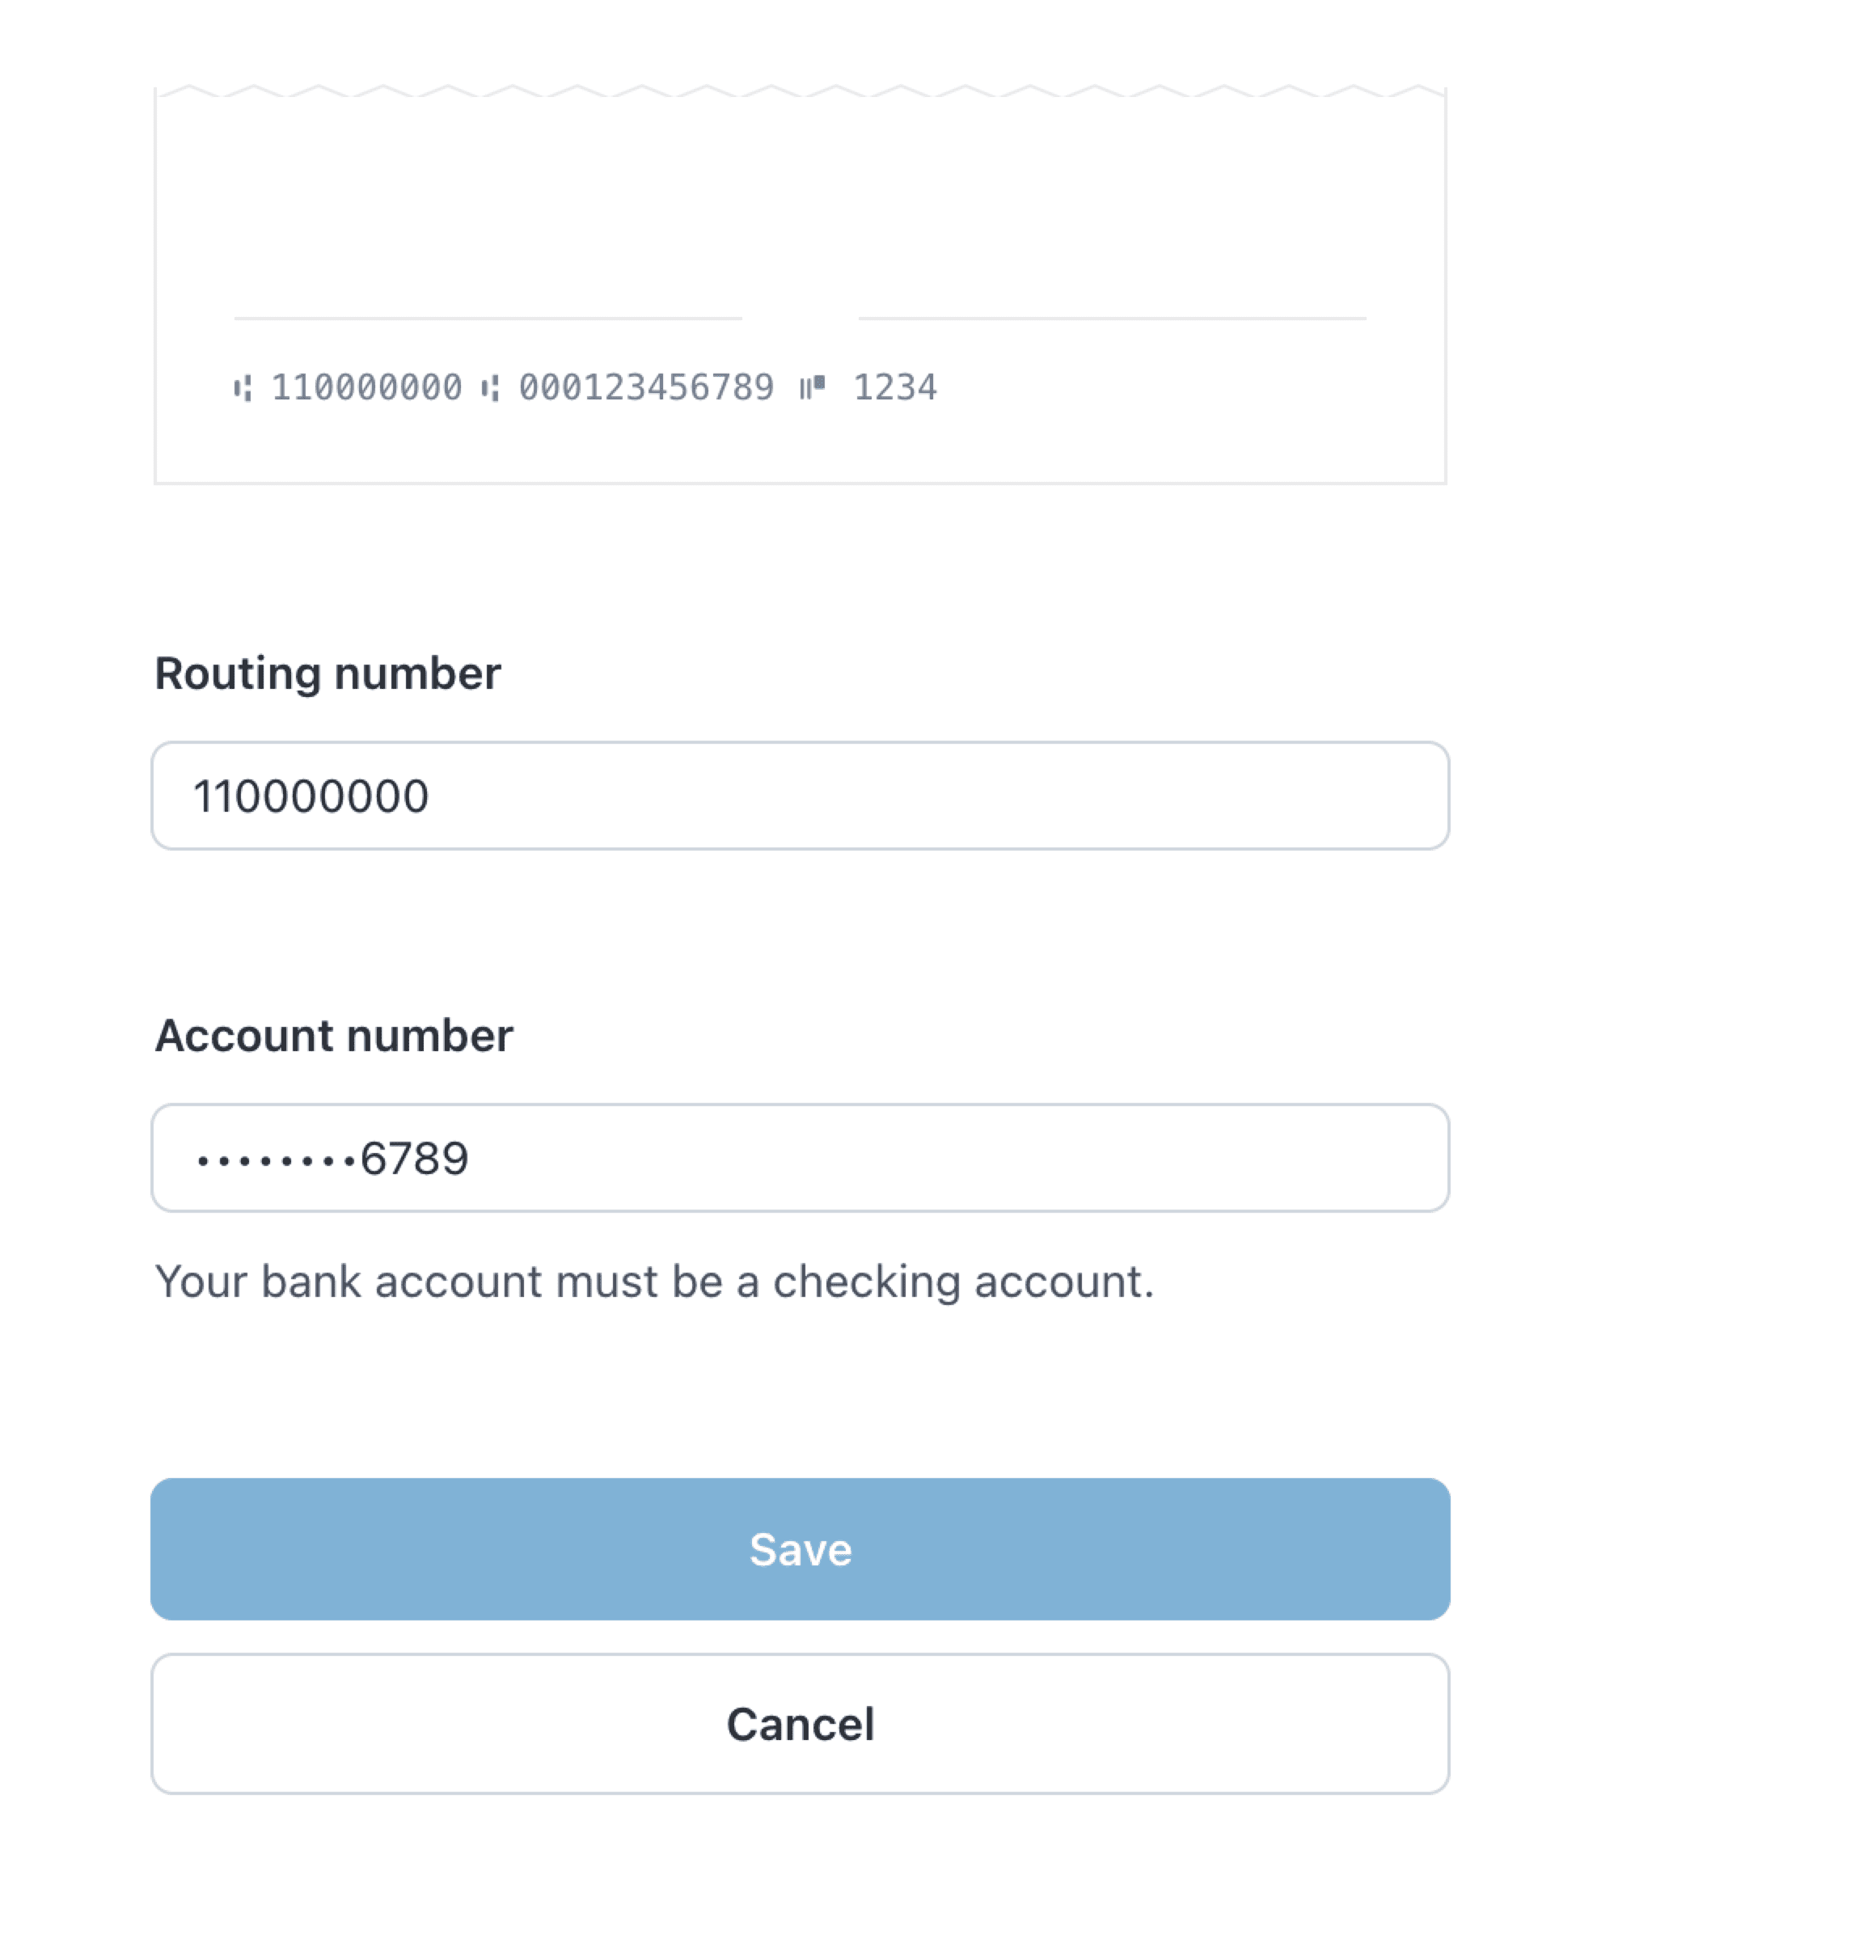
Note for schools in Canada: In the Routing Number box provided, please input the Transit Number and Institution Number for the account you wish to use. Format: 12345-678
After you finish providing the required info, you will be brought back to Finalsite Enrollment.
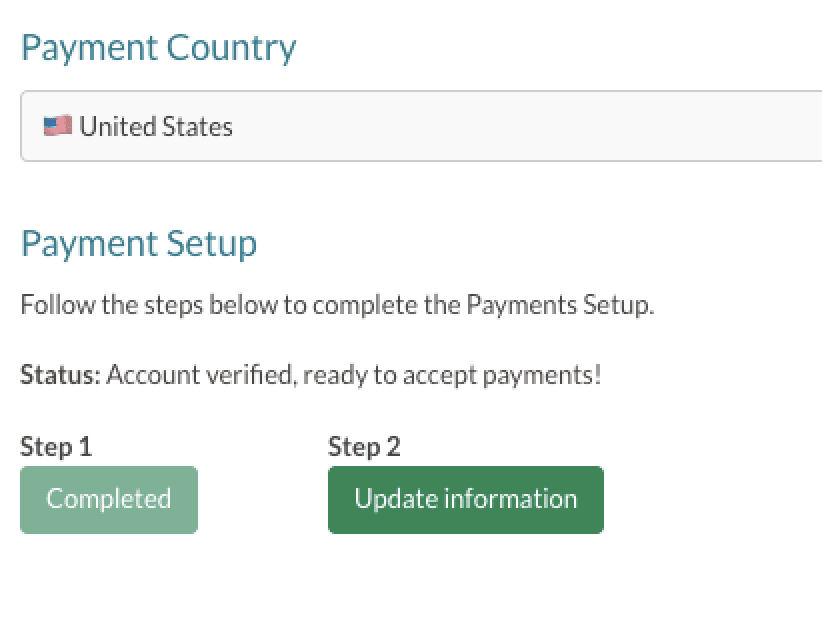
Please note: You will still be able to access Step 2 at any time if you need to update your banking information. When you come back to this page (Settings > Financial > Payments), you'll see something like this (pictured below). Selecting Update Information will allow bring you to Stripe where you'll be able to update the details of your account.
Resources
- You can review the Stripe Connected Account agreement at any time by clicking here.
- You can review Stripe's 2024 Updates to US Verification Requirements here.
Convenience Fees
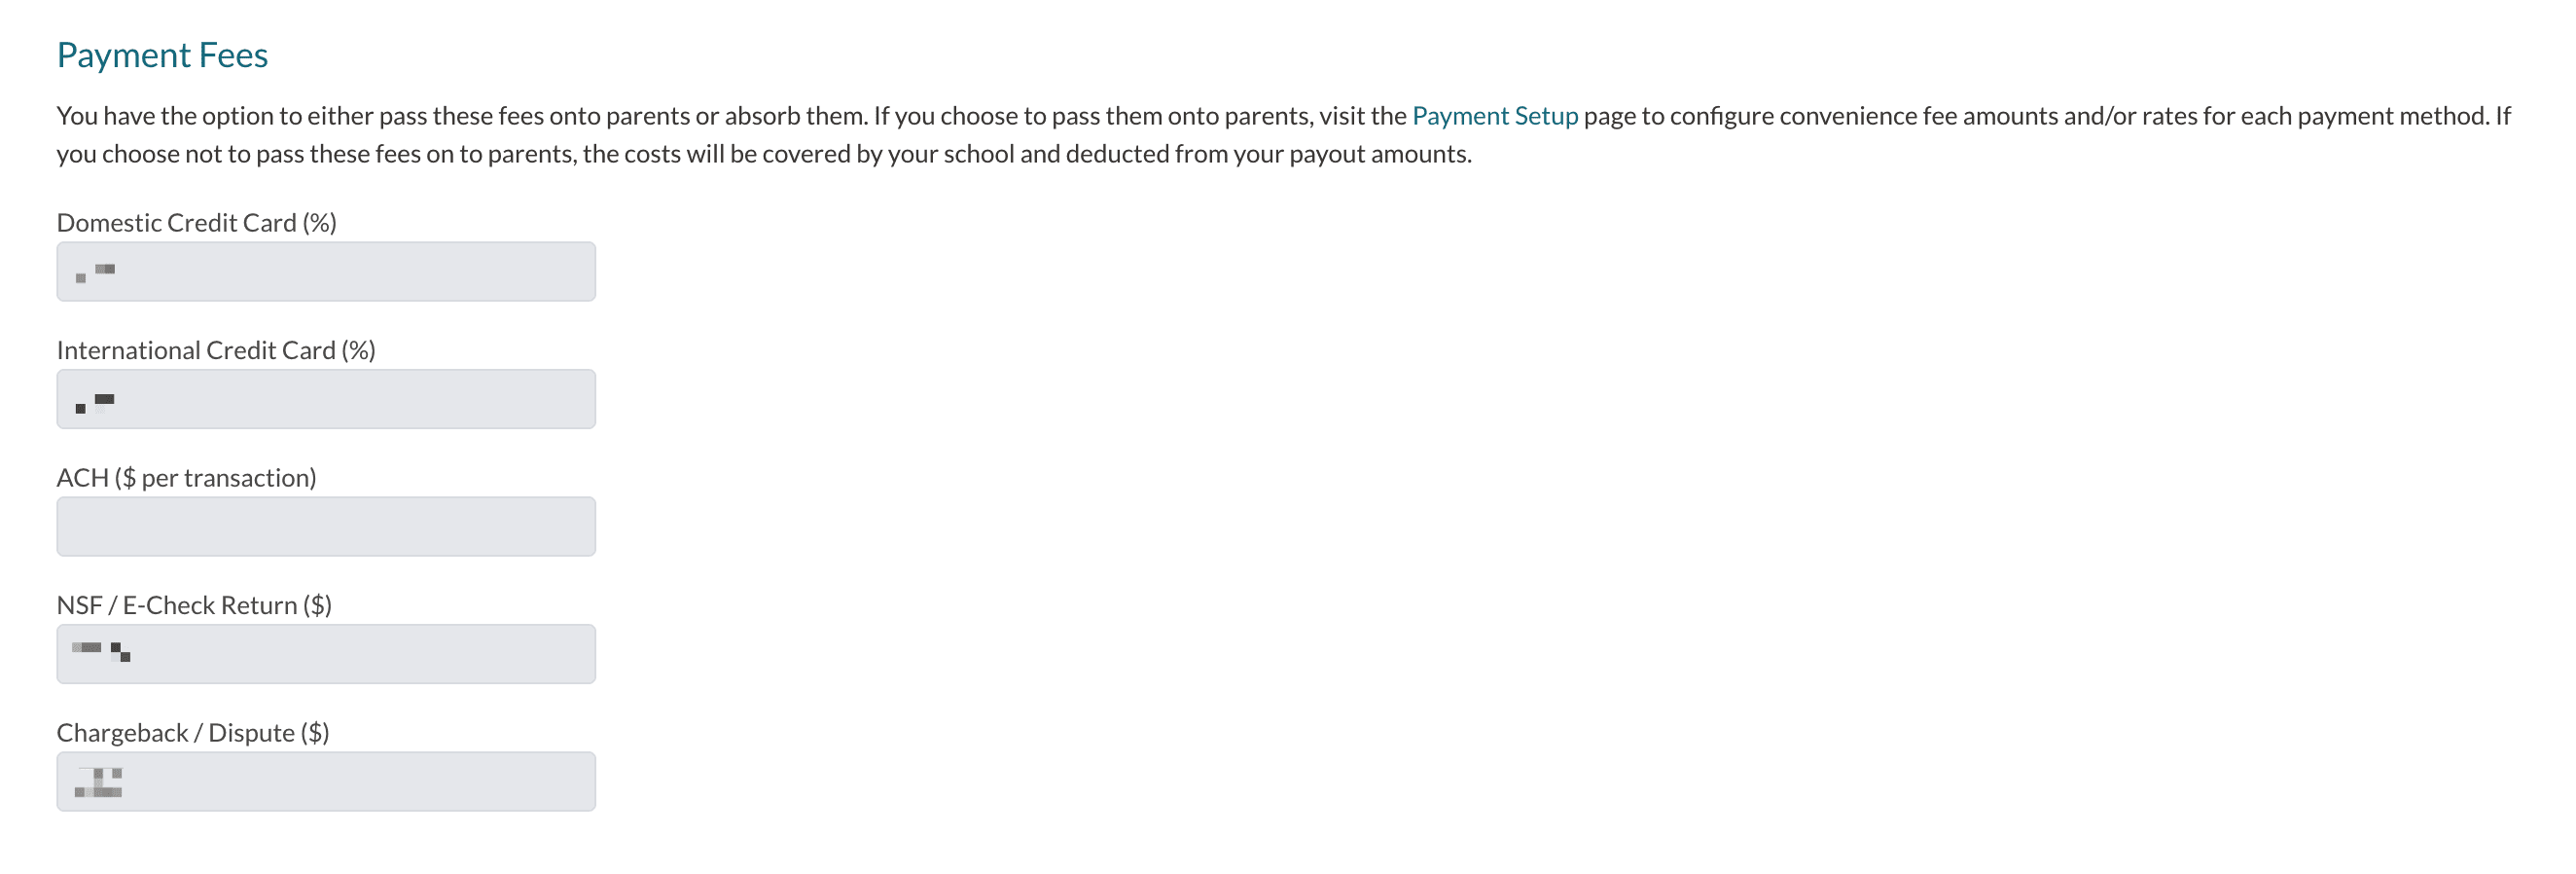
A convenience fee is a charge applied to online payment methods, such as credit card and electronic check payments to cover the cost of processing.
Your school's convenience fee rates are listed on this page in the Payment Fees section. The displayed rates can not be edited.
Resources
- Please check out this article to learn about passing these fees on to parents: Payments: Passing on Convenience Fees to Parents.
- Please check out this article to learn about the Convenience Fee Merge tokens that are available: Convenience Fee Merge Tokens
Monitoring the Status of your Onboarding
Within the Payments setup page, the status will be updated accordingly:
-
‘Onboarding started, but not completed’: You have started, but not completed, the verification step.
-
‘Additional information required’: More information is needed on the verification step before you can be cleared to accept payments.
-
‘Account verified, ready to accept payments!’: Complete! Successfully verified and ready to accept payments.
If you need to add or update the information while in pending verification, click back into Step 2. If you need to update your information after verification is complete, use the ‘Click here to edit information’ button.
Pro tip: See our article "Payments: Overview & FAQ" for answers to common questions regarding Payments.
Alerts
If your Payments account is in need of attention, the following alerts are designed to notify you and provide direction on what action is needed:
- A red banner will appear at the top of your site letting you know an update to your Payments account is needed. The banner will only be visible to System Admins and will look something like this (the text you see may be slightly different).
- An email will be sent to the account owner. The email will provide the details of the issue and directions on how to correct it.
- The Payments page will also display a note with the details of the issue and directions on how to correct it.
Please note:
- Only the Account owner will be able to make the update. Only account owners have access to "Update Information" on the payments page due to 2 factor authentication.
-
The error message on the Payments page and within the email lists the issue two times. This is the way the message comes over from Stripe and not something that can not be altered on our end.
ACH Company ID (Stripe)
You may need Stripe's ACH Company IDs to authorize direct debit with your bank.
ACH company IDs for Stripe
Stripe uses two company IDs to collect ACH debits and send ACH deposits on behalf of all users.
- 1800948598 - Stripe Payments Company
- 4270465600 - Stripe Payments Company
Please refer to this article from Stripe for more information: ACH Direct Debit company IDs for Stripe
Disconnecting or deleting additional Stripe accounts
Only for Stripe Legacy schools
Please note: The following information regarding disconnecting or deleting additional Stripe accounts is only for those who originally had Stripe connected to Finalsite Enrollment (Stripe Legacy) and are transitioning over to Finalsite Enrollment Payments.
If you are migrating from Stripe Legacy to Finalsite Enrollment Payments, you have another Stripe account, you'll need to take some action to ensure that it doesn't interfere with your payment data coming from Finalsite Enrollment. Here's what we recommend:
-
Don't take action right away: Once your Payments setup is complete and all of your data has been migrated to your Payments account, wait for 2-3 payouts to process. That way, you can ensure that any in-progress payouts will be accurately recorded.
-
Delete or Disconnect the old account: After you've waited for your Payments account to be completely established and have waited for all in-progress payouts to process, you should either delete or disconnect the additional Stripe account.
- Delete: If your other Stripe account is no longer in use for managing any other payments, you have the option to delete that account.
- Disconnect: If you will still utilize the other Stripe account for processing payments outside of Finalsite Enrollment, you can disconnect the account from your Finalsite Enrollment Payments account.
How-To Manage your additional Stripe account
Please refer to this documentation from Stripe to learn how to disconnect your additional Stripe account: https://support.stripe.com/questions/disconnect-your-stripe-account-from-a-connected-third-party-platform
Payment Methods Available
Parents have several convenient ways to make payments with Finalsite Enrollment Payments, depending on where the payment is being made.
Reminder: Payment processing capabilities differ by location.
Schools in the United States and Canada have access to all available options, whereas schools outside of the U.S. and Canada are currently limited to accepting credit card payments and may only collect payments in the application, deposit, and custom form fees.
For Contract Deposits, Application Fees, and Custom Form Fees:
When paying these fees, parents can choose from the following options:
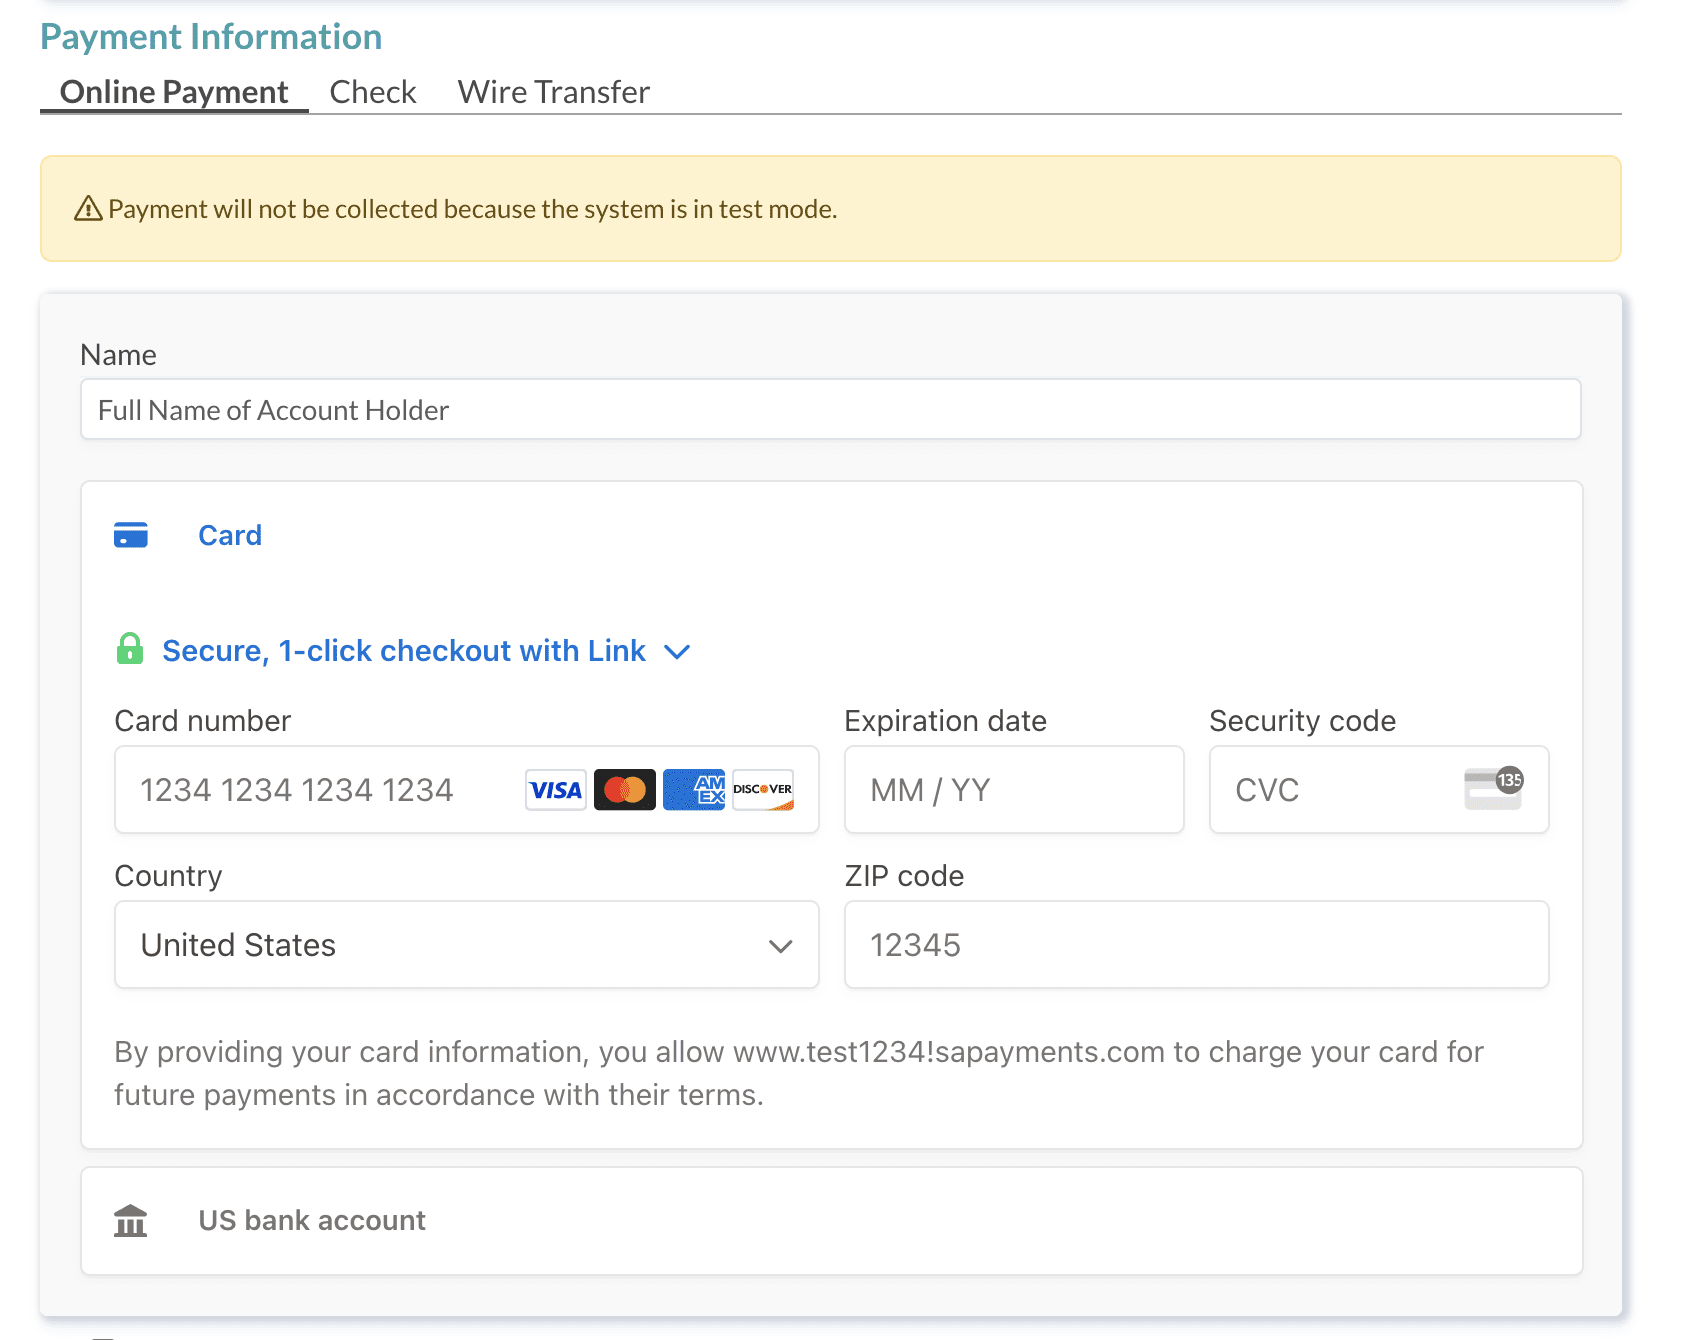
- Saved Payment Methods: Use a credit card or electronic check (bank account) information they've previously saved in the system.
- New Payment Information: Enter new credit card or electronic check (bank account) details at the time of payment.
- Digital Wallets (Device Dependent): If their device is configured for it, parents may also see the option to pay using their Google Pay or Apple Pay accounts.
- Check: Pay by paper check.
- Custom: Pay by the custom method set up by your school (for example, Wire Transfer.)
Good to know
You can set up and manage some aspects of these methods within the Payment Setup page.
You have control over which options appear for parents on the application, contract, and custom forms. For more details, check out the following articles:
For Payments within the Billing Module:
Payments made specifically through the Billing Module offer the following options:
- Credit Card or Electronic Check (Bank Account): Parents can use either a saved credit card or bank account to process a payment, or, they can enter details to connect a new credit card or bank account.
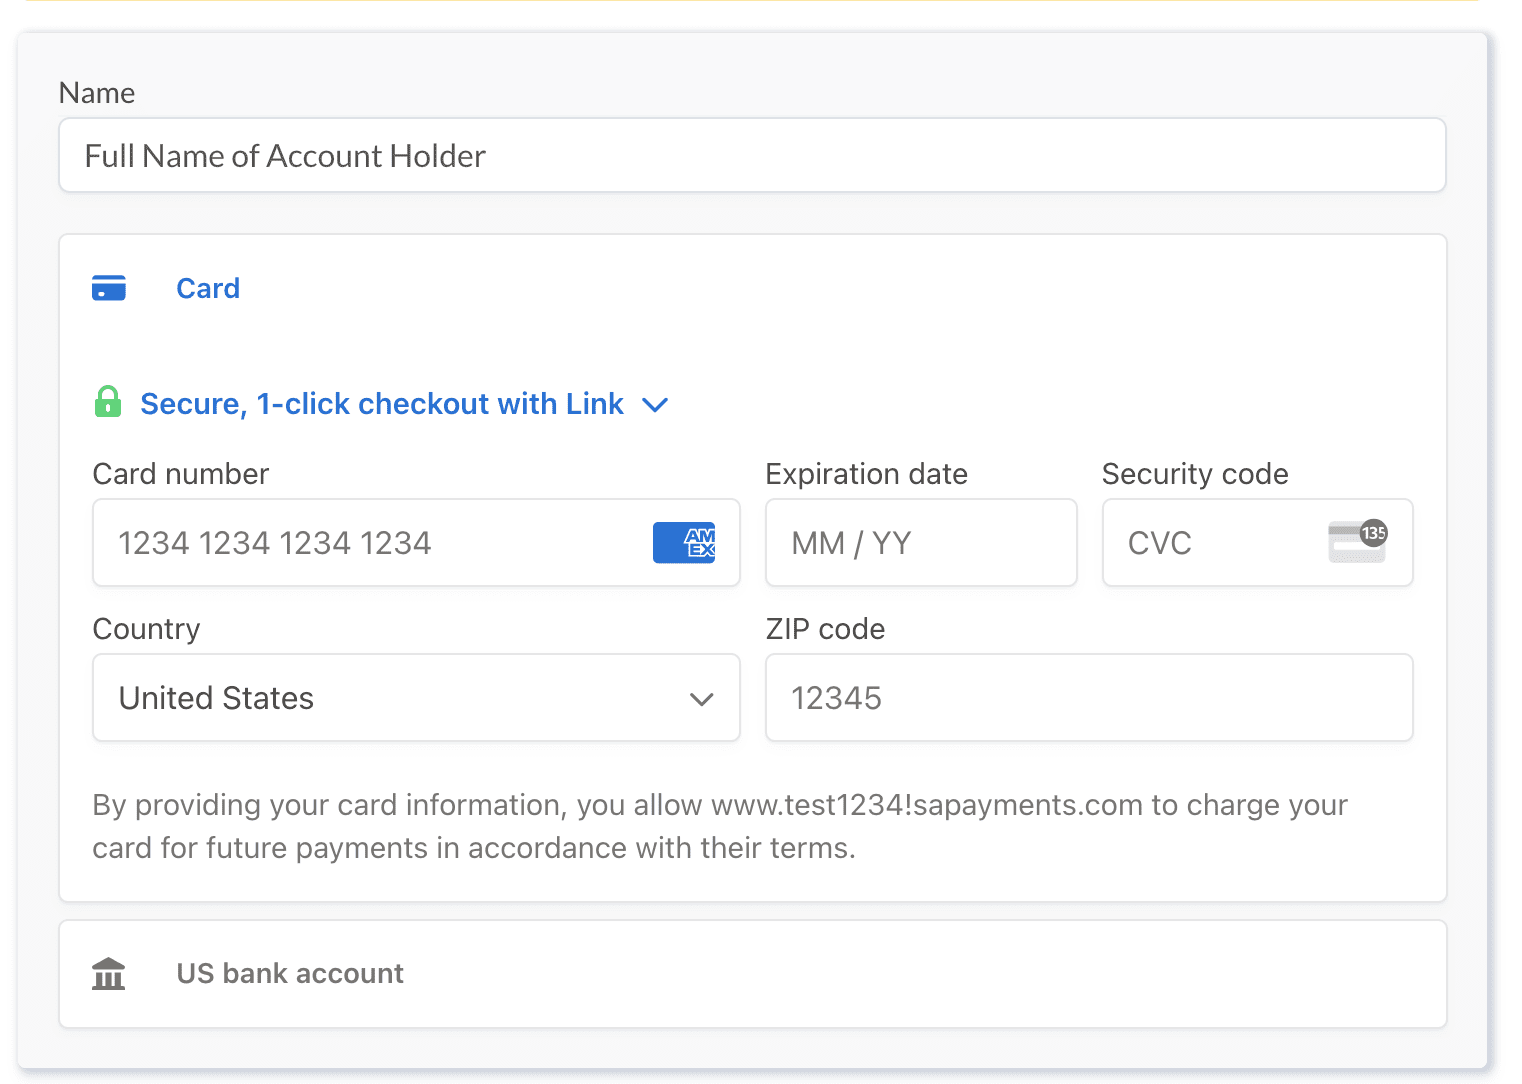
- Link (Powered by Stripe): Parents can securely save their payment information using Link for faster future payments. Once set up, Link can also autofill payment details on other websites that support it.
- Digital Wallets (Device Dependent): Similar to other payment areas, parents may also see Google Pay or Apple Pay as options, depending on their device setup.
Note: Paper checks and other custom payment methods are not accepted for recurring billing payments within the Billing Module.
Additional notes
Link
This feature, powered by Stripe, allows parents to securely store their payment details during a transaction. This streamlines future payments within Finalsite Enrollment and can also be used for autofilling payment information on other Link-enabled websites. For a visual guide to the Link payment process, please see: Payments: Link
Google Pay and Apple Pay
These digital wallet options can appear for parents anywhere that they can make a payment in Finalsite Enrollment, including applications, contracts, custom forms, and the billing module. Whether or not these appear as an option for parents depends on their device and whether or not they have enabled these accounts for payments. Google Pay is available on Chrome/Android, and Apple Pay on Safari/macOS.
A few more notes on Google and Apple pay
- Google and Apple payments are subject to the same convenience fees as credit cards.
- You may request for one or both or these payment options to be turned off. Please contact our team if you would like to request this. Turning it off means that it would not appear as a payment option for anyone.
- It's possible that a parent has the correct device settings to see one of these payment options but, if they haven't set up a digital payment account with google or apple they will not be able to process a payment. In other words, a parent might see the button but if they have not set up their account they'll just see a short error message in Finalsite asking them to choose another option.
- Google Pay Terms of Service and Apple Pay Terms of Service
Refunds
You can process refunds through your Payment History page.
Deductions
Refunds are first deducted from any available funds in your account that have not been paid out to your bank.
In the event that your account balance is $0, funds will pull directly from your connected bank account.
Any fees incurred by disputes or ACH failures will also be collected in this manner.
Information Regarding Payouts
Once your account is fully set up and you start receiving payments, payouts of your available account balance will be initiated daily. If you would like to change your payout schedule to weekly (on any weekday M-F) or monthly (on a specific day) instead, please contact Finalsite Enrollment Support.
Payments within those payouts are based on when they are processed.
Processing Time
-
1-3 days for Credit Cards
-
4-7 business days for ACH payment
Most banks deposit payouts into your bank account as soon as they are received, though some may take a few extra days to make them available.
Please note: You must provide all required identity and business verification information before you can receive payouts. If you are not receiving payouts, your account may be missing information.


Comments
0 comments
Article is closed for comments.