Checklist items are central to the Finalsite Enrollment system. Checklists drive flexible workflows that enable the collection of information, automated reminders or communications, and the ability to move prospective and current families through your process in a clear, timely manner.
This article will explain the different types of checklist items available to you in Finalsite Enrollment. To learn more about Checklist Settings, such as parent explanations and additional criteria, click here.
Please note: While our product can be used to collect any type of information via checklist uploads, we advise against use for the collection of medical information. If you need to collect or share medical information, please seek the guidance of healthcare professionals or legal counsel to ensure you are in compliance with governing regulations.
How-To: Use Different Checklist Types
Several different types of checklist items are available to use, each with its special properties and behaviors. You can use a combination of different types on your checklist to best support your processes. Read below for a description of each checklist type.
Click to jump to a specific type:
- Basic
- File Upload / Multiple File Upload
- Calendar
- Custom Fee
- Online Form
- Recommendation Form
- Contact Profile Picture
- Document Request Form
- Special Checklist Items
Basic
Basic-type checklist items can be used to record basic tasks that a family or your internal team needs to complete as part of the admissions and/or enrollment process. For example, you could have an internal-only Basic checklist item for 'Welcome Letter Sent', so that your team can track when they have completed this step.
Within the checklist item details, you can determine whether a Basic checklist item can be marked complete by only your internal team ('Admin' option) or by the parent as well ('Admin & Parent' option).
If the 'Admin & Parent' option is selected, parents will see a blue 'Mark as Complete' button next to the checklist item in the Parent Portal. When that button is clicked, the checklist item will be marked complete on both the parent and admin sides.
If you have a parent-facing Basic checklist item that can only be completed by your internal team, you should be sure to specify in the explanation how the checklist item can be marked as complete. For example, "this item will be marked as complete upon receipt of your test scores".
Common use cases for Basic checklist items:
- Official test scores being received by the school.
- Downloading a student handbook or other document.
- Inquiry engagement plans such as inviting to events or follow-up actions.
- Internal process steps such as sending an information packet or performing a verification step.
Please note: Basic checklist items will always show a completion date on your end (in the admin portal) whenever they are completed.
In the parent portal, however, the completion date does not display.
File Upload or Multiple File Upload
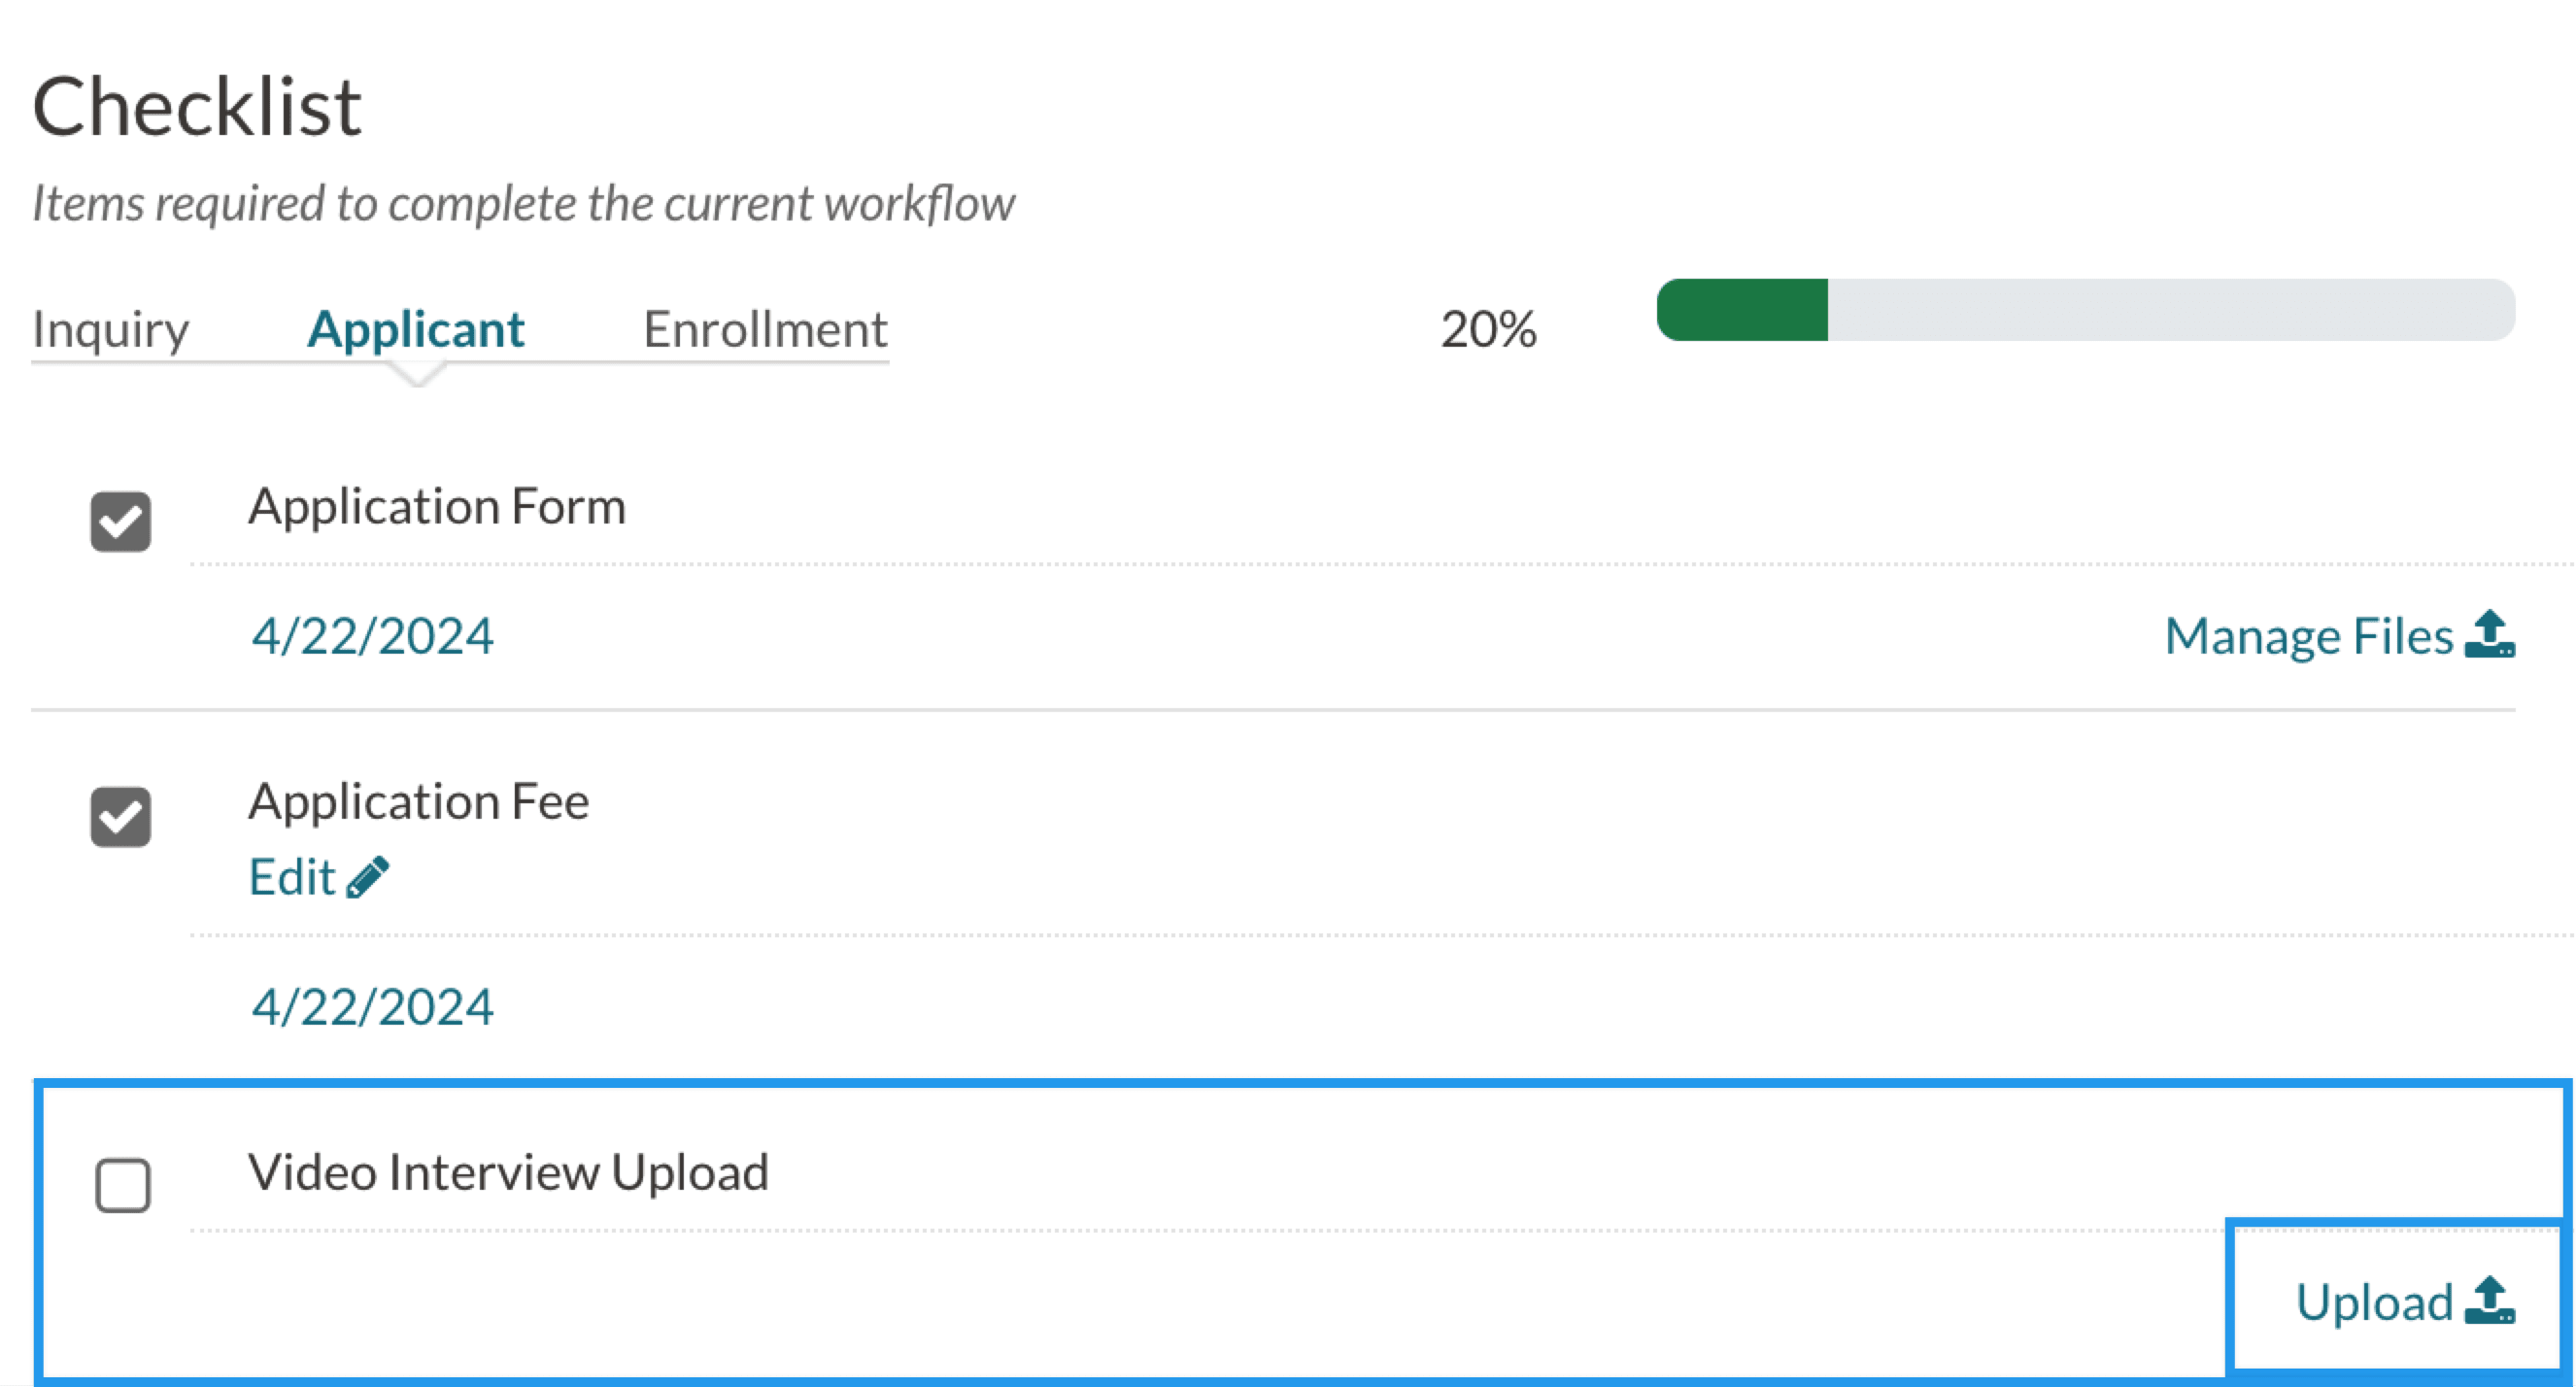
File Upload and Multiple File Upload type checklist items are used to collect additional documents - such as PDFs, images, and other file types - by allowing them to be uploaded directly to the checklist. These files can be uploaded by the family from the Parent Portal, or by an admin from the student contact record.
The maximum allowed file size is 1000MB.
Additional Notes on File Upload vs Multiple File Upload
- All file types are accepted as long as they do not exceed the File Size Limit set on the Basic Setup page.
- File Upload checklist item is restricted to a single uploaded file, while Multiple File Upload allows for multiple files to be uploaded to the same checklist item.
- With both Single and Multiple File Uploads, uploading a single document will mark the checklist item as complete.
Common use cases for File Upload and Multi-File Upload checklist items:
- Unofficial test scores.
- Upload audio or video work for art programs.
- Signed and scanned forms.
- IEPs or 504 Plans.
File Visibility
When you select an item type of either, File Upload or Multi-File Upload within a checklist item, you will have the additional opportunity to set the File visibility.
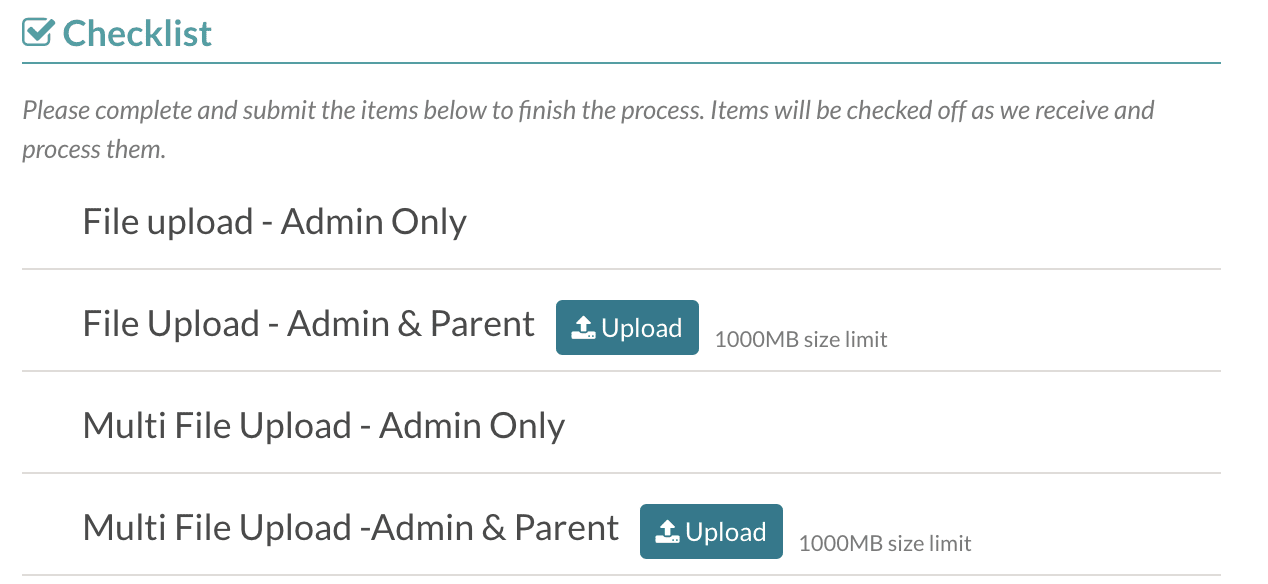
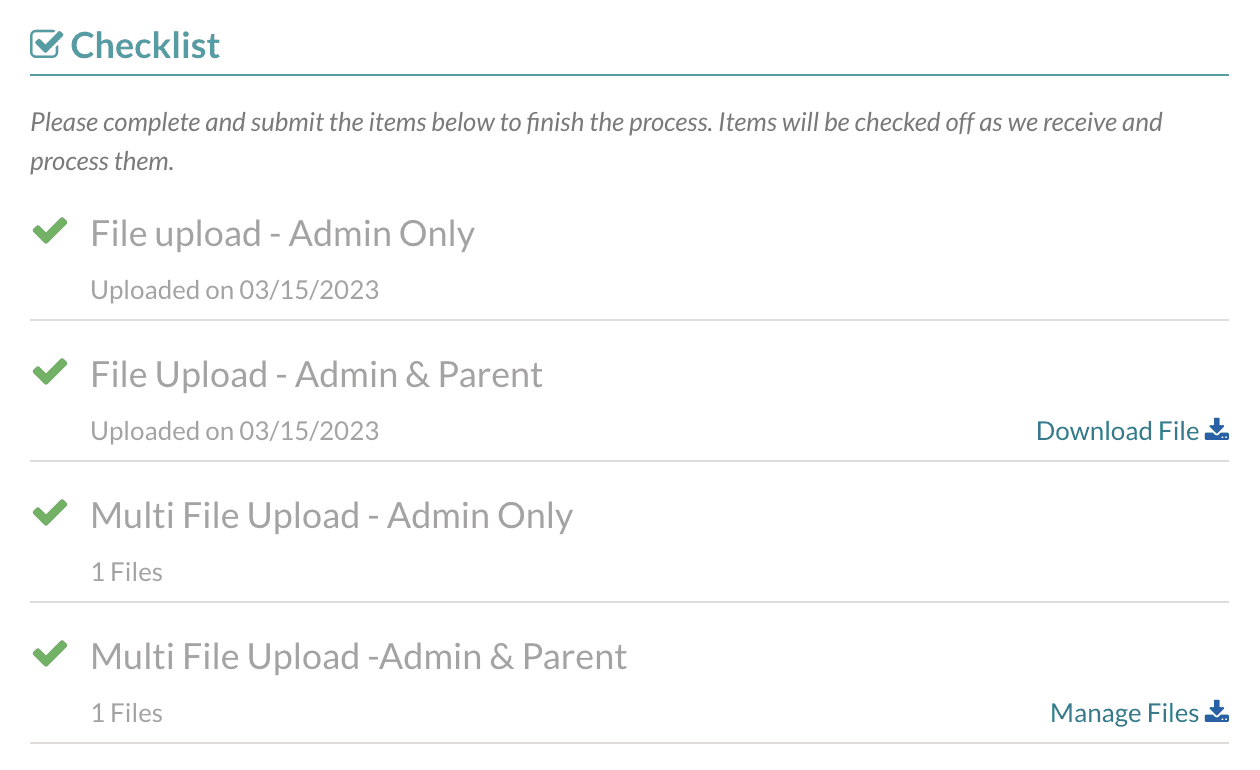
The visibility settings will affect the experience on the parent end. Here is a breakdown of what to expect for File Upload and Multi-File Upload checklist items.
Please note: Regardless of the visibility setting selected, you as the Admin always have access to any files added whether internally, or, on the parent end.
| Admin | Admin & Parent | |
|---|---|---|
| File Upload |
|
|
| Multi-File Upload |
|
|
File Upload and Multi-File Upload Parent View Examples
Before
After
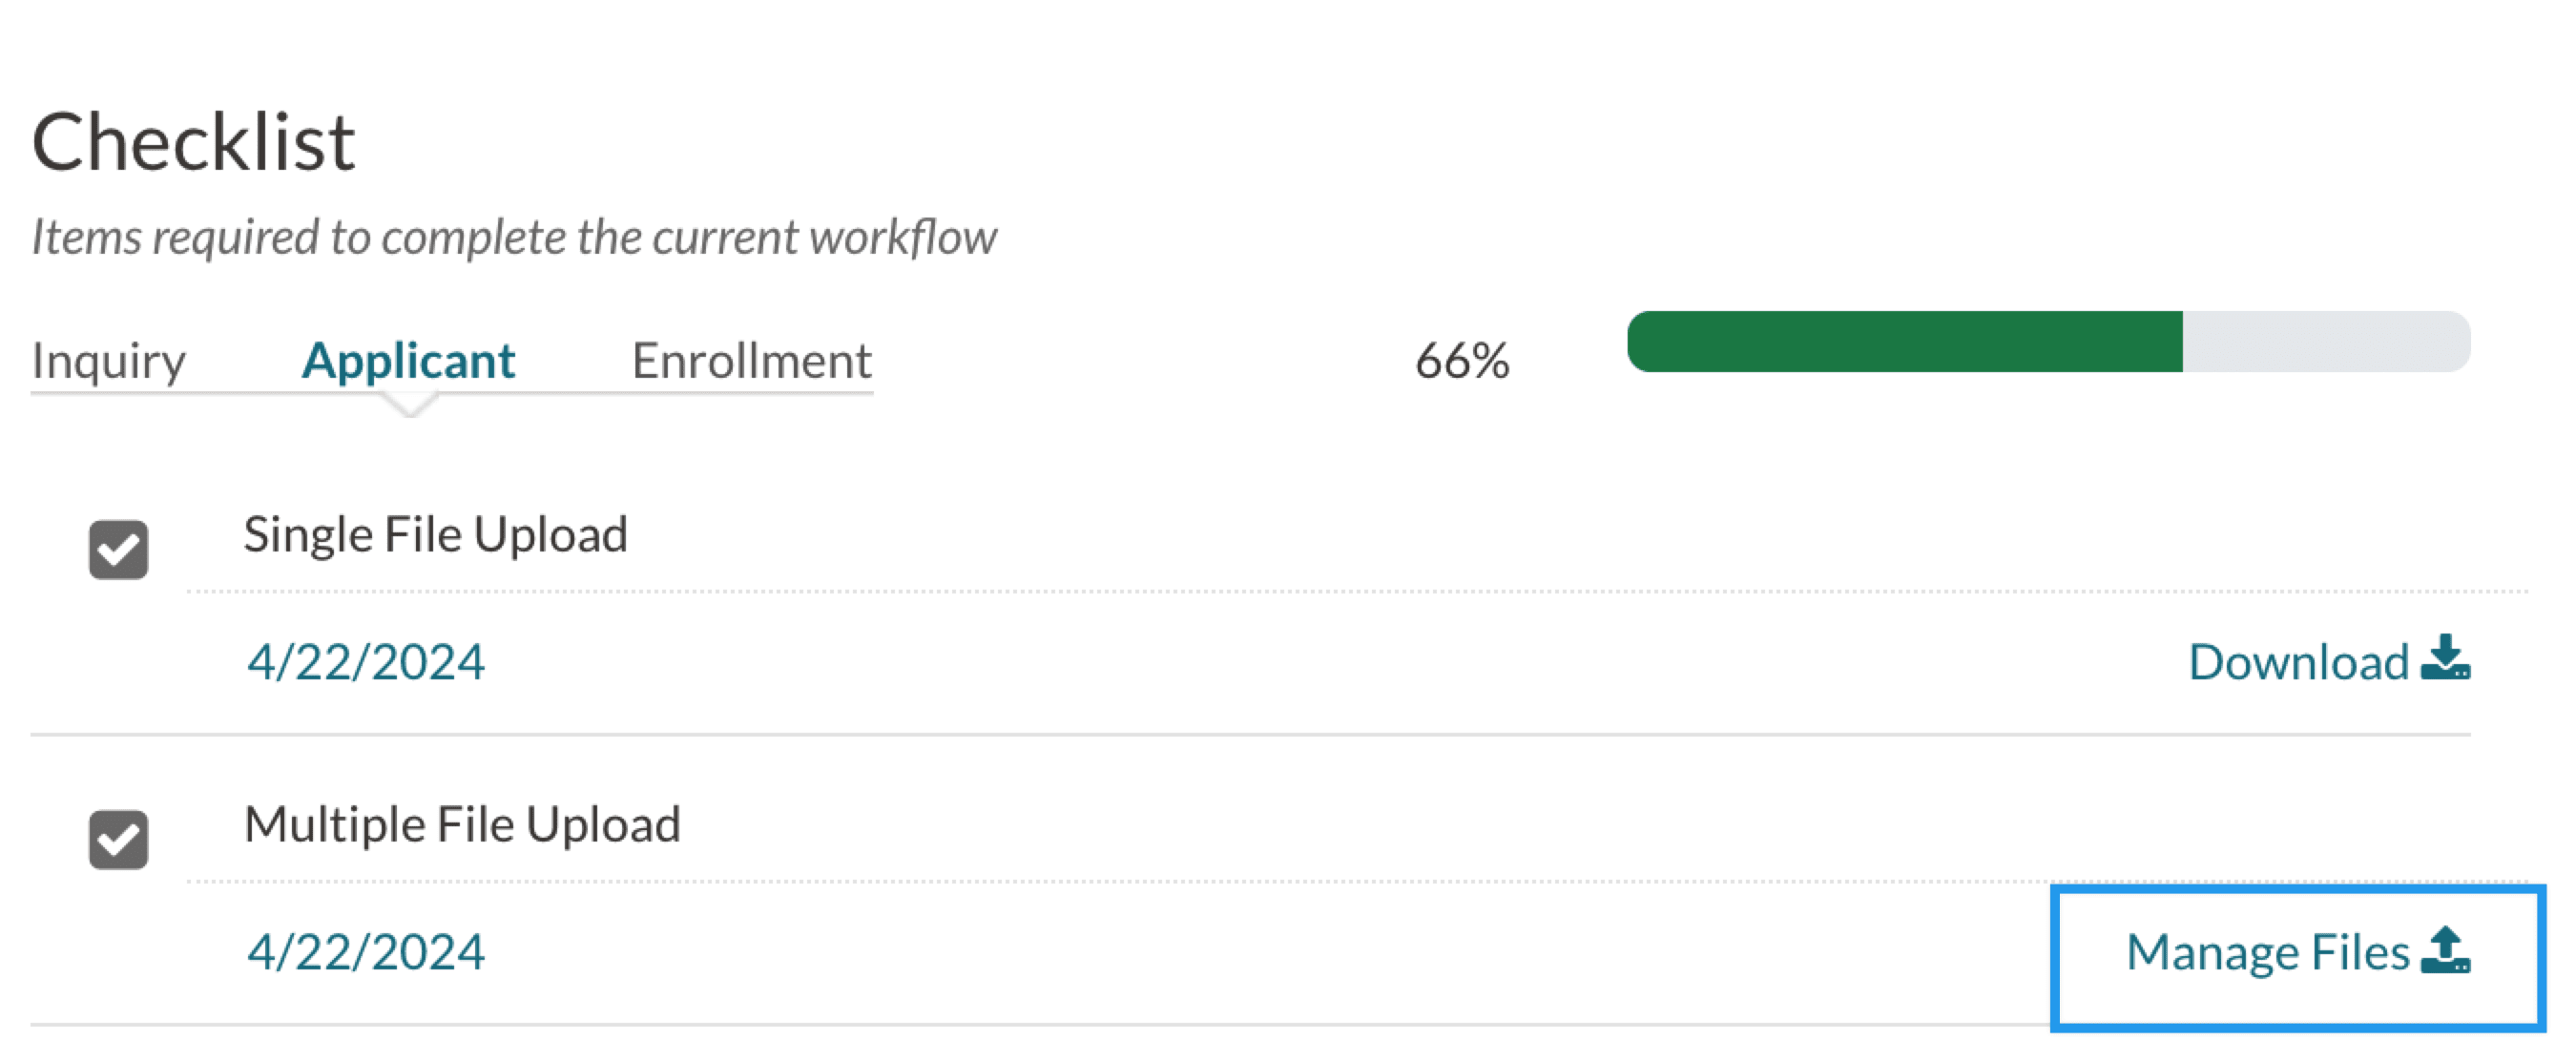
Manage Files
Once you upload an item to a Multiple File checklist item, you will see the Manage Files option. When you select Manage Files, you will see a pop-up with the option to:
- Upload additional files
- Edit the file name
- Delete the file
- Preview the file (for PDF and image files only)
- These files will open in a new browser tab. The preview option will not work for other file types, such as Doc or Excel files.
- Download the file
Please note that parents will only see the Manage Files option on their end if you have set the visibility to Admin & Parent.
Calendar
Calendar-type checklist items are linked to a calendar in Finalsite Enrollment and can be used to allow parents to book appointments in the Parent Portal or allow admins to book them from the student contact record.
Calendar Checklist Item Completion
Calendar checklist items should be manually marked as complete after the student or parent attends the event. Click here to learn more about how to link calendars to checklist items.
Parent Access
For families to see the Schedule Appointment option on the checklist item in the Parent Portal, you must have the ‘Allow parents to book appointments via the checklist in the Parent Portal’ option checked in the linked calendar's settings. Check out our Calendar Settings articles to learn more.
Duplicate Appointments
If a parent books a duplicate appointment for the same event, you'll see both appointments listed in the checklist item on both your side as well as the parent's Linking Calendars to Checklist Items side. Learn more about this in our Linking Calendars to Checklist items article.
Common use cases for Calendar checklist items:
- Student visits or evaluations.
- Parent or Student interviews.
- Event attendance.
Custom Fee
Custom Fee type checklist items are used in conjunction with Online Form type checklist items to allow you to collect additional fees on your forms. Custom fees can be driven by selections the parent makes on a form. When setting up a Custom Fee type checklist item, you must also select the appropriate Fee Grouping and Associated Form. Click here to learn more about Custom Fees.
Common use cases for Custom Fee checklist items:
- Test registration fee.
- Sports registration fee.
- Book or t-shirt purchase fee.
Online Form
Online Form type checklist items are linked to a custom admissions form or custom enrollment form in Finalsite Enrollment. Click here to learn more about online forms.
When configuring Online Form checklist items, you will need to choose an option for the 'Allow form to be completed by' setting. Available options are:
- Parent: Only the parent can fill out the form. All online forms default to this selection. The submitted form is viewable by parents and Admins.
- Admin: Only an admin at the school can fill out the form (internally from the student's contact record). If the checklist item is set to Required or Optional, parents will still see it on their student's checklist in the Parent Portal, but they will not have the option to complete the form. The submitted form is viewable by Admins only.
- Both: This allows both parents and admins at the school to fill out the form and see the submitted version.
Common use cases for Online form checklist items:
- Student statement or essay.
- Emergency contact information form.
- Release or permission forms.
- Internal interview notes.
Recommendation Form
Recommendation Form type checklist items are linked to an online teacher recommendation form in Finalsite Enrollment. These forms can be sent to teachers or other recipients outside of the system. They also remain confidential to the school and have a unique workflow that allows both parents and admins to monitor the progress. Click here to learn more about Recommendation Forms.
Common use cases for Recommendation form checklist items:
- Teacher recommendation forms.
- Pastor recommendation forms.
- Coach recommendation forms.
Contact Profile Picture
The Contact Profile Picture type checklist item allows parents or admins to upload a profile picture for a student. When an image is uploaded, it will automatically appear on the summary tab of the student's contact record. The upload workflow includes controls for cropping and rotating the image. Only one contact profile picture can be uploaded for each student. At this time, parent profile pictures are not supported.
Good to know
The "Contact Profile Picture" checklist item can only be used once, in one single checklist.
This means: Once the "Contact Profile Picture" item has been added to a specific checklist (e.g., admissions), you won't be able to add it into any other checklists or terms (e.g., enrollment, inquiry).
- Please note that this does not mean that you can only use this checklist item for a single term. Unless a closing term is selected in the checklist item settings, the profile picture checklist item (like all other checklist items) will carry over in the checklist year after year.
- It is not recommended to have this checklist item within your Inquiry checklist since parents do not have access to the Inquiry checklist. Parents do not gain access to the checklist until they submit an Application (and therefore receive access to the admissions checklist once the application is imported.)
Document Request Form
Document Request Form type checklist items are linked to a checklist item request form in Finalsite Enrollment. They are similar to recommendation forms but with a different welcome screen and more customizable email templates. Document Request Forms can be combined with other features like file upload on forms to enable the collection of transcripts, school records, or evaluation forms. Click here to learn more about Document Request Forms.
Common use cases for document request form checklist items:
- Transcript or school record requests.
- Evaluation or interview forms.
How-To: Use Special Checklist Types
Some checklist items have special behaviors that drive workflows. There can only be one of these items active in any term:
Application
The Application checklist item is linked to your currently active Application Form in Finalsite Enrollment. It drives the application workflow and is unique in that it has a special link in the Parent Portal, can have application fees attached to it, and flows through the form import process.
Application Fee
The Application Fee checklist item is linked to the Application form and is completed when the applicable application fee for the student is paid online through the Parent Portal (for credit card or e-check) or is manually marked complete by the admin (for check payments or custom payment methods).
Contract
The Contract checklist item is linked to your currently active Contract Form in Finalsite Enrollment. It has a special workflow and supports tuition, fees, payment plans, and deposits. To learn more about contracts, click here.
Deposit
The Deposit checklist item is linked to the Contract form and is completed when the applicable deposit for the student is paid online through the Parent Portal (for credit card or e-check) or is manually marked complete by the admin (for check payments or custom payment methods).
FACTS Integration
The FACTS Integration checklist item is used in conjunction with FACTS, for schools that have set up and are using the FACTS integration with Finalsite Enrollment. This checklist item is automatically marked as complete once the parent has linked to their FACTS account and completed their agreements in the FACTS system. To learn more about the FACTS integration, please refer to our FACTS: Overview and Integration Options article.


Comments
0 comments
Article is closed for comments.