Overview
Emails can be sent either individually or in bulk to manage various steps of the admissions and/or enrollment process, such as event invites, thank you notes, checklist reminders, newsletters, and more. You can send emails based on existing custom email templates that you've created, or you can create one-off emails on the fly while in the 'Send Email' process.
In this article
Visibility Permission for Emails
- If you've set a Permission within the email template, only admins with that permission will be able to:
- view or edit the template
- send that template to a recipient
- view the sent communication on the contact record, sent email page, and failed email page
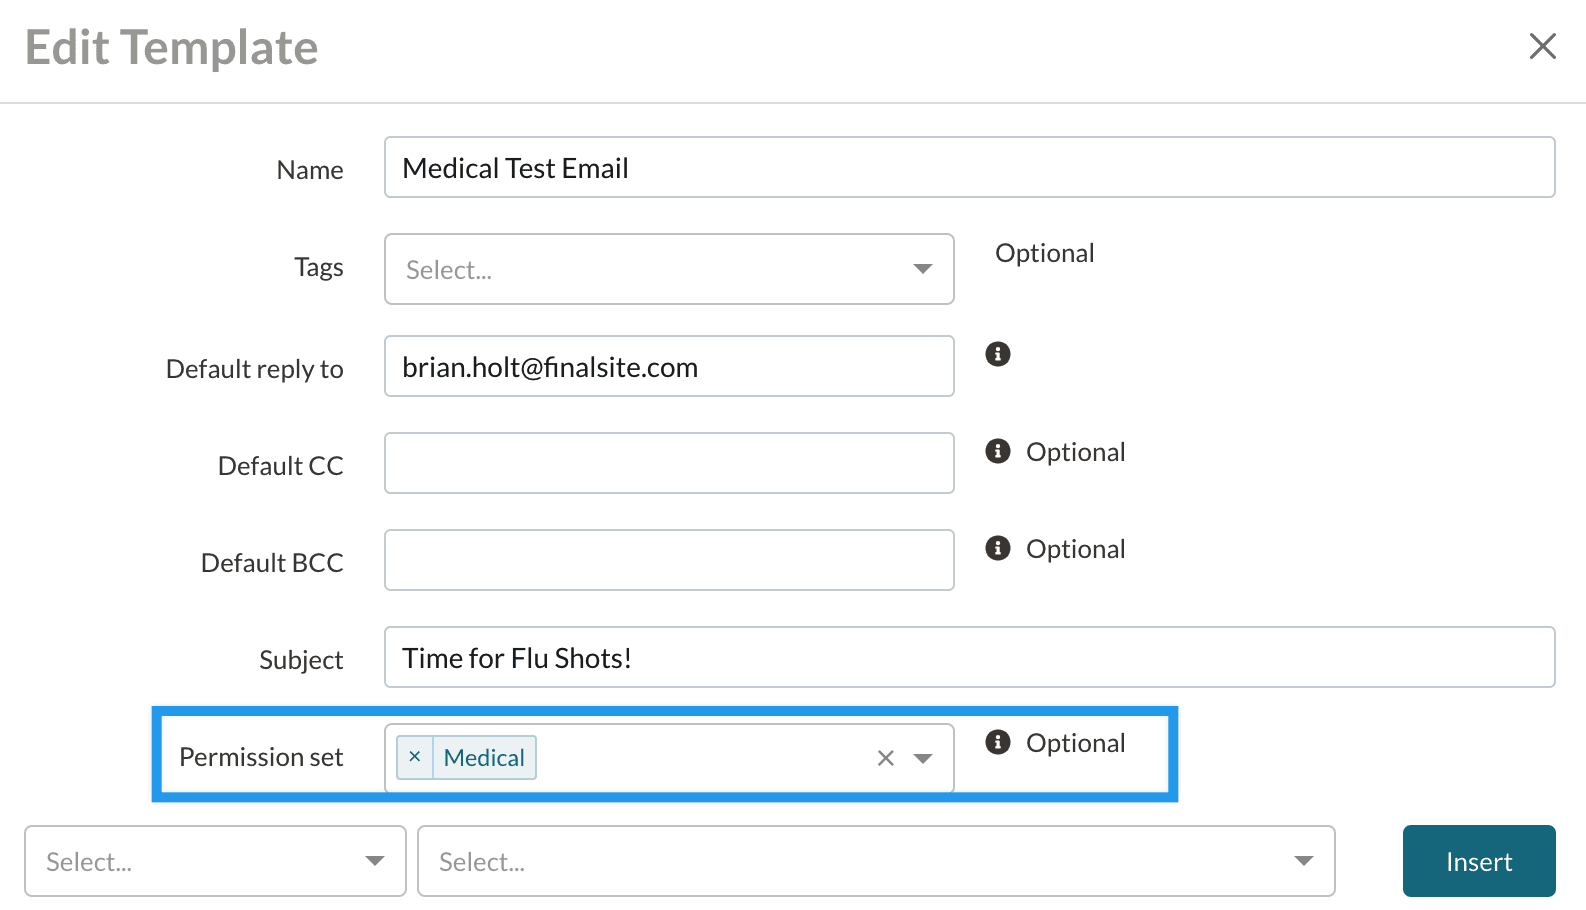
- To add a permission level within an email template, click into the Permission Set box and select which permission(s) to apply. You can add multiple permissions or leave it blank. If you leave it blank, the email will be visible/manageable by any admin regardless of permission.
For example, if you've set an email template with the Medical permission (as seen below), only admins with Medical permissions assigned to them will be able to see those emails.
- Admin Permissions are assigned under Settings > Portal > Admin Portal Accounts.
- Permissions can be added within email templates under Settings > Communication > Email Templates.
How-To: Send Emails
Selecting the Send Email Action
You can send emails in bulk from most list pages, Search & Reports, and the contact record. Once you have selected the contacts you wish to email, you'll click on the green Communicate menu towards the upper right and select Send Email. This will open the 'Send Email' window.
Selecting Recipients
On the first page of the Send Email window, you will select who you want to receive the email. There are multiple recipient options, as described below. Please note: Recipients will only receive a single email if they are in multiple groupings. For example, if you select all parents of selected contacts and primary parents of selected contacts, the primary parent will only receive the email once.
-
Selected contacts - This will send an email to the contacts selected on the list page/search or the contact record you are currently viewing. This can be used to send emails directly to students.
-
All parents of selected contacts - Includes anyone with a parent, mother, or father role. This means it will include any aunts, uncles, and grandparents who have these role assignments.
-
Primary parents of selected contacts - Refers to the parent or guardian with the primary parent flag set (noted as the orange 'P' icon to the left of their name) on the student's contact record.
-
Financially responsible parents of selected contacts - Refers to any contact with 'Financially Responsible' set to Yes within the Parent Portal Access page of the student's contact record.
-
All parents in the primary households of selected contacts - Includes anyone with a parent, mother, or father role in the primary household only. You can review who is in the primary household for a student by visiting the Household Details page on their contact record.
-
Mothers of selected contacts - Refers to any contact with the 'mother' relationship set. This will also include any aunts, step-parents, and grandparents who may have the 'mother' relationship set.
-
Fathers of selected contacts - Refers to any contact with the 'father' relationship set. This will also include any uncles, step-parents, and grandparents who may have the 'father' relationship set.
-
Consultants of selected contacts - Includes all consultants tied to the student's record.
-
Responsible payers of selected contacts - For schools using the Billing module only. Includes anyone who is set up as a responsible payer for the student.
Sending Family-Based Emails
Also on the first page of the Send Email modal, after selecting your recipients, you will see that there's an additional option to send a family-based email.
If you choose to send your email as a family-based email, it will only be sent once to each parent or consultant, even if they are responsible for multiple students within the selected list. Once the emails are sent, they will display in the Recent Activity / History area of the contact record for all students within that family, even though only one copy was sent to each recipient.
This is a great option when sending newsletters, event invites, or other communications where you do not what the recipient to receive duplicates. Please note: If an email is sent as family-based from an individual student's contact record, the email will only be logged in that student's Recent Activity / History, not any siblings.
About merge tokens and family-based emails:
-
It is not recommended to use contact-based merge tokens in family-based emails. If you do use them, the system will choose one of the student's information at random to populate into the email.
-
Salutations and other recipient-based merge tokens can still be used.
Scheduling an Email
On the second page of the Send Email modal, you can select whether you would like your message to be sent "Immediately" or "On a specific date and time".
Choosing "Immediately" will send the email right away (after you have previewed and clicked Submit), whereas choosing "On a specific date and time" will allow you to choose a specific date and time for the email to be sent.
A few notes on scheduling emails:
-
Emails must be scheduled at least one hour in the future.
-
All scheduled times are relative to your school's time zone, as configured within Basic Setup.
-
Scheduled times refer to when the email will be sent, and cannot guarantee the time it will be delivered. However, typically the time between send and delivery is negligible.
-
Scheduled emails can be viewed or canceled from within Settings - Communication - Scheduled Emails.
-
IMPORTANT: Scheduled emails can disappear from the Scheduled Emails page up to an hour before they send and are not editable or available to cancel. However, they will still be sent at the scheduled time, even though you cannot view them within that hour window. For example, If you're sending decision letters, and you schedule them to be sent at 3 PM on Friday, these emails will disappear from the scheduled emails page around 2 PM, but they will still be sent out at the scheduled time of 3 PM.
-
Scheduled emails will be posted to the Recent Activity section of the associated contact record(s) as soon as they're scheduled. However, if you select 'Click to see details' on any of them, it will say Scheduled (and the scheduled date/time) instead of Sent.
A note on system date merge fields:
If you are using any of the date merge fields (e.g. "Current Date Numerical") in your Scheduled Emails, they will populate the date information for the day that you scheduled the email to send, not the day it actually sends out.
-
Example: Let's say you went into Finalsite Enrollment on October 7th and scheduled an email to be sent to a family on October 10th. If you used one of the system date merge fields in the email body or subject, when the contact receives the email on October 10th, they will see the date pulled in as October 7th (when you set up the email to be sent).
Editing Email Content
On the third page of the Send Email modal is where you will enter the content of your email. You can either select from an existing email template or write a new email from scratch. You can also change the default reply-to email address or add other email addresses to be CC'd/BCC'd on the email.
To learn more about the email editor or best practices sending email, refer to the following articles:
Previewing an Email
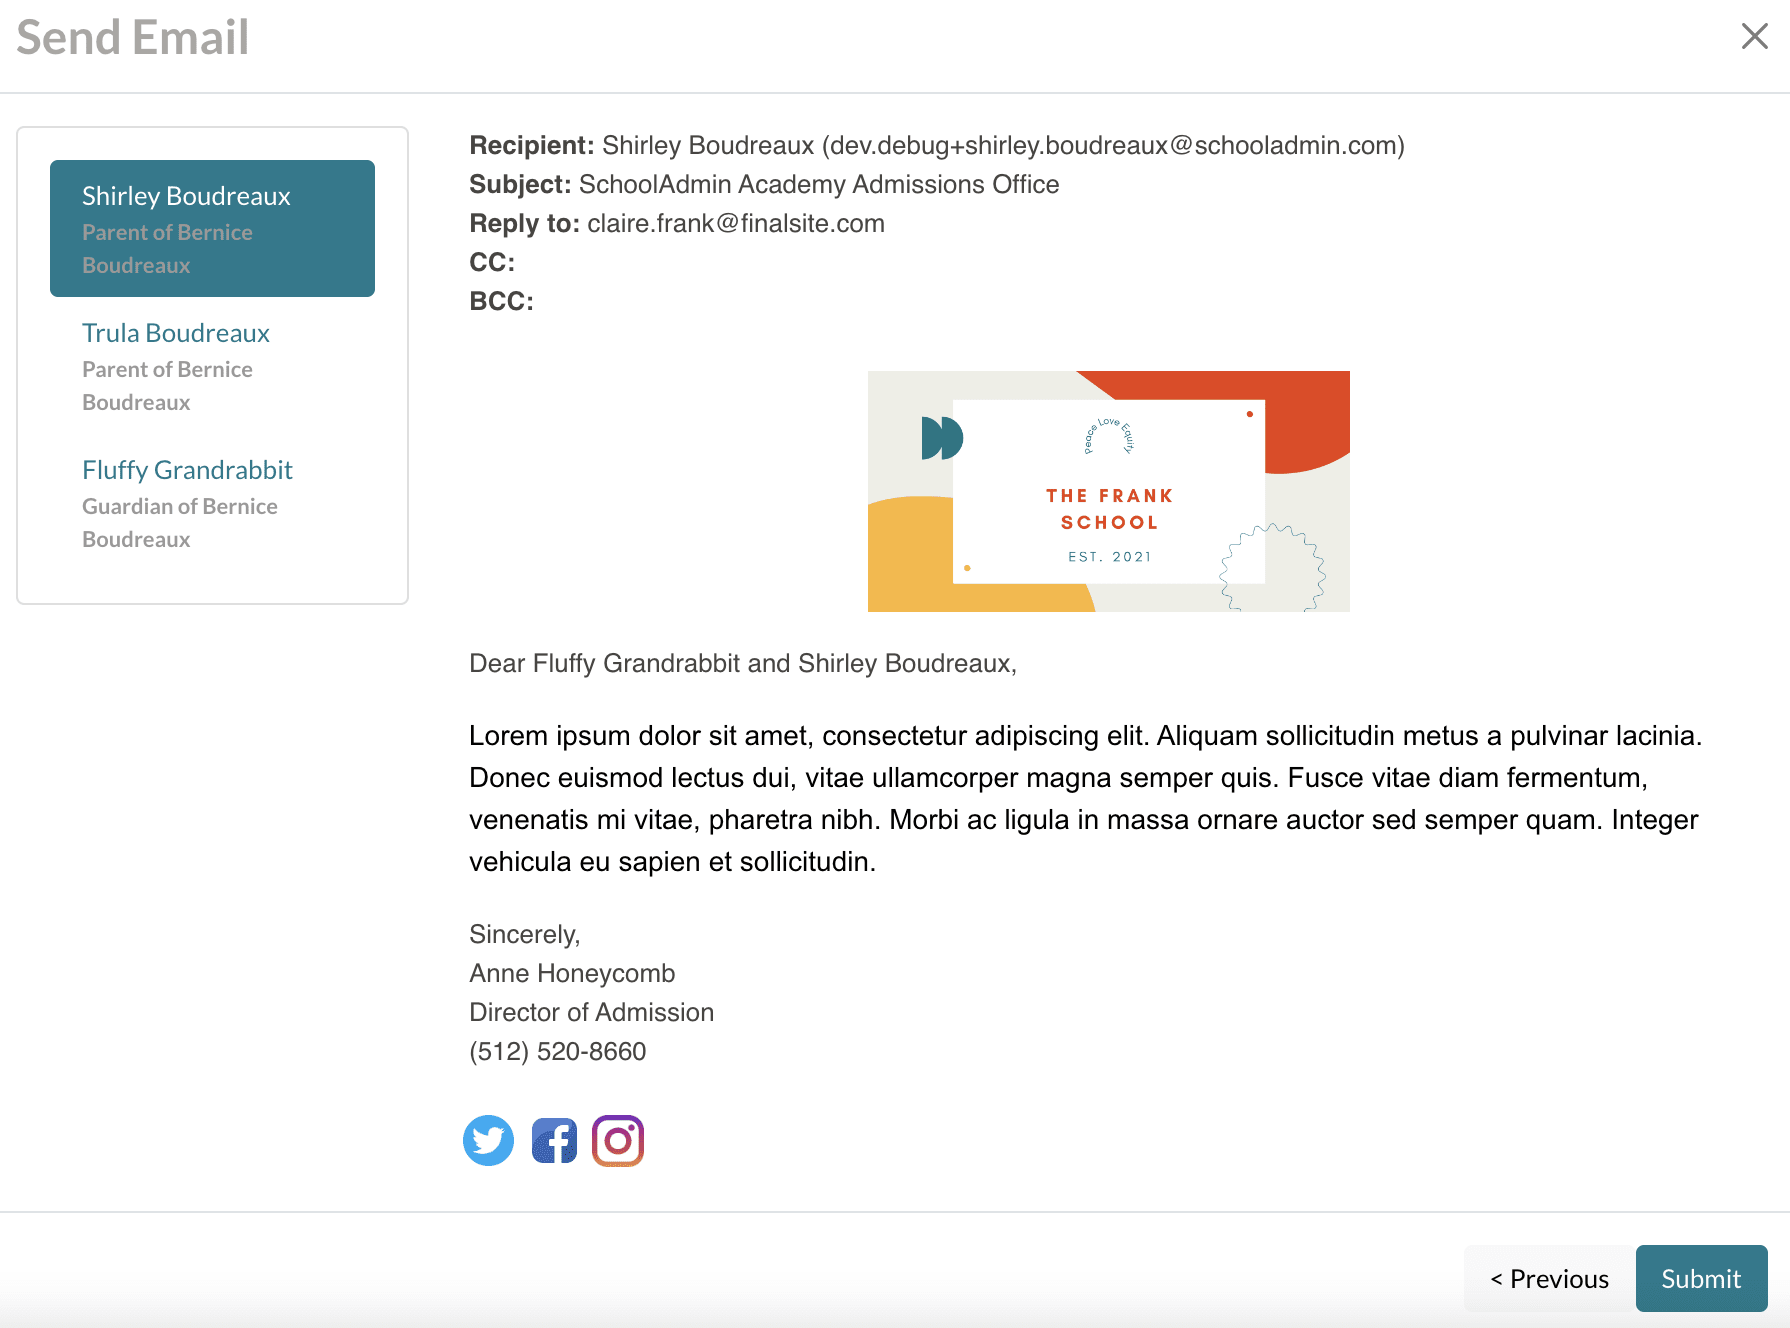
On the final page of the Send Email modal, you will be able to preview your email before sending it. All merge tokens will be populated with the appropriate data, so you can see exactly what the recipient will see when they get that email in their inbox.
When previewing an email, be sure to check for the following:
-
Review the body of the email and the merge tokens to be sure the details are correct.
-
Watch out for missing data. Some of the contacts may not have any data recorded in the merge fields you selected.
Sending an Email
After previewing your email and confirming that it looks the way you want, click the blue Submit button at the bottom of the window to complete the process and send (or schedule) the email to your selected recipients.
Please note: CC and BCC emails will not appear as separate entries on the Sent Emails page. You can view the details for any individual email to see what email addresses were CC'd or BCC'd.


Comments
0 comments
Article is closed for comments.