
Having a test student in your site is the easiest way to see things from a parent's perspective and troubleshoot family-reported issues. This article shows how to create a test student from the Quick Action menu, locate them in the system, and authenticate as a parent so you can experience the Parent Portal.
💡Quick Answers
- How do I create a test student? From the + Quick Action menu, choose Fill out an application form. Enter student first and last name (use Test as part of the name so they're easy to find later), grade, term, and one parent's name. If text messaging is enabled, opt in or out. Submit.
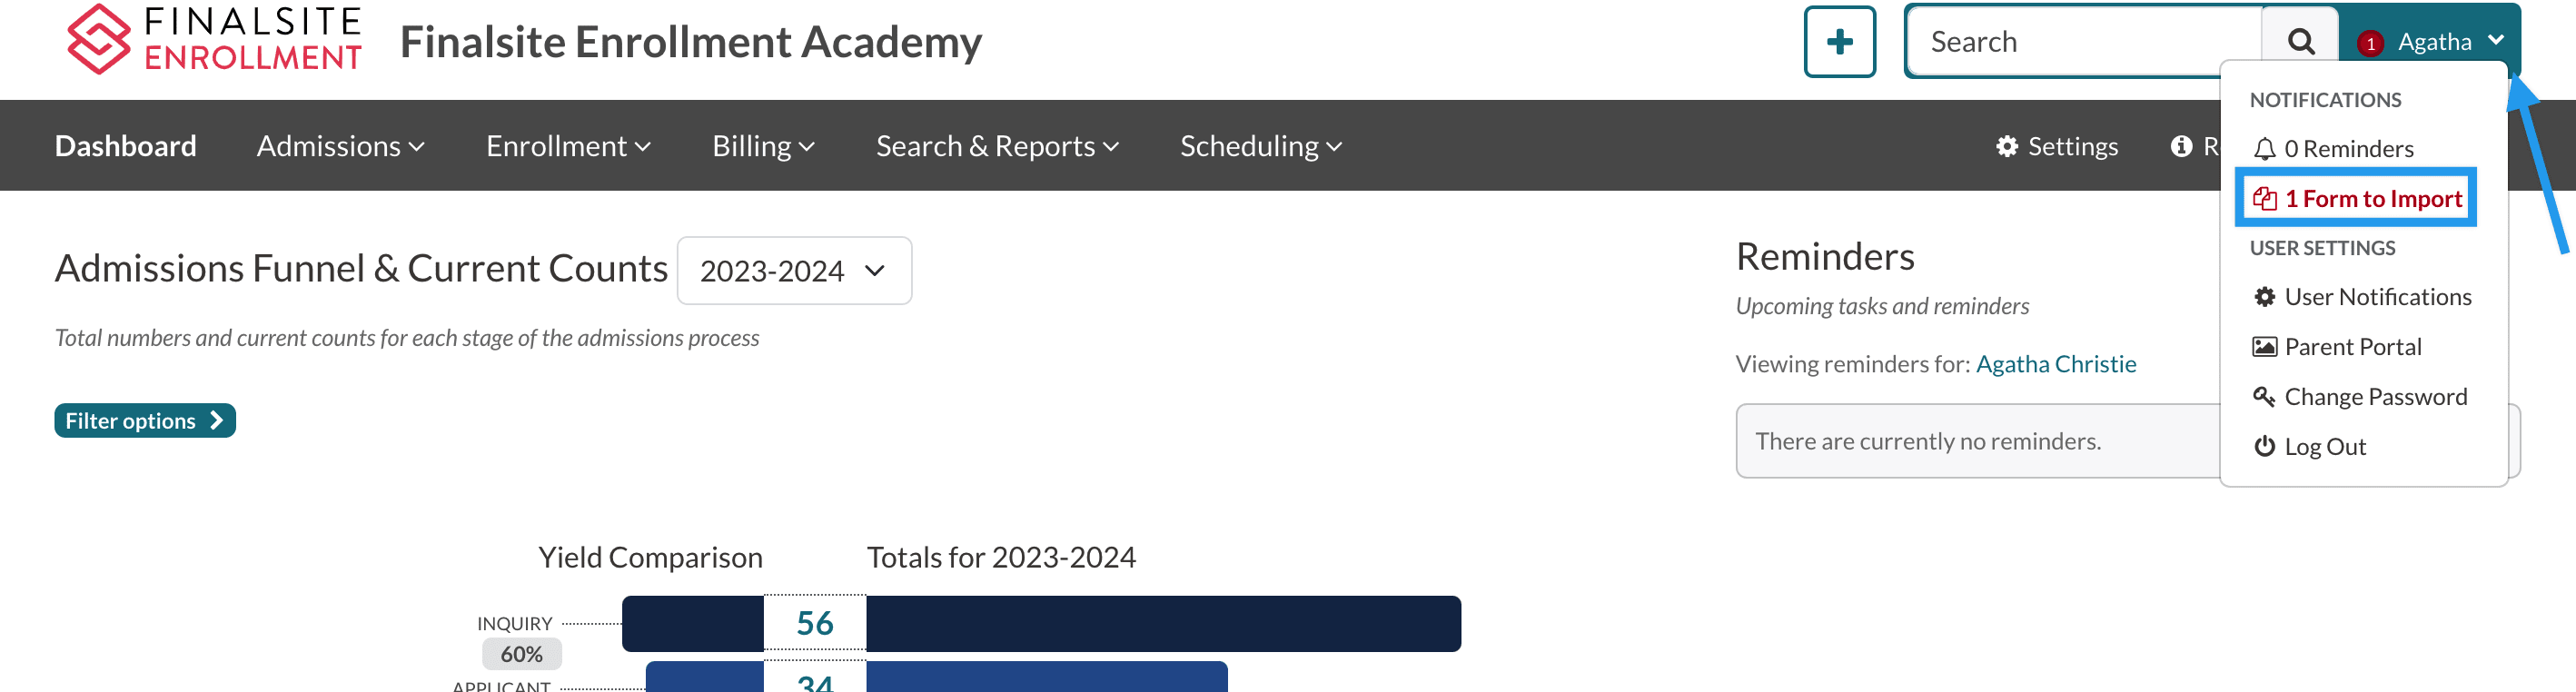
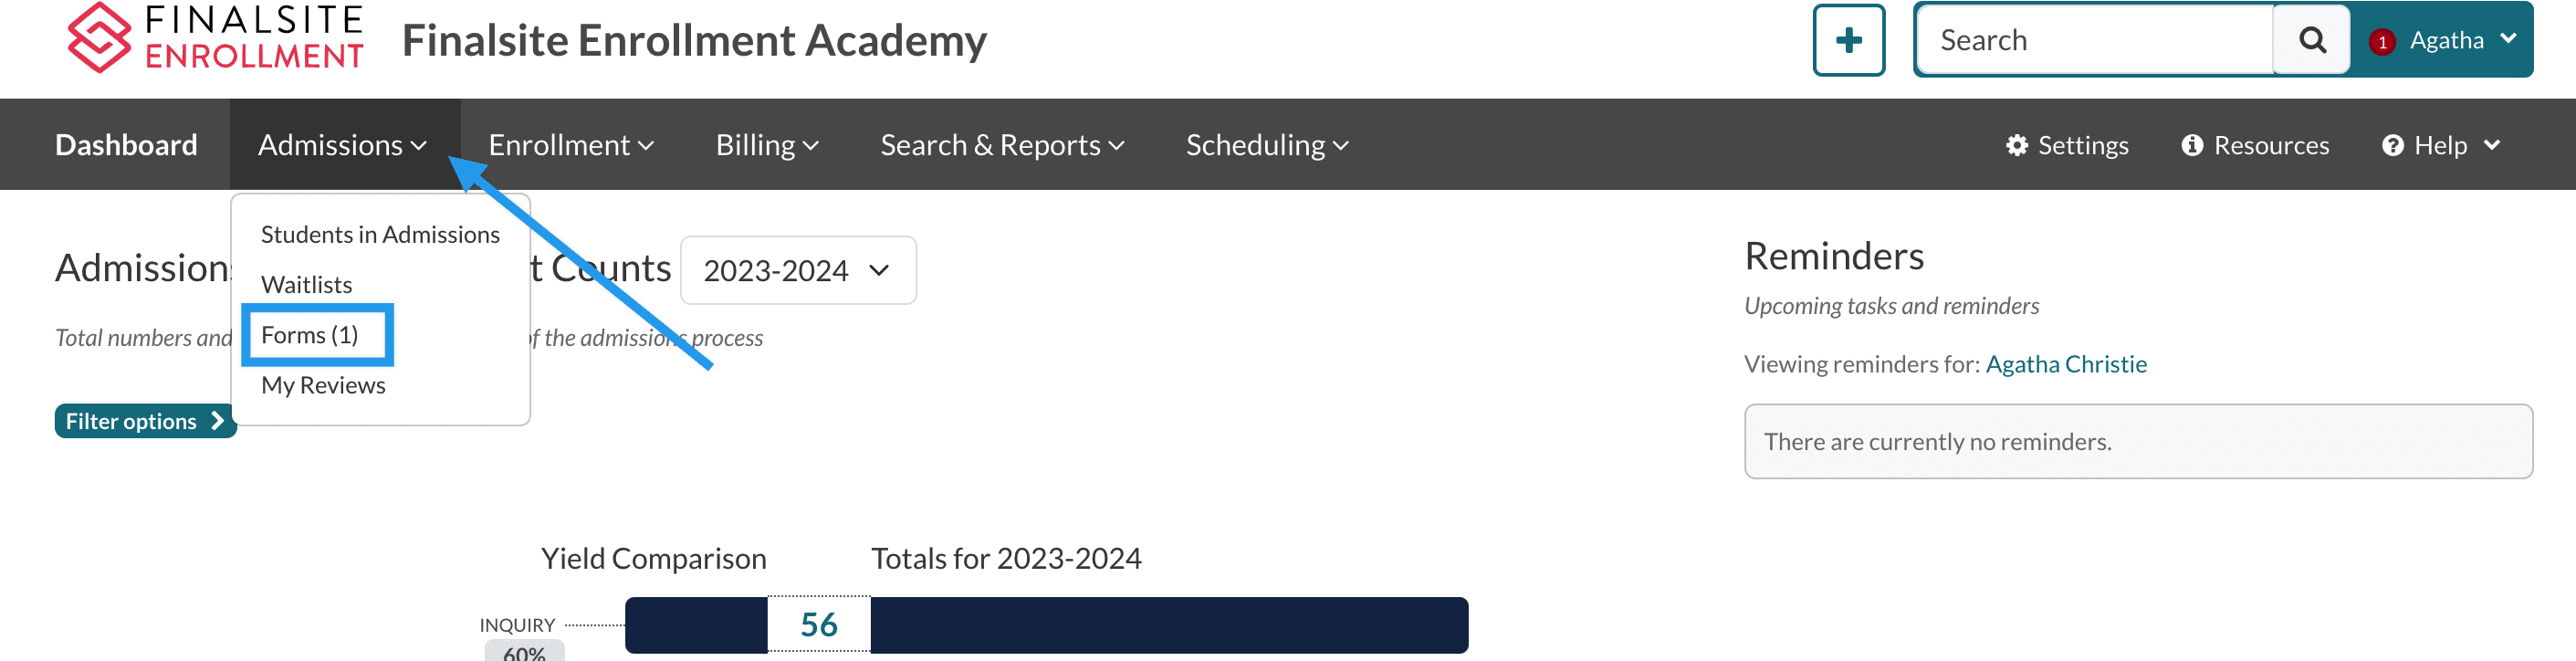
- Where does the new student end up? Search for them by name in the top-right search bar. If they don't appear, they're still in the Forms Inbox waiting to be imported. Go to Username Menu > Forms to Import (or Admissions tab > Forms) and click Import to bring them into the system.
- How do I authenticate as a parent of the test student? Open the student's record, click the computer icon to open Parent Portal Accounts, and copy the parent's code under the Code column. Make sure you copy the parent's code, not the student's.
- Where do I enter the authentication code? Username menu > Parent Portal opens the portal. Click Enter Authentication Code (below your student list if you already have test students), paste the code, click Next. Watch for extra spaces.
- Why don't I see the test student in the Parent Portal after authenticating? The student is probably still in Inquiry status. Change them to an Applicant or Enrollment status on the admin side so they appear in the parent view.
- How do I get back to admin from the parent portal? Replace /portal at the end of the URL with /admin.
Create a new test student from an application form
If you don't already have a test student to use, or you want to start from scratch with one, you can follow these steps to create a test student (and associated parent) in your Finalsite Enrollment site.
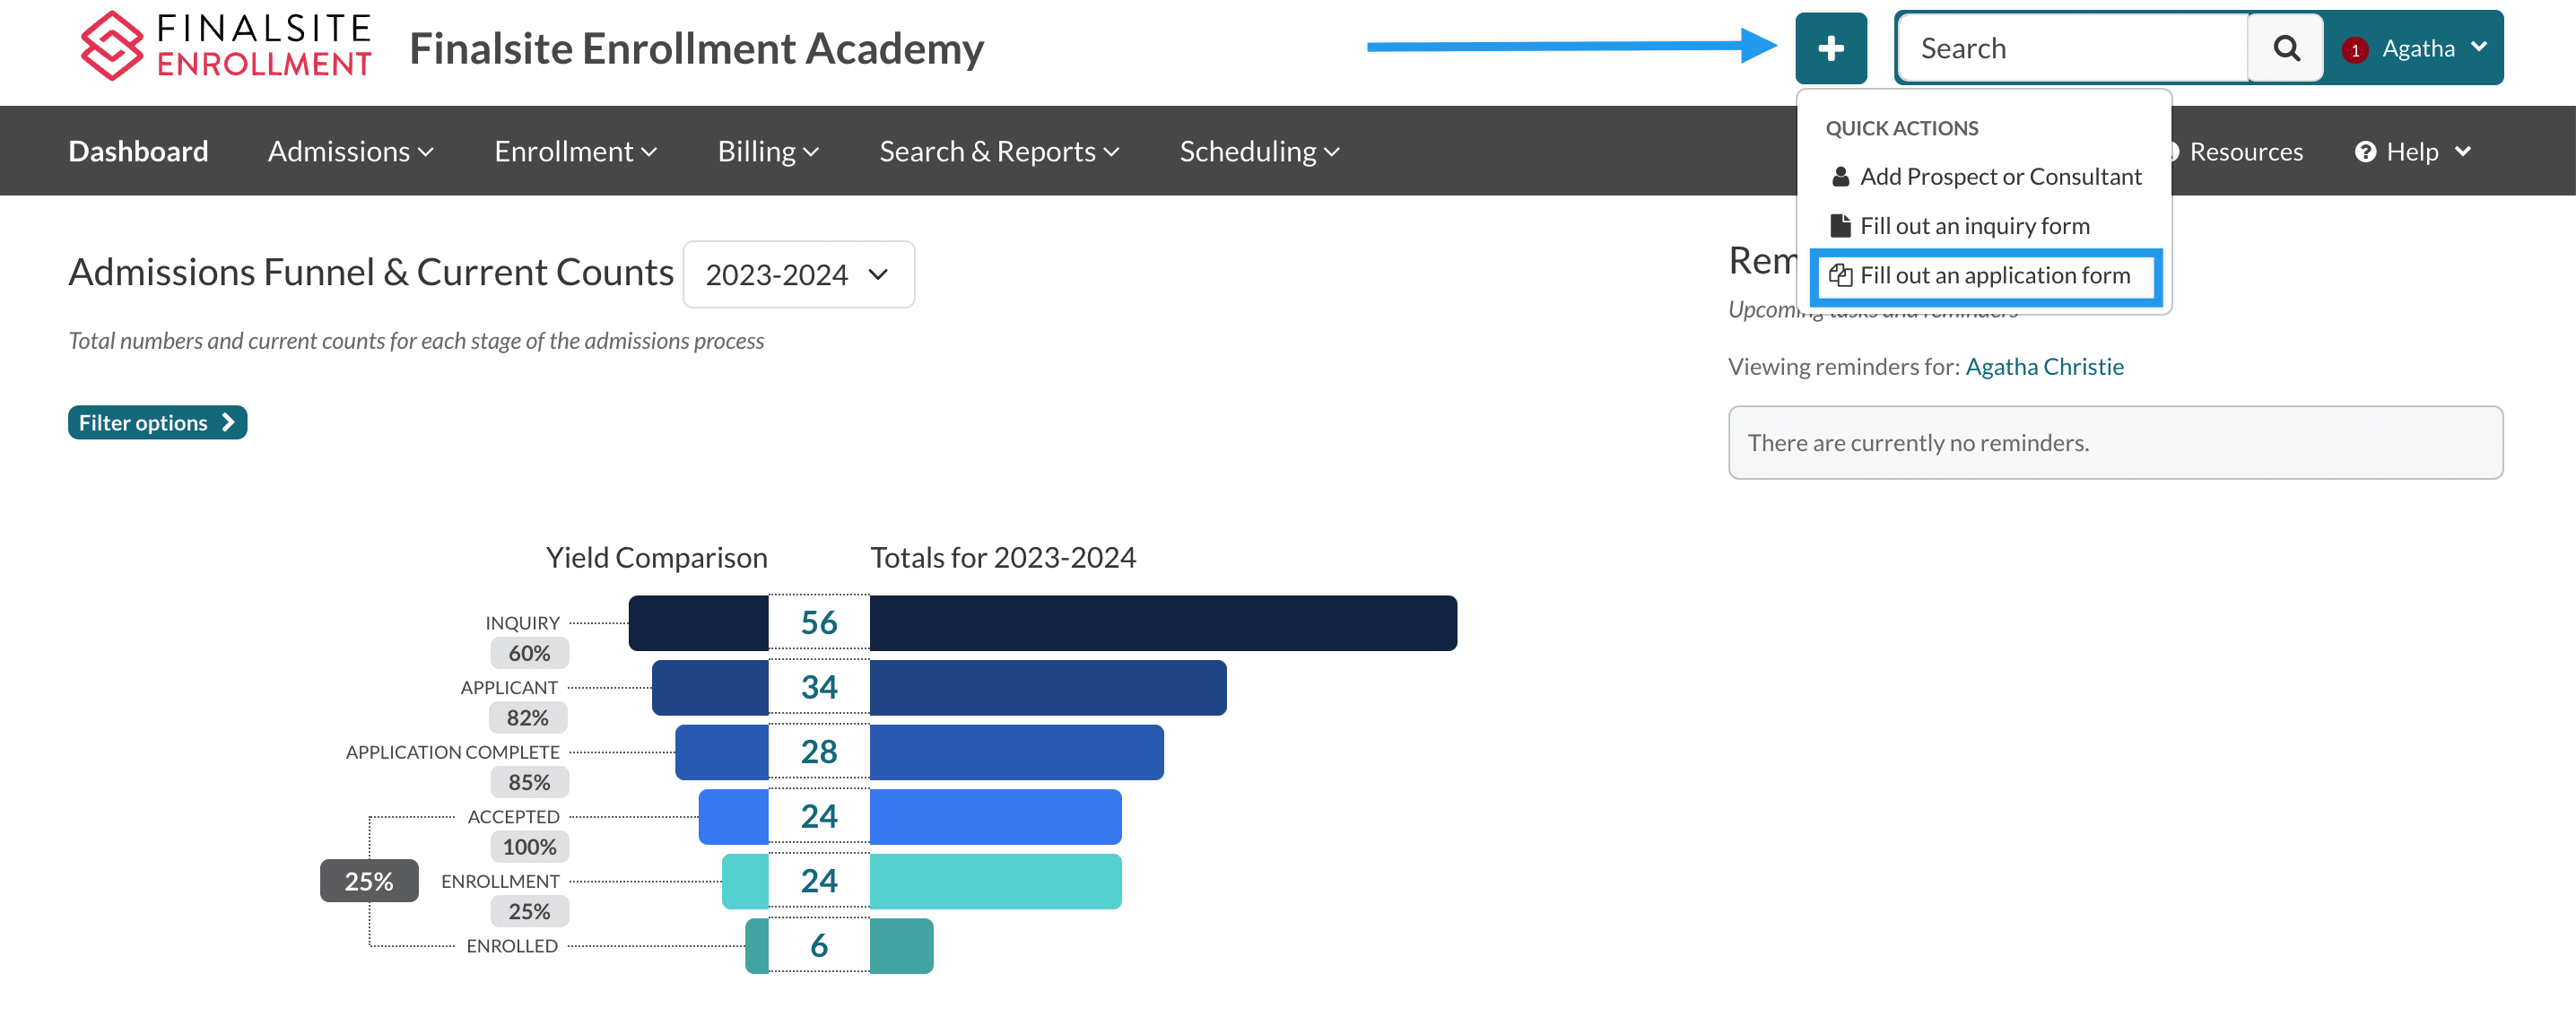
1. From the Quick Action menu, select Fill out an application form.
2. Fill out the application form
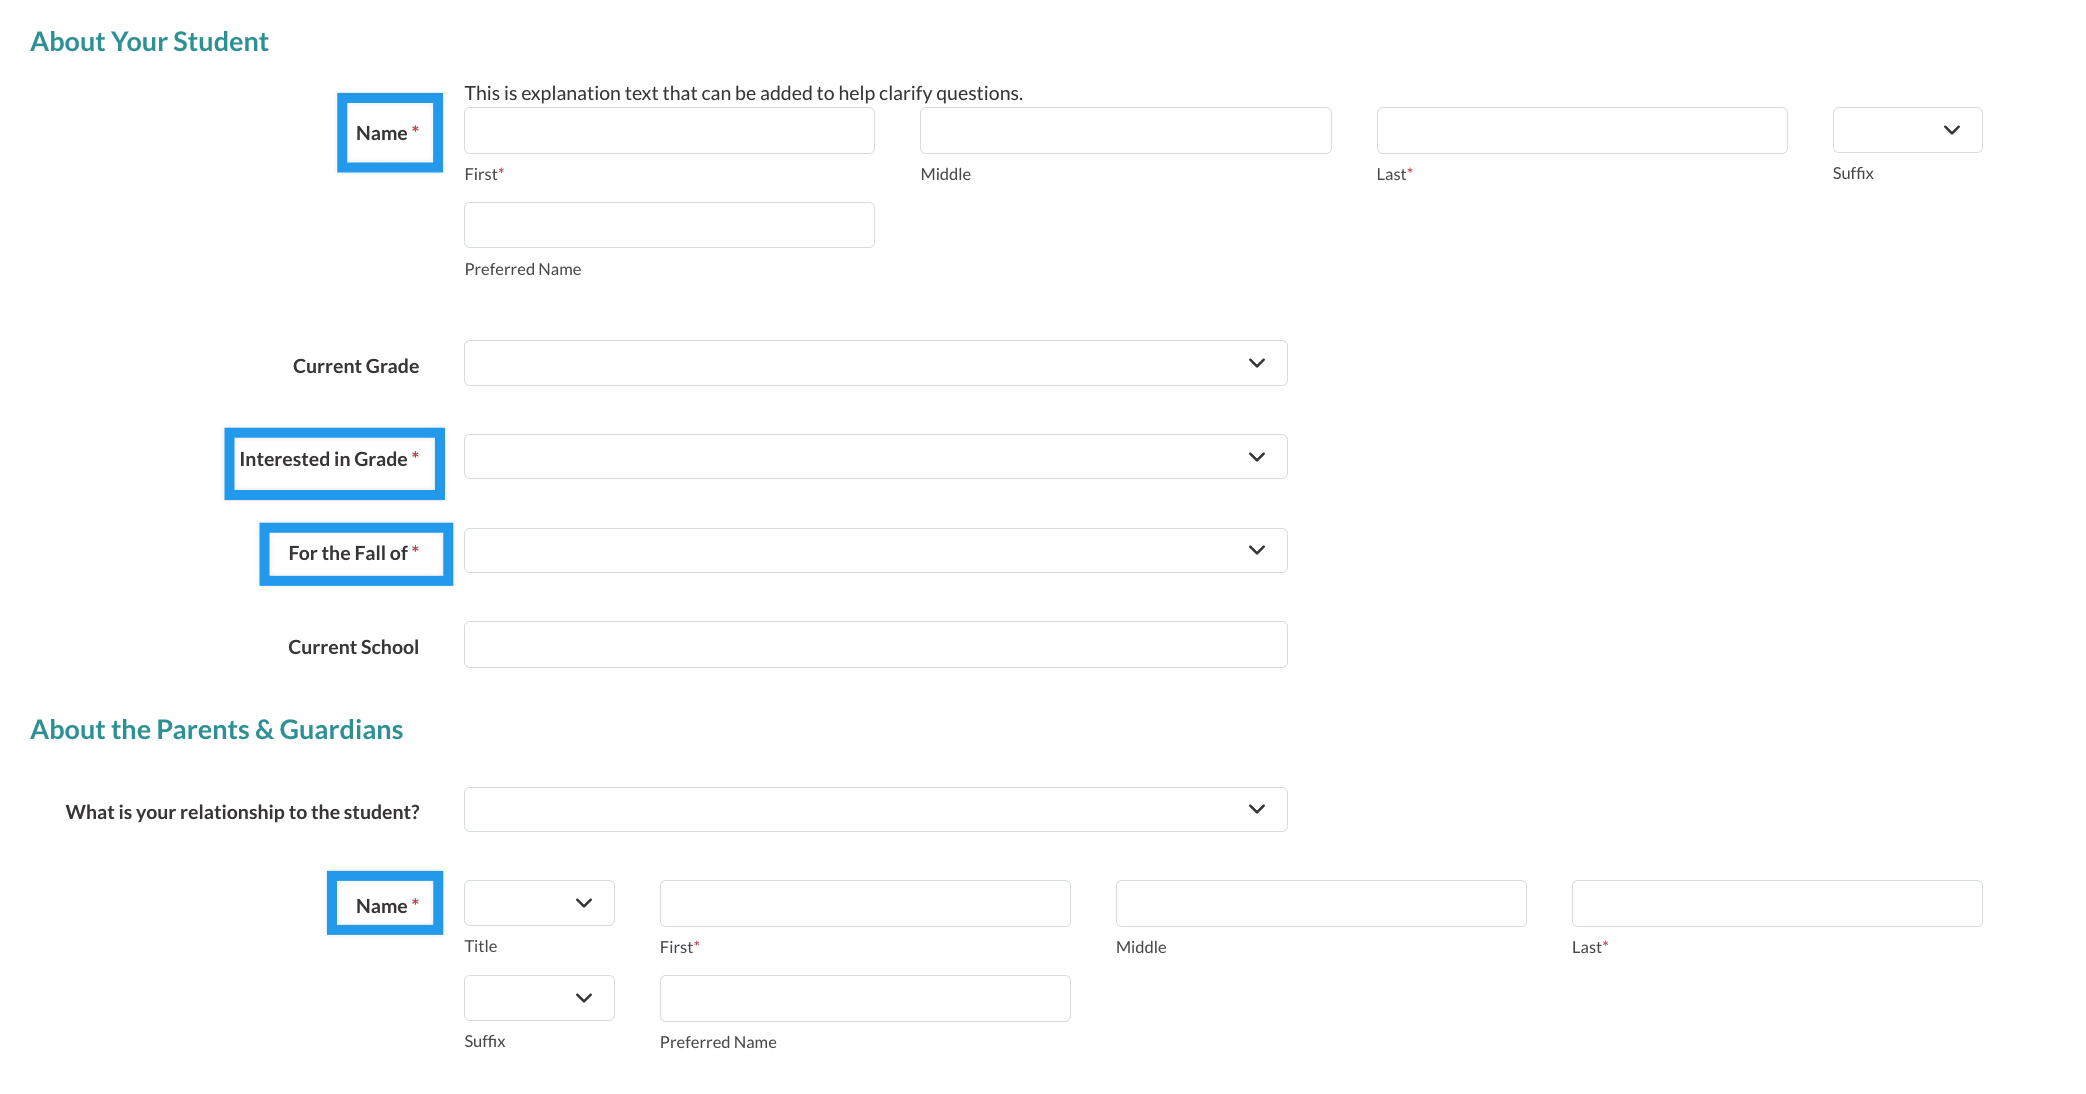
Within the form, enter the following information (all other parts of the form are optional when adding a student this way):
-
Student First Name and Last Name.
- Important: If you are adding a test student, be sure to use the word Test as either the first or last name so that later it will be easier to locate your test students.
- Student Grade
- Student Term (the year that they are applying for)
- Name of one parent (first and last)
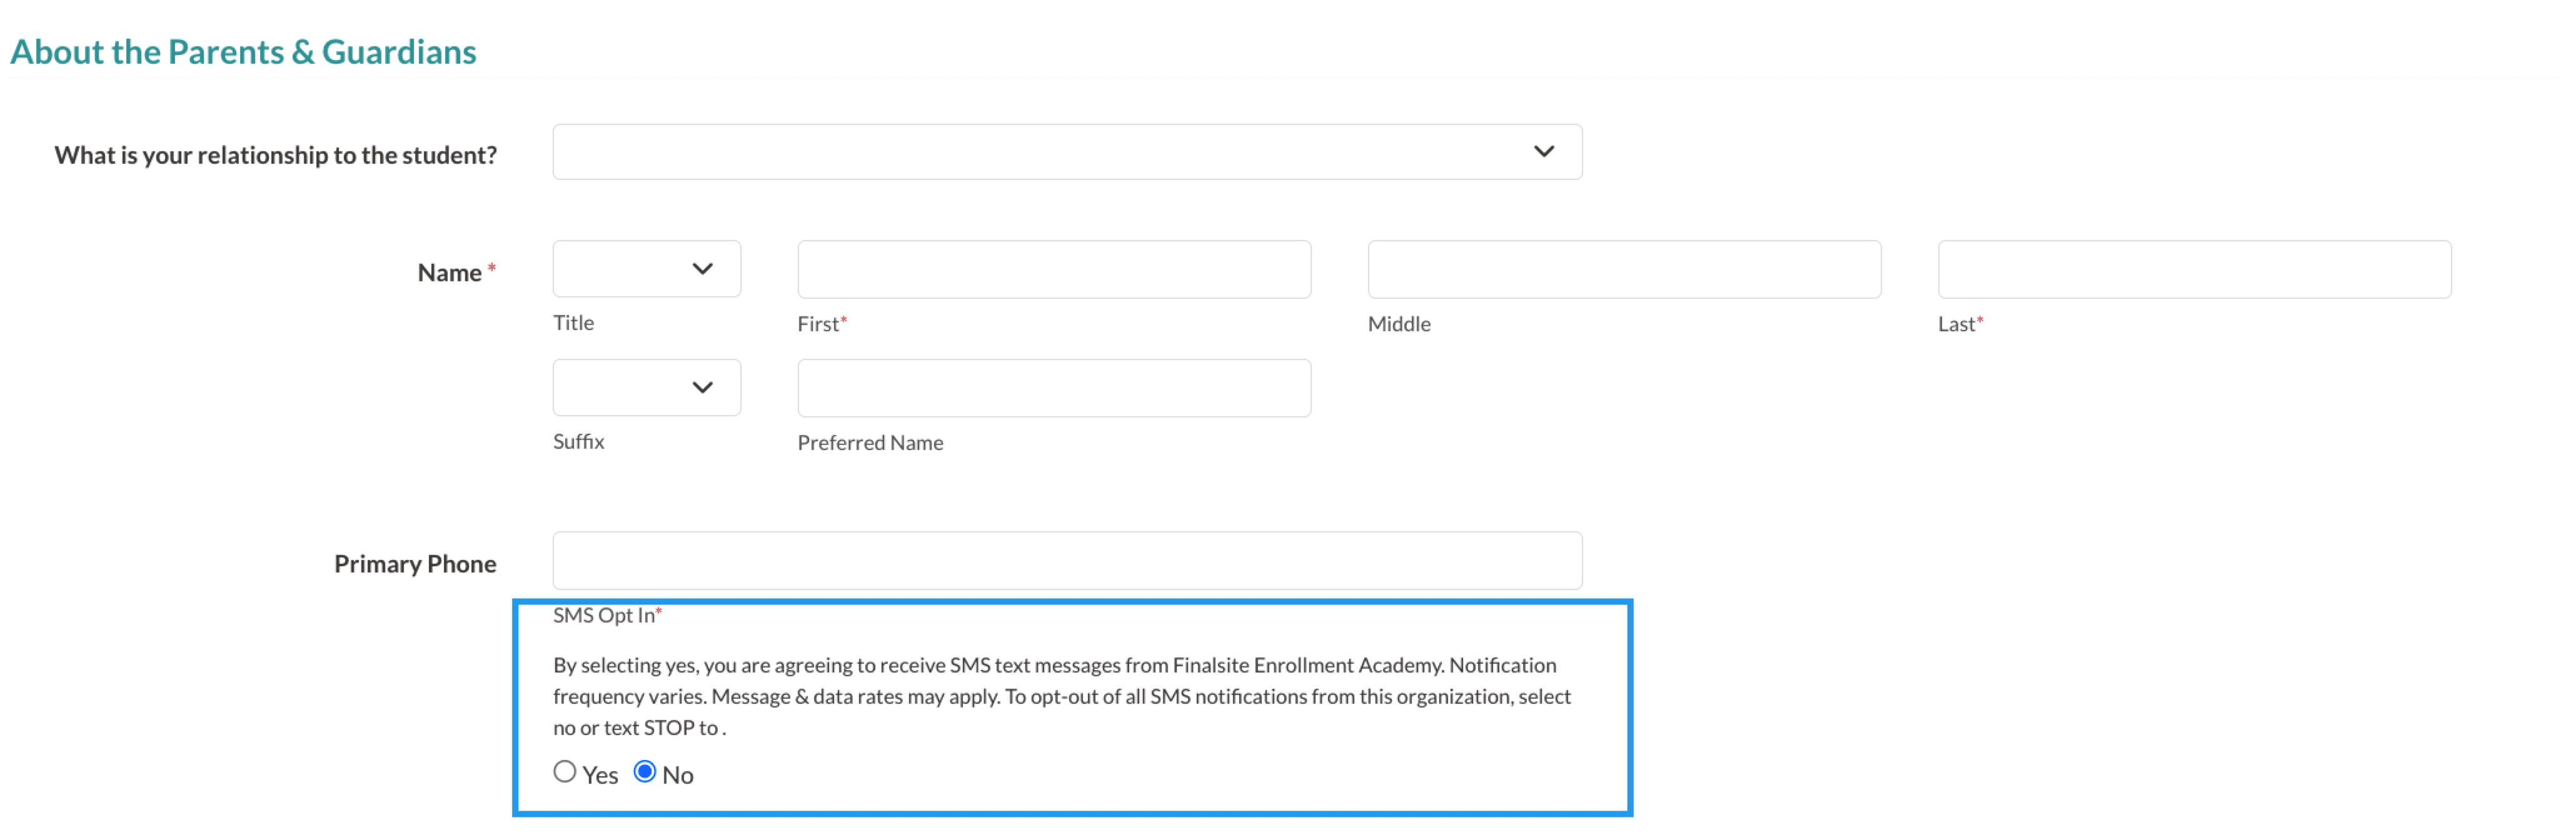
SMS Opt-in
If you are using Finalsite's Text Messaging feature, you'll also need to opt in or out in order to submit the form. You don't need to enter a phone number, but must select either Yes or No to continue.
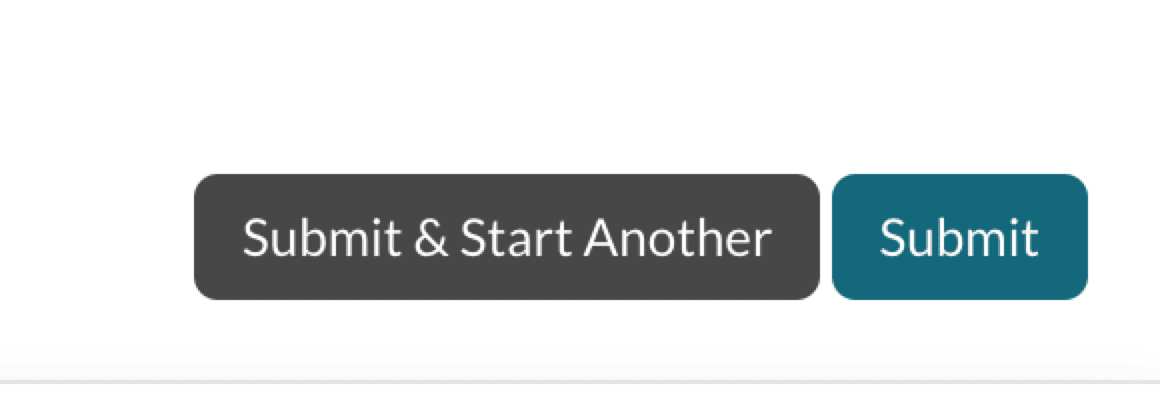
3. Click Submit
Locating your new test student
You can find the student by searching for their name in the search bar or locating them in the Forms Inbox.
Option 1: Using the search bar
Type the test student's name in the search bar at the top right of the page. Select their name to navigate to their record.
Option 2: Use the Forms Inbox
If you don't see their name when you type it into the search bar, you may need to import them into the system from the Forms Inbox.
Access the Forms Inbox from the Username menu or Admissions tab
1. Go to Username Menu > Forms to Import
2. Alternatively, you can go to the Admissions tab > Forms
Import the test application
If your test student is in the Forms Inbox, you'll need to click the Import button to import them first.
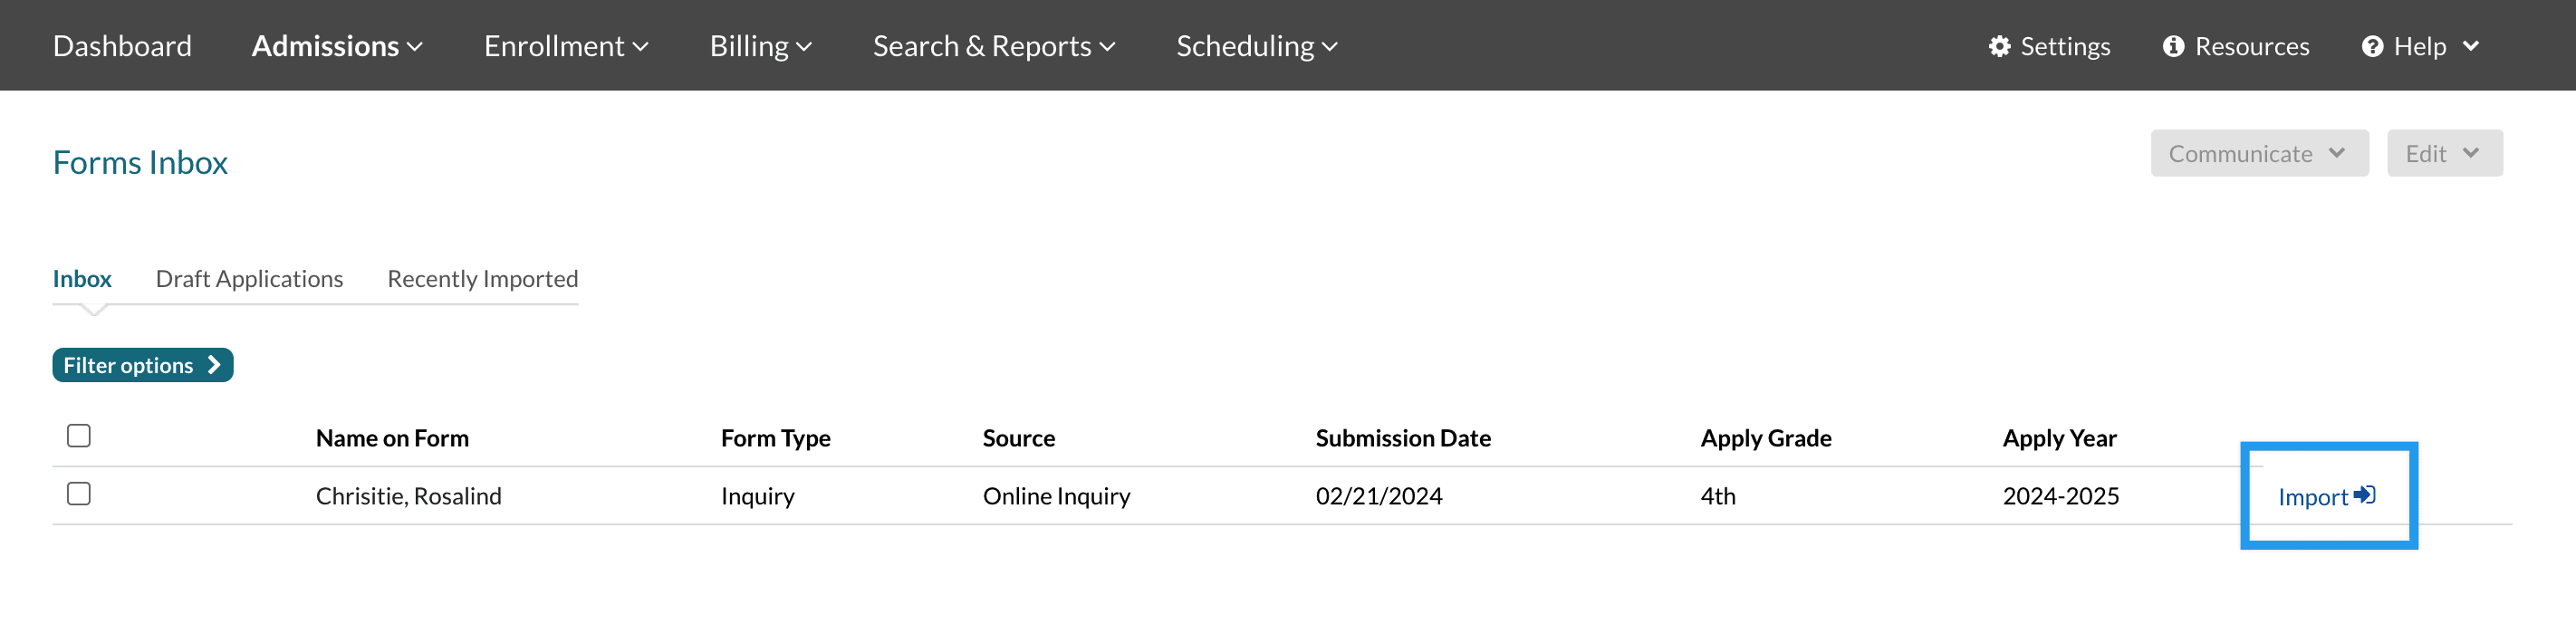
If they are not in the inbox, you'll see them in the Recently Imported tab of the Forms Inbox.

- If you see them in the Recently Imported forms tab of the Forms Inbox, you can click on their name, and it will take you to their record.
Authenticate to your test student
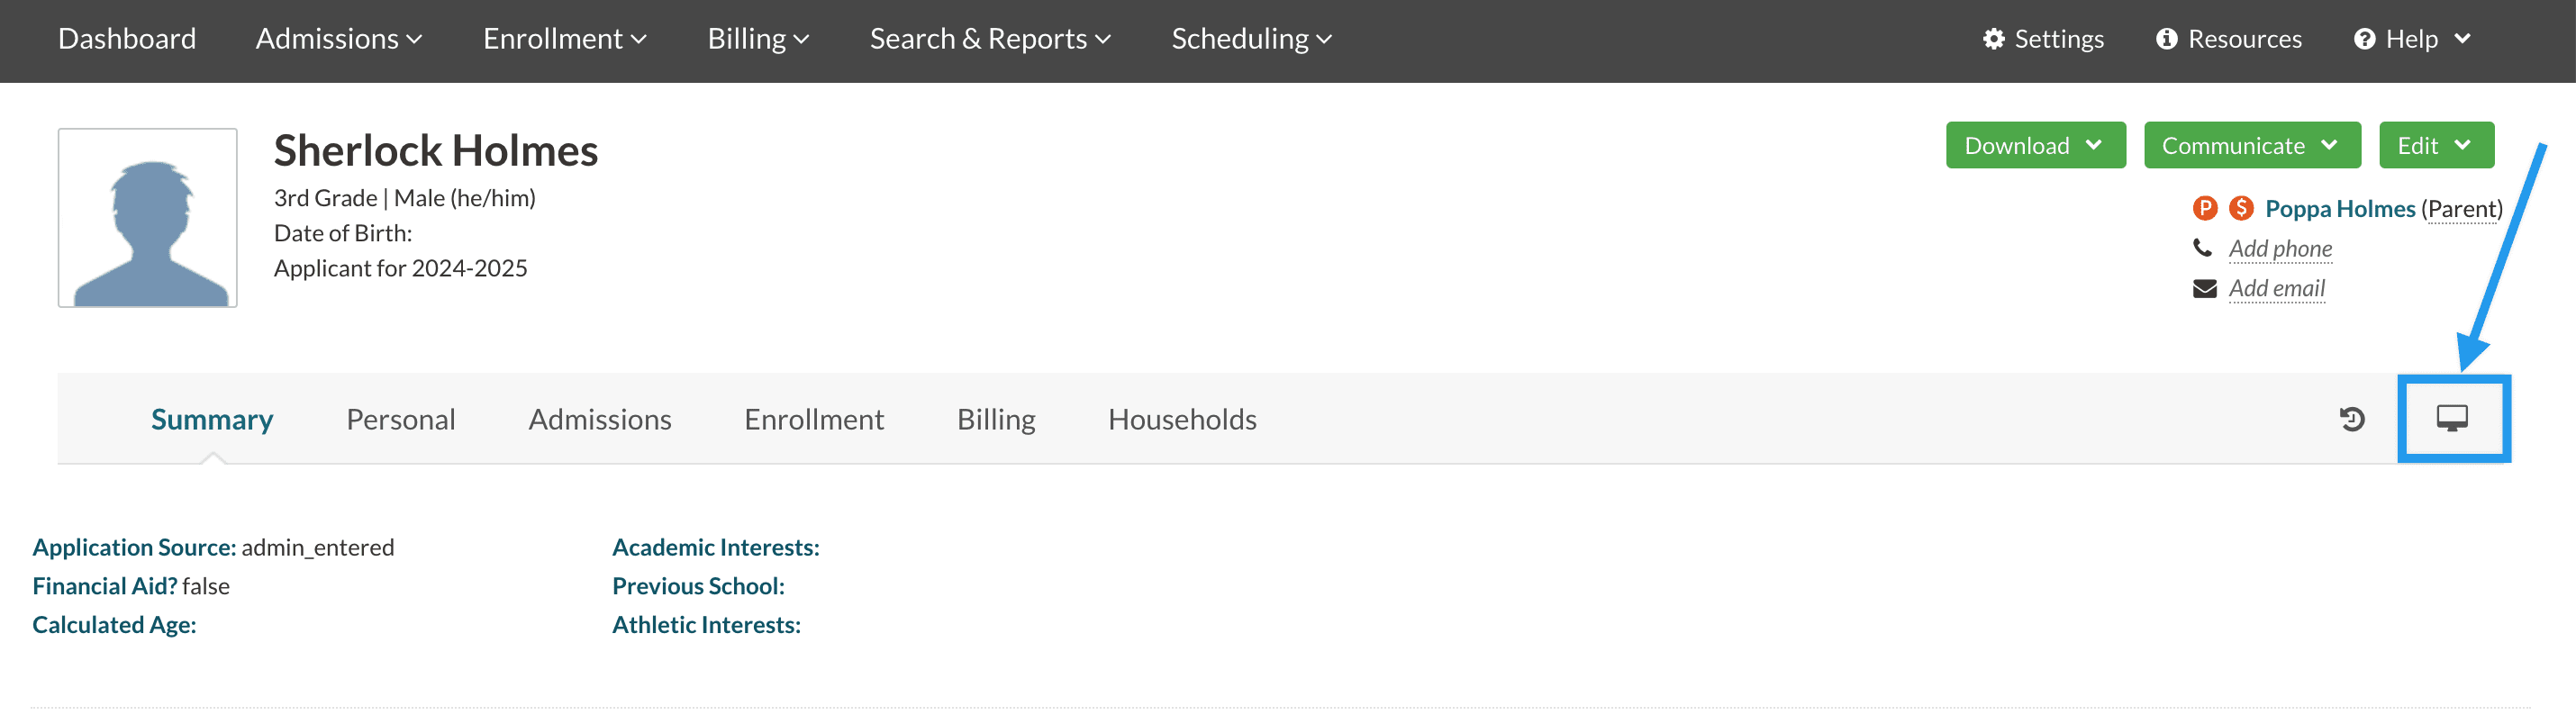
1. Navigate to the student's record's Parent Portal Accounts page.
From the student's record, navigate to the Parent Portal Accounts page by clicking the computer icon on the right side of the page.
2. Copy the authentication code for your test parent under the Code column.
You will use this to authenticate to the test student.
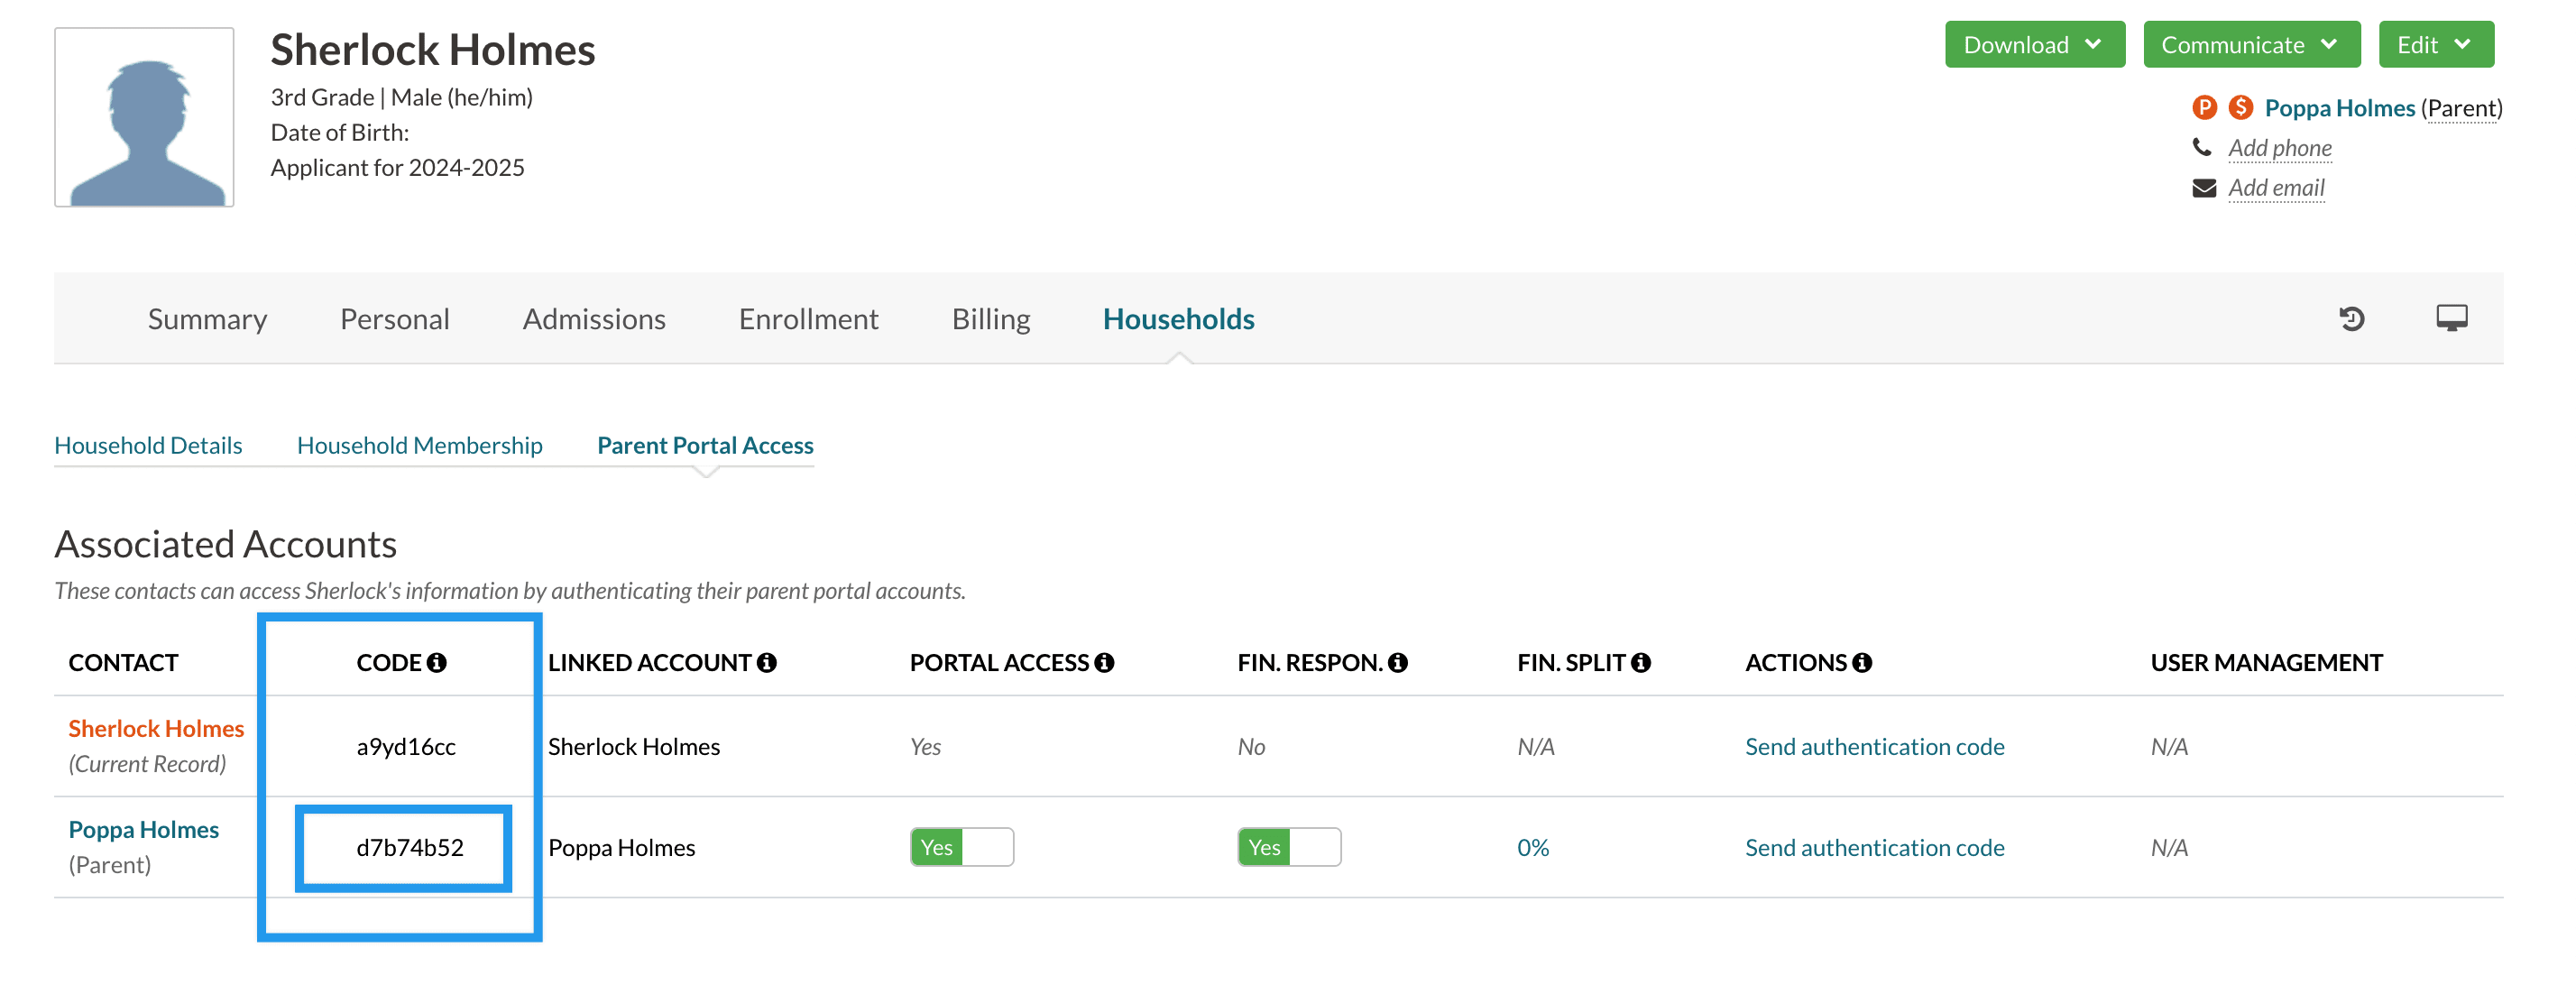
Important: Be sure to copy the parent code, not the student's code.
3. Navigate to your Finalsite Enrollment Parent Portal.
Click on your name in the upper right to open the Username menu and select Parent Portal from the drop-down menu.
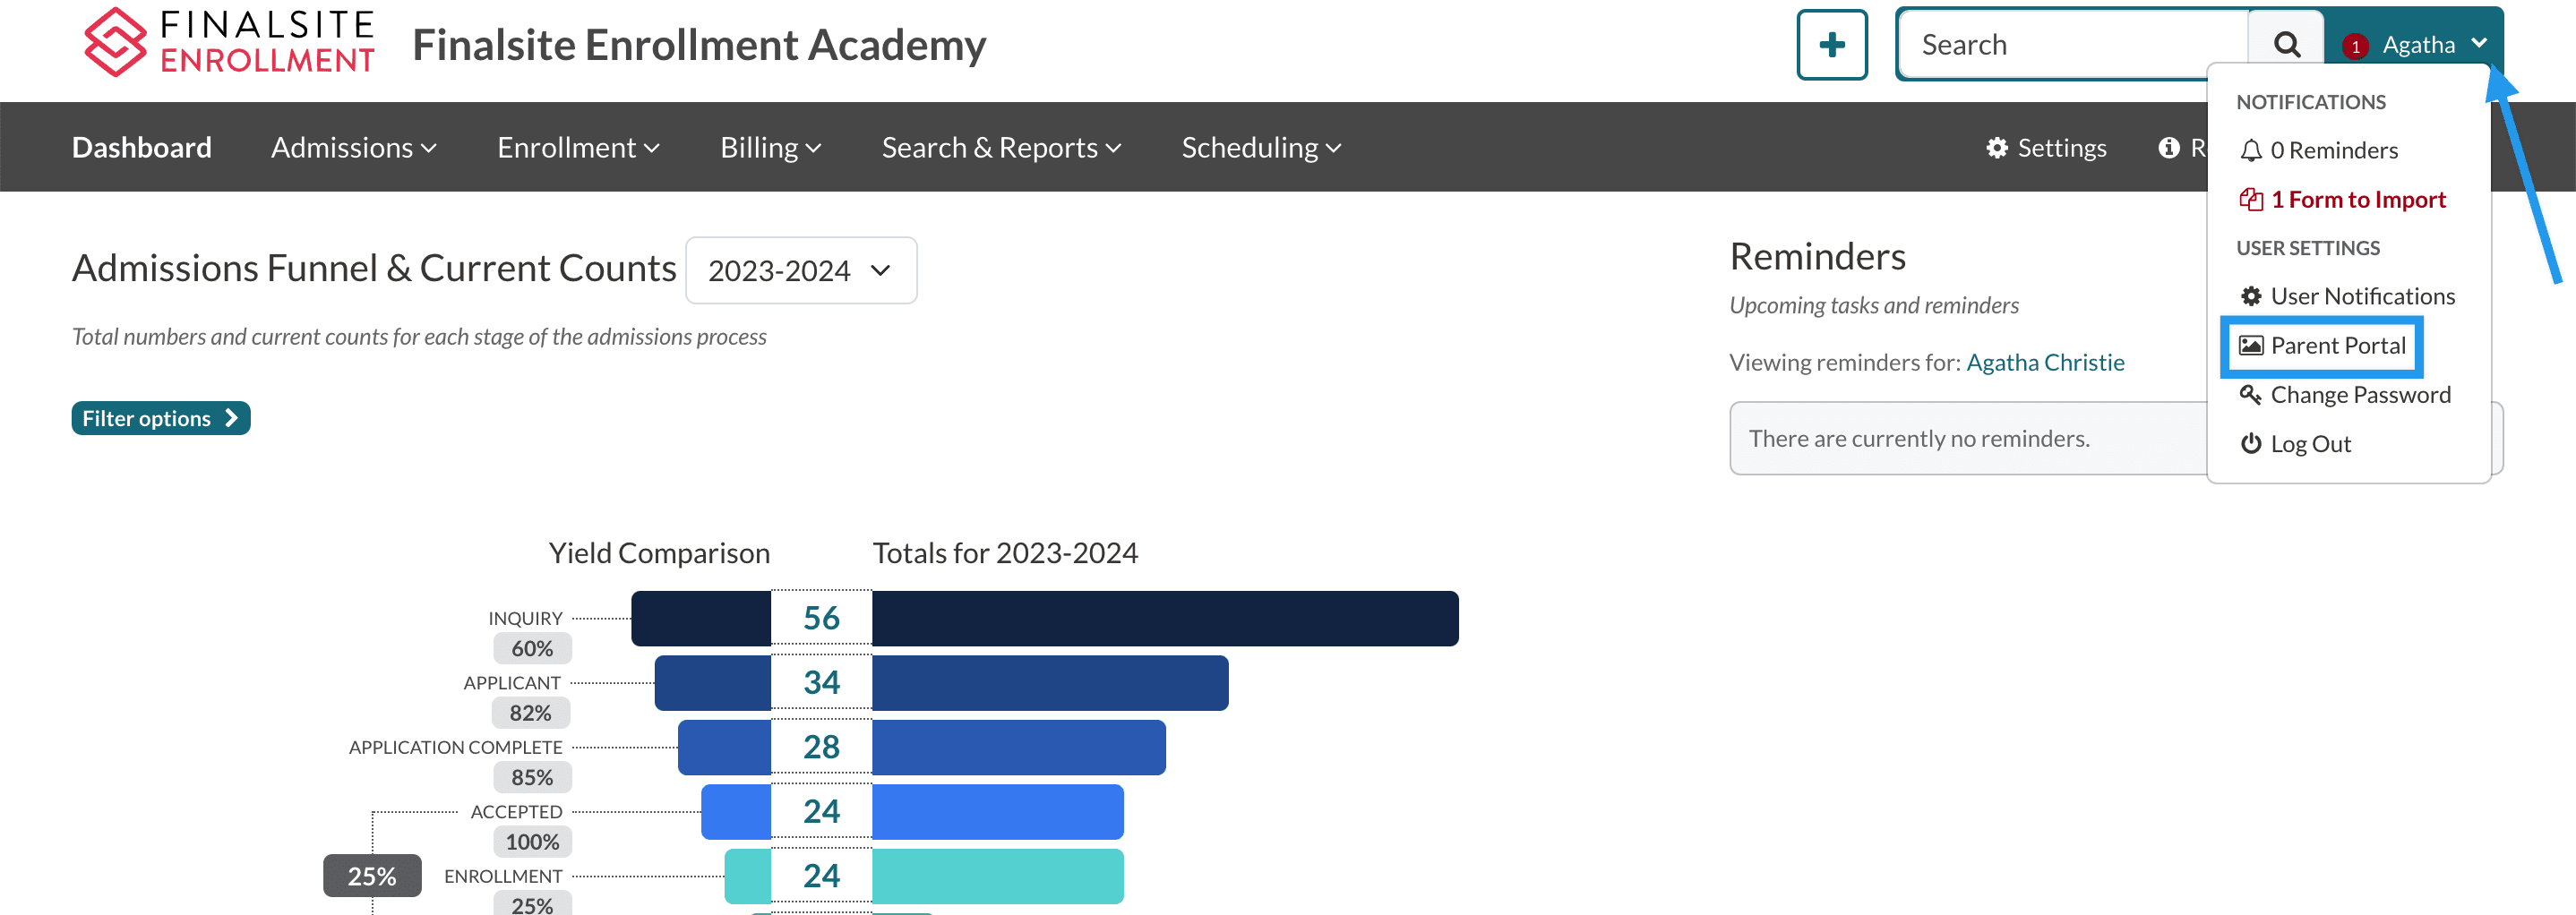
You will automatically be brought to the Parent Portal.
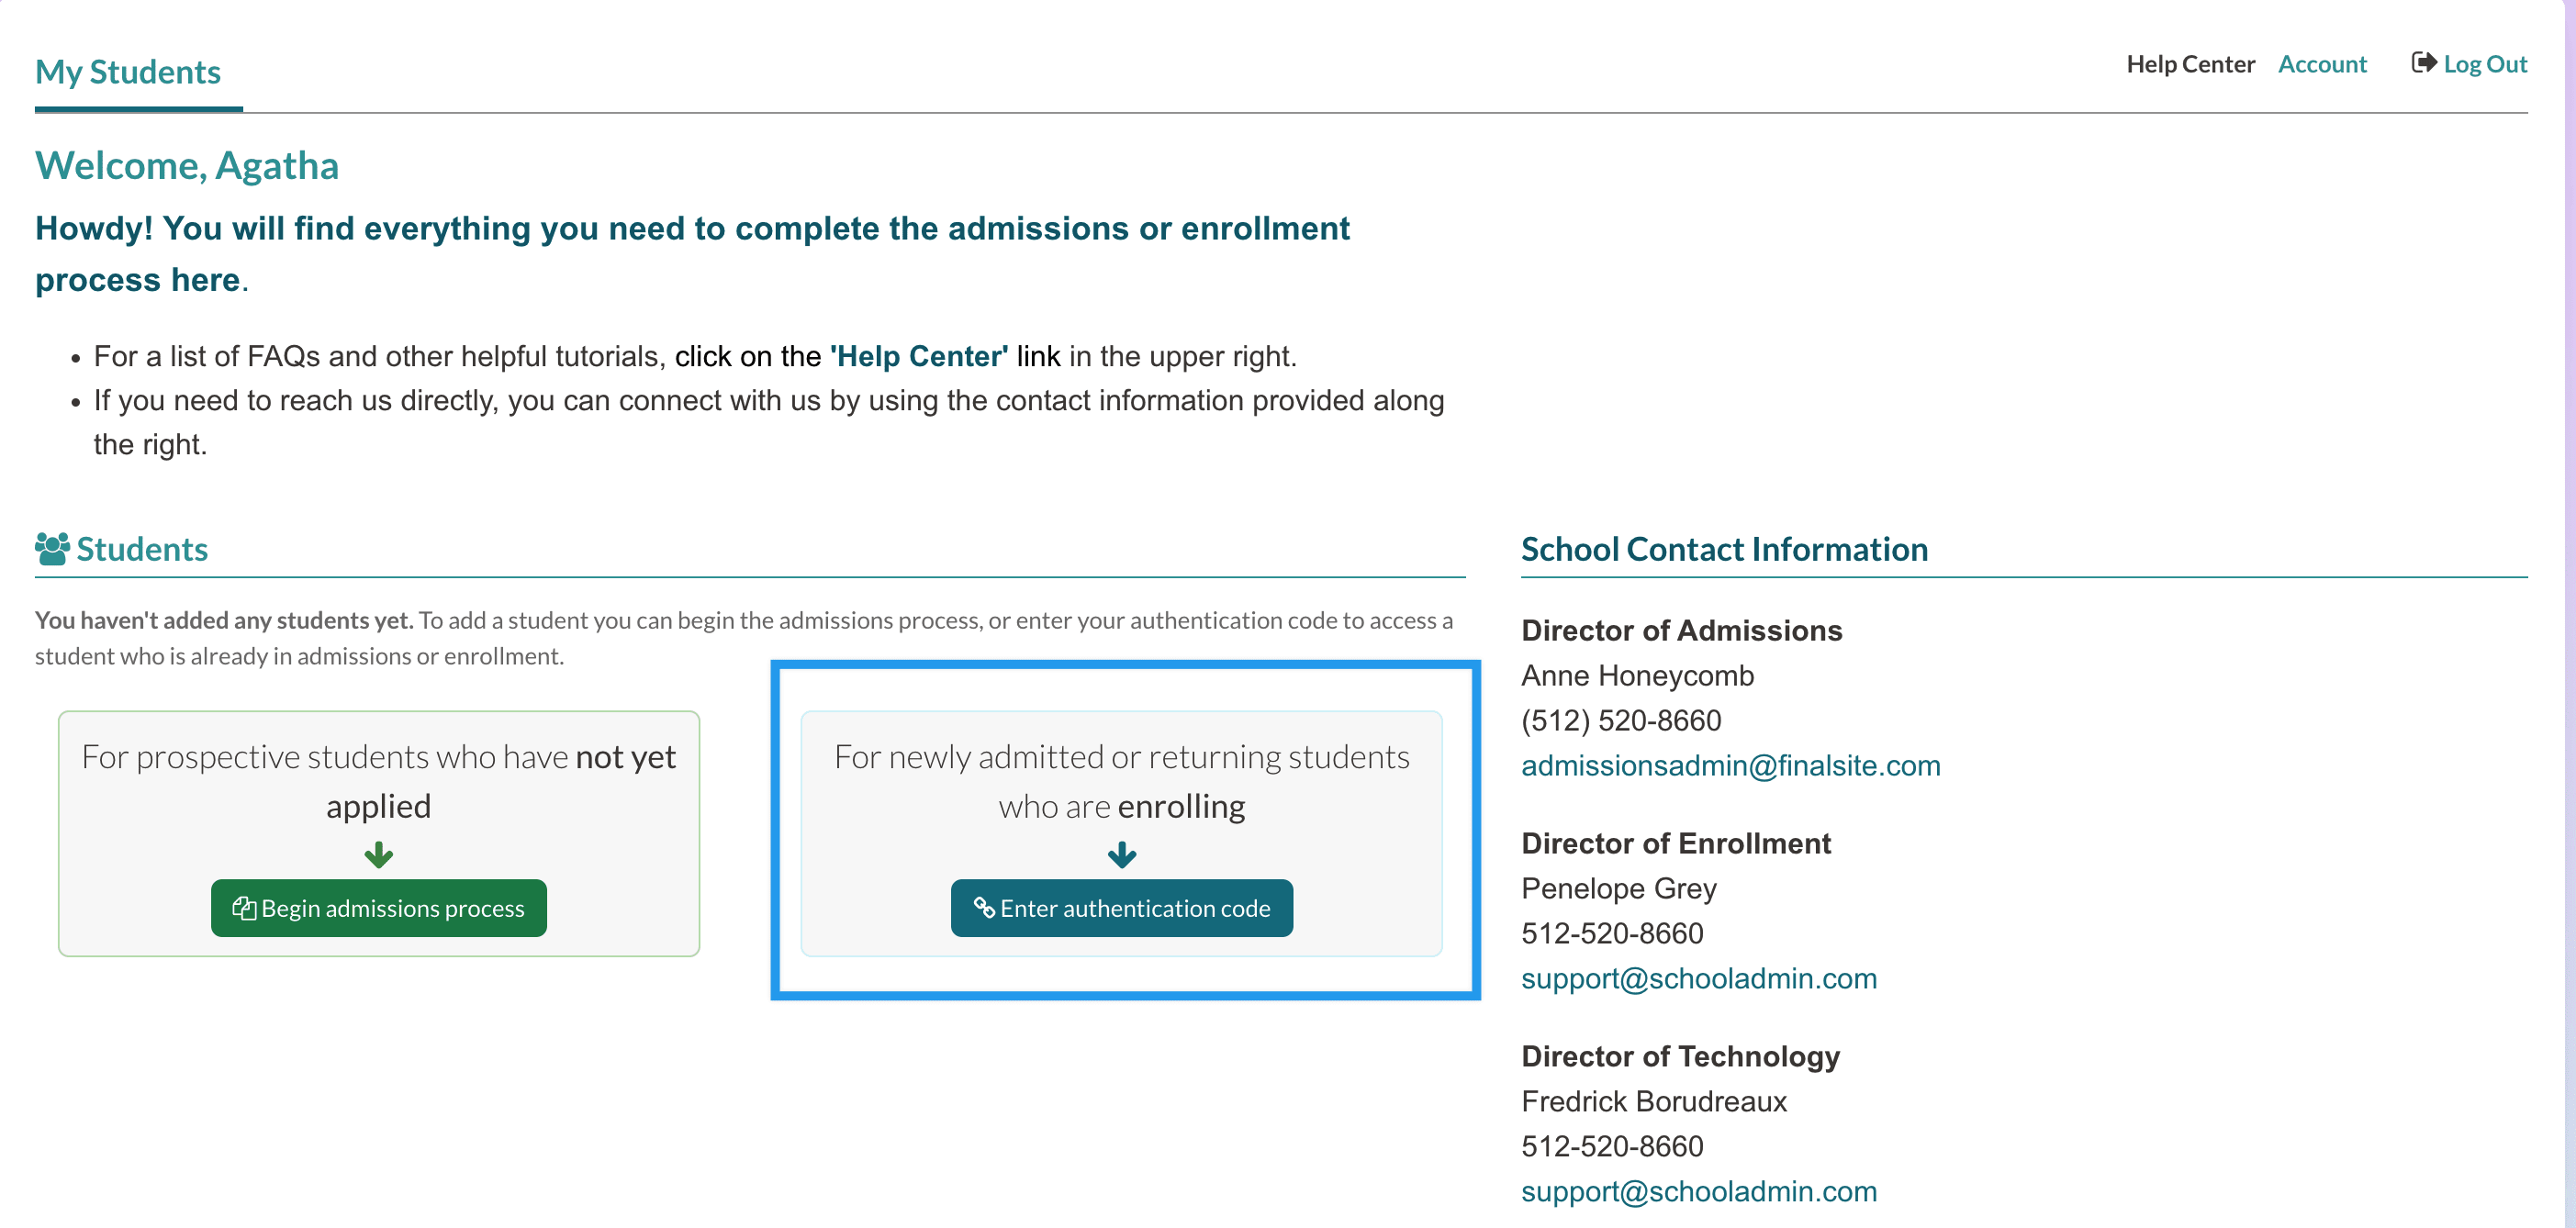
4. Select the Enter authentication code option.
If you already have test students linked to your account, this option will be at the bottom of the page below your list of students.
5. Paste the authentication code into the Authentication Code box.
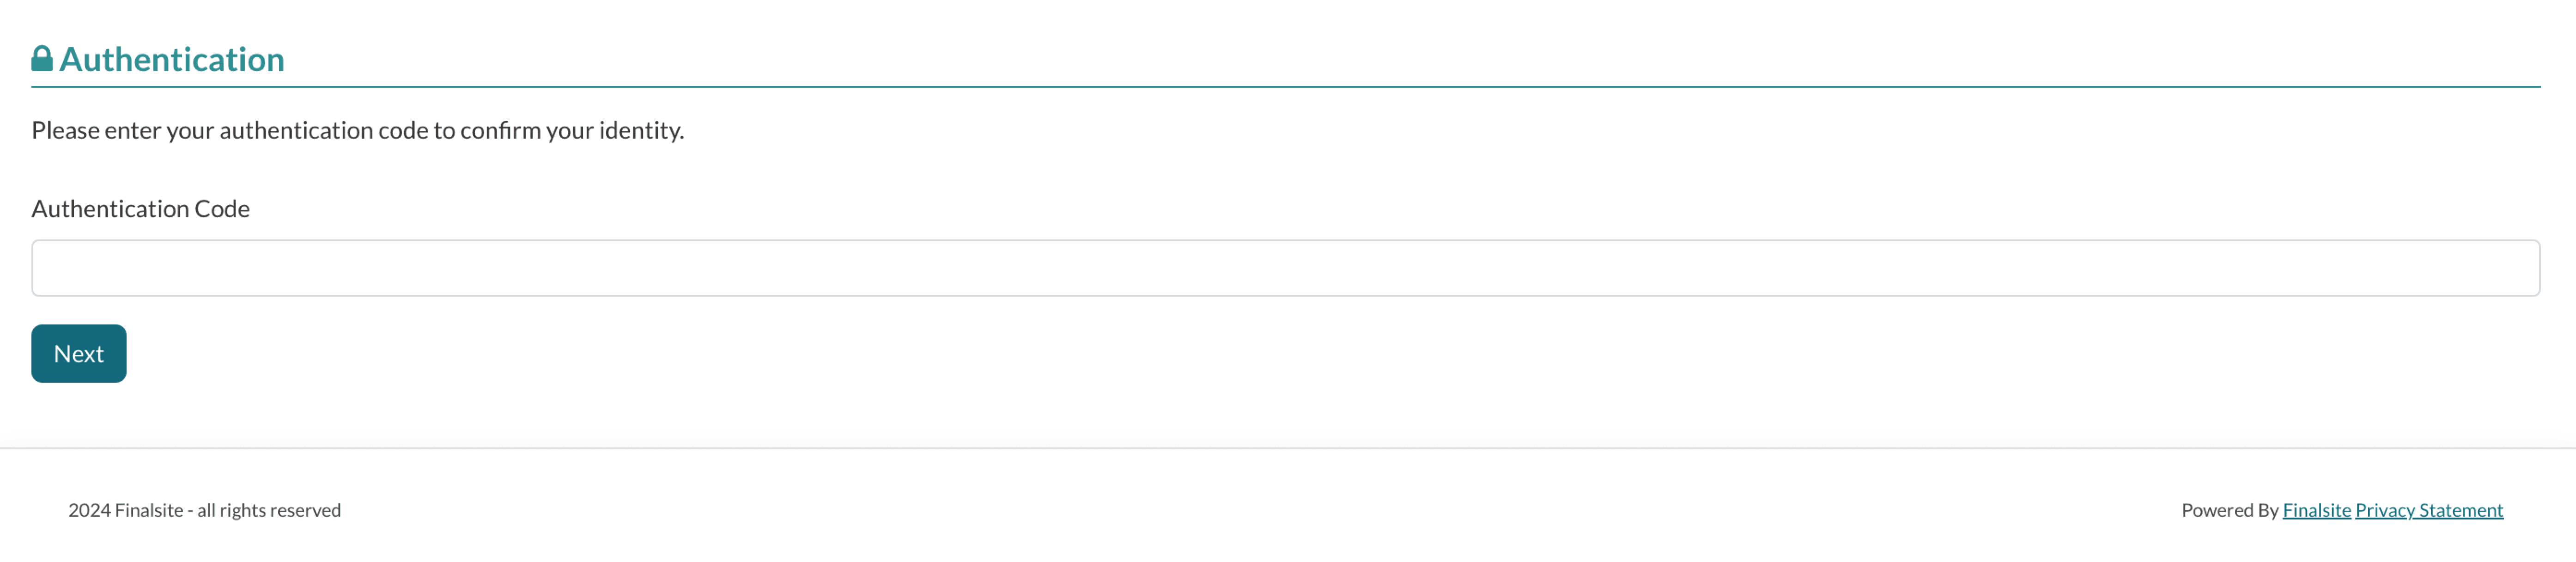
Make sure there are no extra spaces at the beginning or end of the code. Select Next to continue.
If the authentication is successful, you should see a green banner with the message "Your account has been authenticated" displayed at the top of the page.
You will also now see your test student in the students list on the Parent Portal. If you do not see them here, make sure you have changed their status from Inquiry to an Applicant/Enrollment status on the admin side.
How do I get back to the Admin Portal from here?
Erase "/portal" at the end of the URL and replace it with "/admin".
Specific areas to test & best practices
Ready to run some tests? Refer to our companion guide, "Run system tests for a seamless parent experience" for a checklist of specific areas of the system to test, how to run the tests, and best practices.
Comments
0 comments
Article is closed for comments.